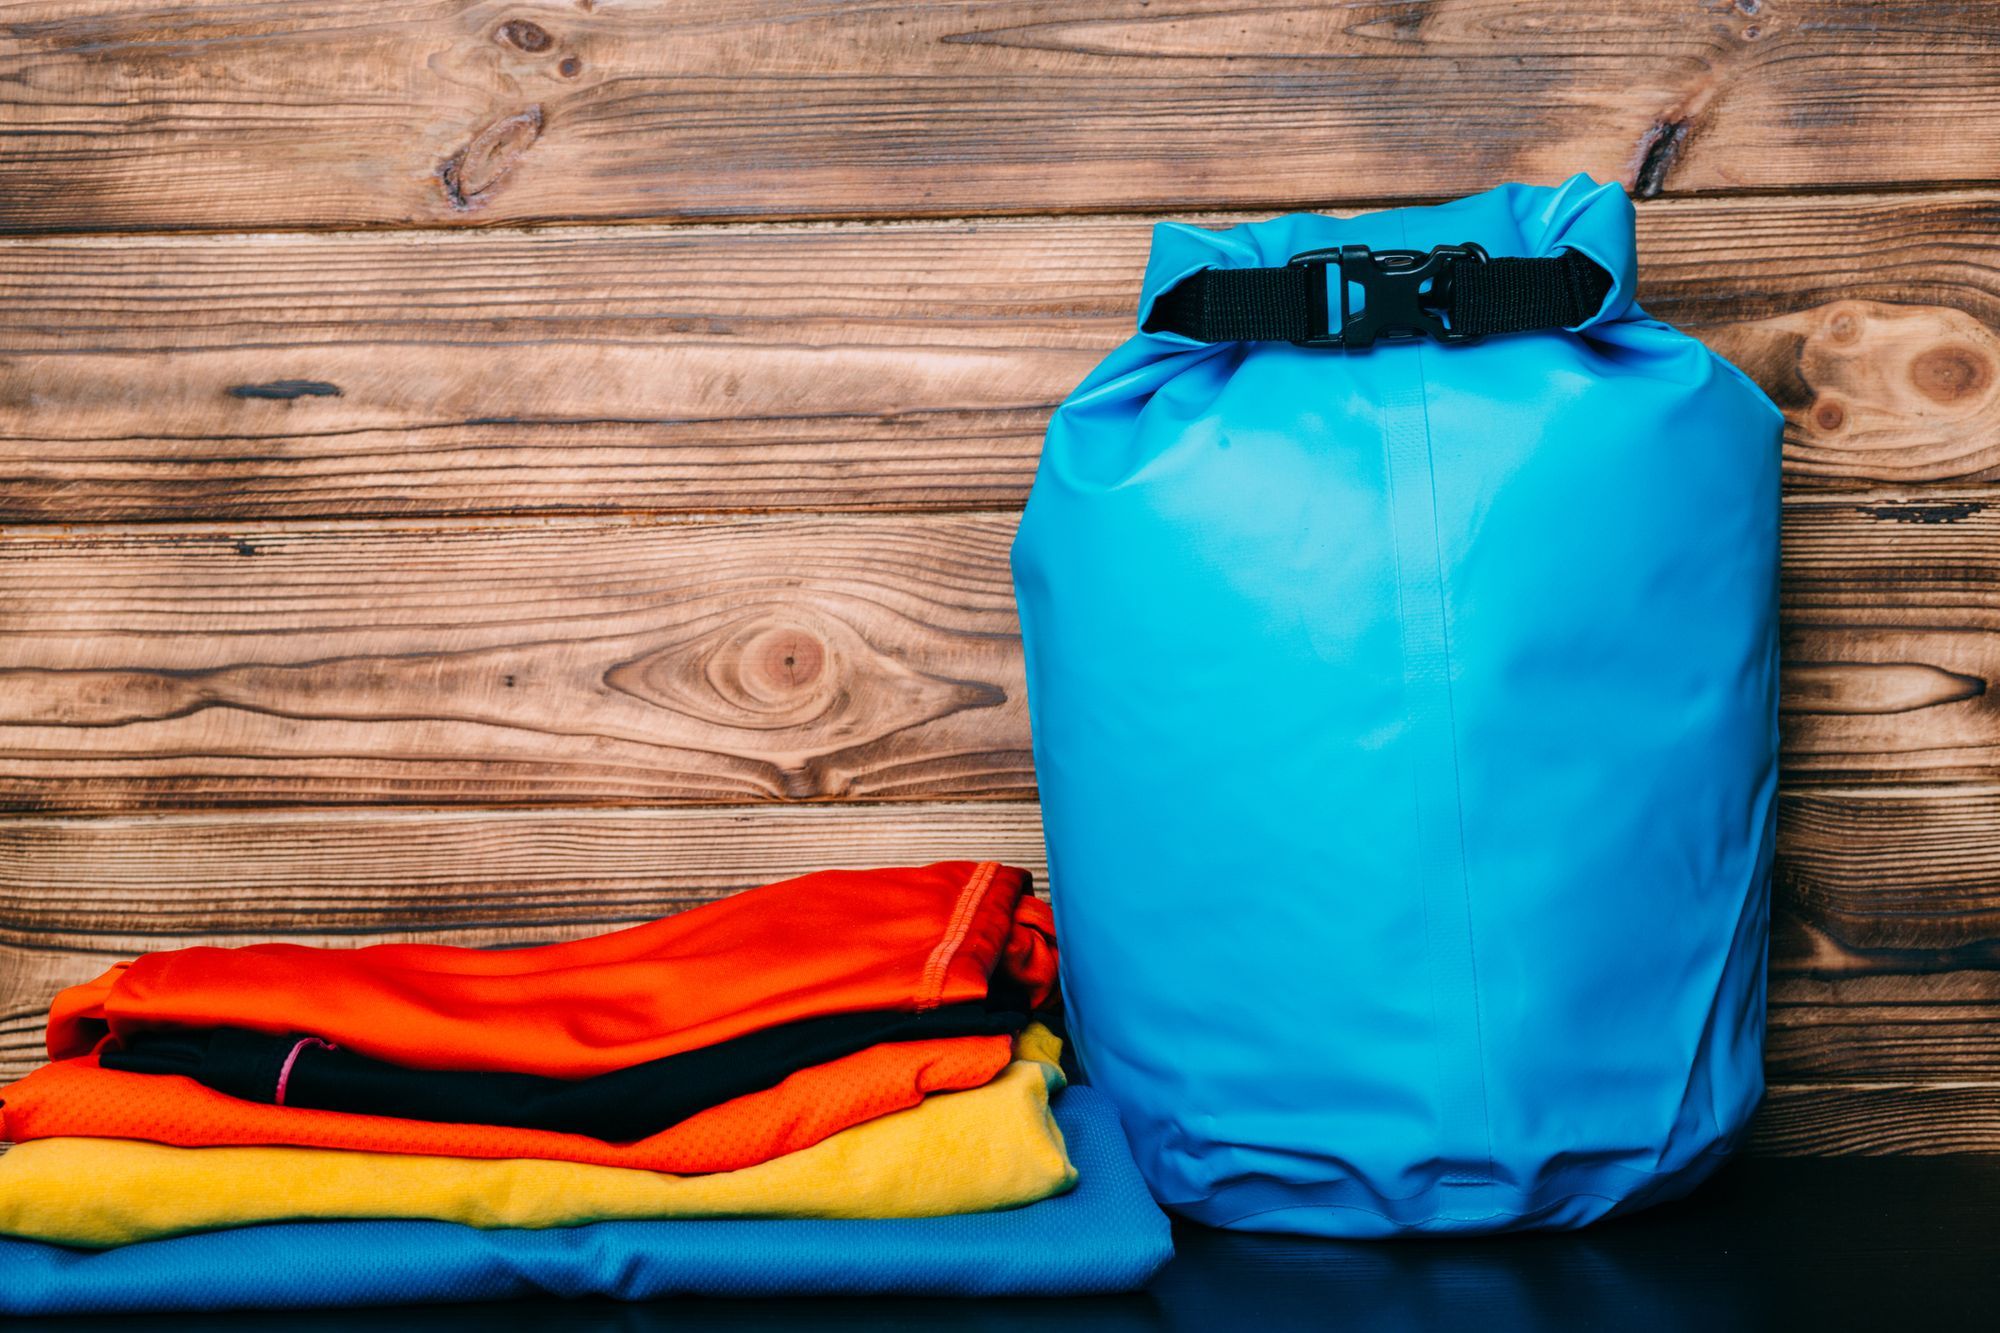
A dry bag - or, let's be honest, several dry bags - form an essential part of an adventurer's kit store. Any time there's a chance your belongings could get wet, you're going to want to reach for your dry bags while packing. And in some countries, that means literally whenever you step outside.
What is a dry bag?
A dry bag is a cylindrical bag with a roll top closure. Most importantly, it's made of a waterproof material that keeps everything inside it dry. Hence the very original name: dry bag. They are made from fabrics of varying thicknesses and water resistance. Some feel like a lightweight waterproof jacket, others feel closer to plastic.
The roll top usually has an extra stiff bit to keep the water out and there is always a buckle at either side of the lid, to clip together after you've rolled. We'll get onto exactly how you do that soon, but for now that's the overall picture of what a dry bag is: a watertight bag. Some come with added rucksack straps for carrying or a leash if you are taking it paddling. Most have a low profile handle on the bottom too, to help you pull your belongings back out again.
Why should I use one?
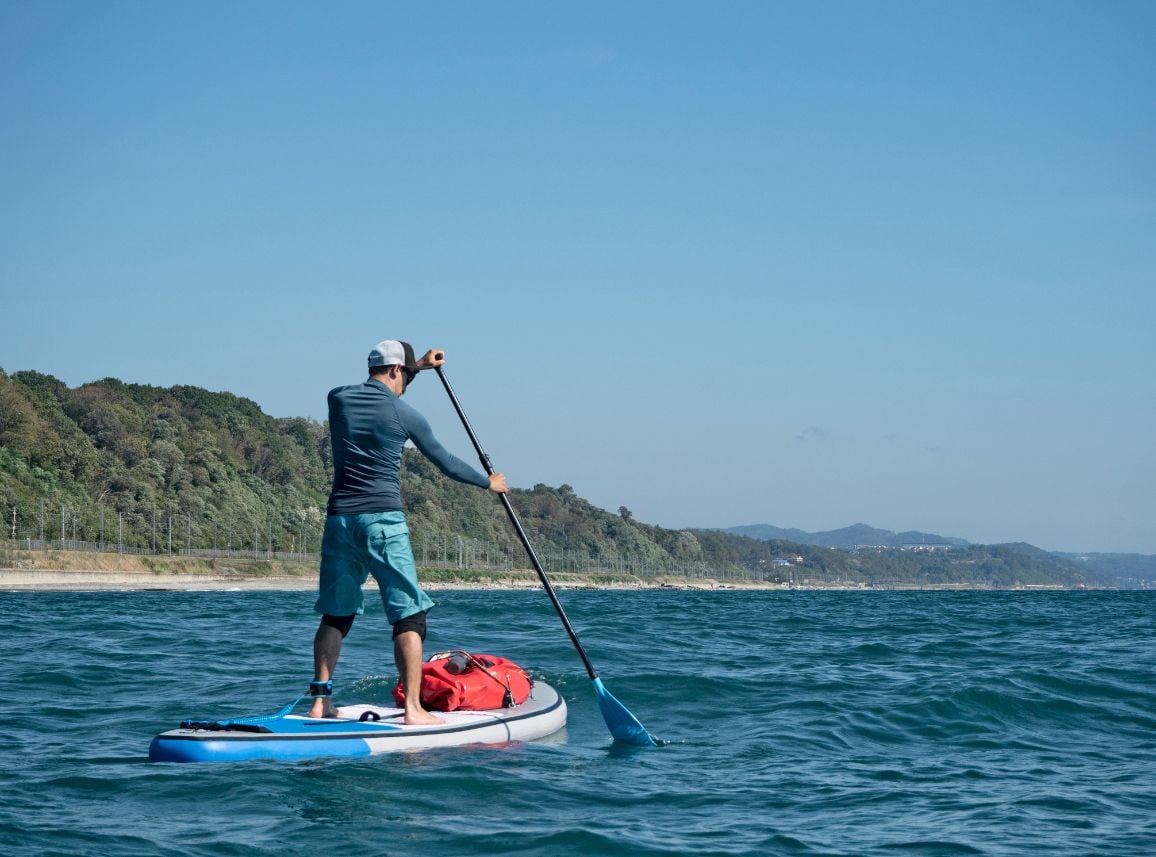
The main reason everyone should use a dry bag is simple: it keeps your stuff dry. And we can think of a huge range of adventures where you're likely to encounter lots of water. There is nothing quite so sad as discovering all of your belongings are soaking wet. Never mind the inconvenience of your phone being destroyed. If you're camping, it's raining from all directions and all of your clothes are soaked through, things will get very bad very quickly.
If you're hiking, you might get away with using a rubble sack, with the top folded down. But if you're doing anything based on water rather than land, you definitely want one. Even just for the peace of mind.
How to pack and fold a dry bag
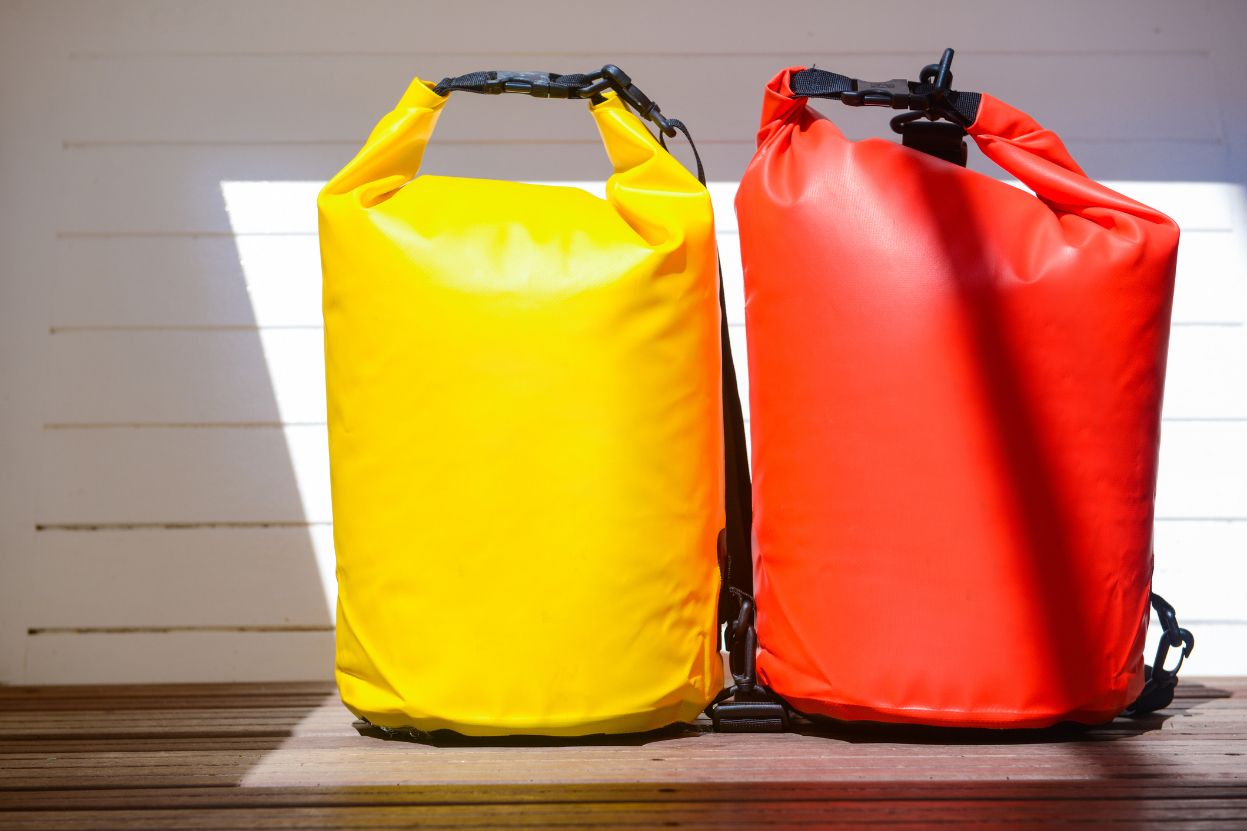
Let's do a really quick primer on how to pack a dry bag. It really is very straightforward, but can seem confusing if you've never done it before.
Step one: unroll, unfurl and otherwise open up your new dry bag. Open up the lid and either lay it out or stand it upright. Some of the stiffer materials will stand up on their own, like a rucksack. If you're using the dry bag as a rucksack liner for hiking, put it inside the rucksack and fill it as though you were just packing your bag normally.
Next up, put all of your kit into the dry bag. Some people swear by rolling up clothing neatly, while others just stuff it all in (hi!). It's a good idea to give a little thought as to what order you might need things in. That way you don't have to unpack your sleeping bag every time you want to use your waterproof jacket, for example. But mostly, the key point is to fill it snugly, without any big gaps or lumps. That also means removing any excess packaging and going as minimal as you can to make it fit. Be wary of anything sharp that could pierce your dry bag and turn it into a not-at-all-dry bag. Even the pointy edges of keys or chargers can do this with enough force.
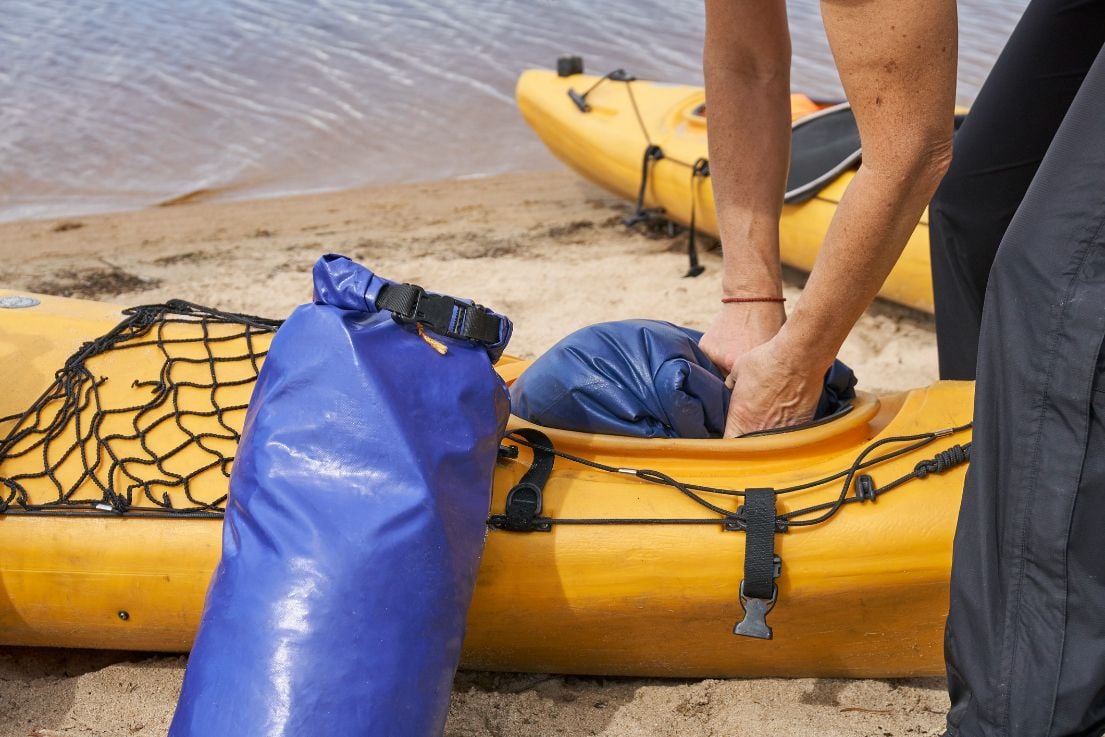
Once your dry bag is sufficiently stuffed, it's time to get rolling. You need to be able to close the lid (top packing tip there!) and be able to roll it down on itself at least a couple of times for it to be watertight. If you're a pro and going kayaking, leave extra air space so that your dry bag is more likely to float if it takes a swim. Otherwise, try to get most of the air out, before closing the lid and rolling it down a few times. The smaller the sealed bag is, the less space it'll take up.
Finally, clip the two halves of the buckle together and you're done!
Which size dry bag should I use?
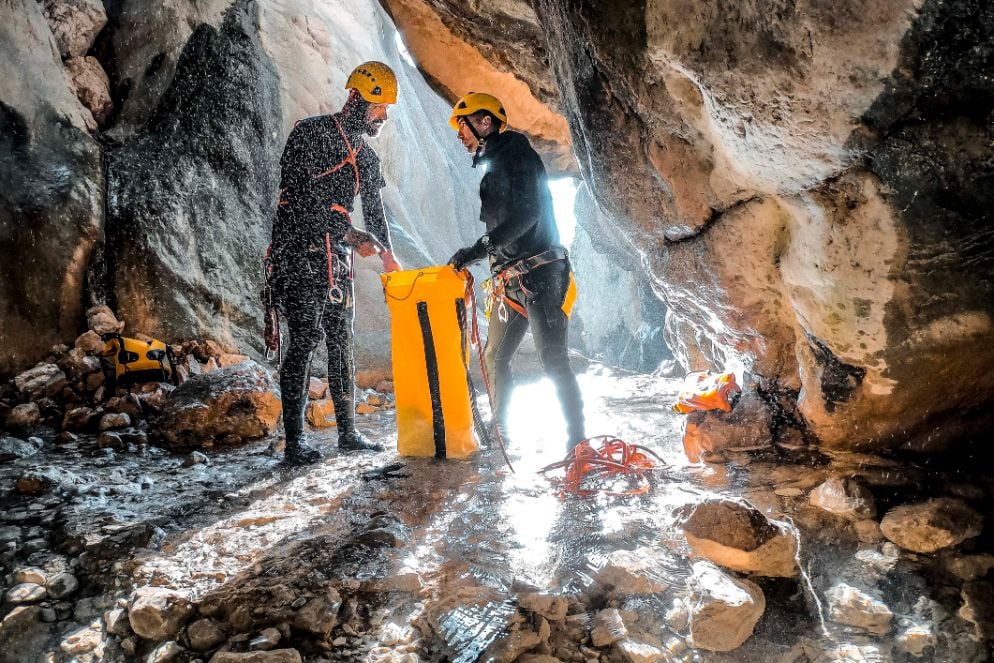
Dry bags, like rucksacks, are sold in litres rather than sizes. For kayaking, we'd recommend taking two 20 litre dry bags. Having two smaller bags will make them easier to fit inside or on top of your kayak. But that does mean you'll have to pack lightweight. Which is probably better for everyone in the long run - after all the heavier you load your kayak, the harder it'll be to paddle.
For hiking, you just want dry bags that will fit inside your rucksack. If you're using it as a liner, then get one at least 10 litres bigger than the advertised volume of your rucksack. If you'd like to use dry bags for gear organisation as well as waterproofness, then get a selection of smaller ones. You can often buy multi-packs in several sizes and colours.
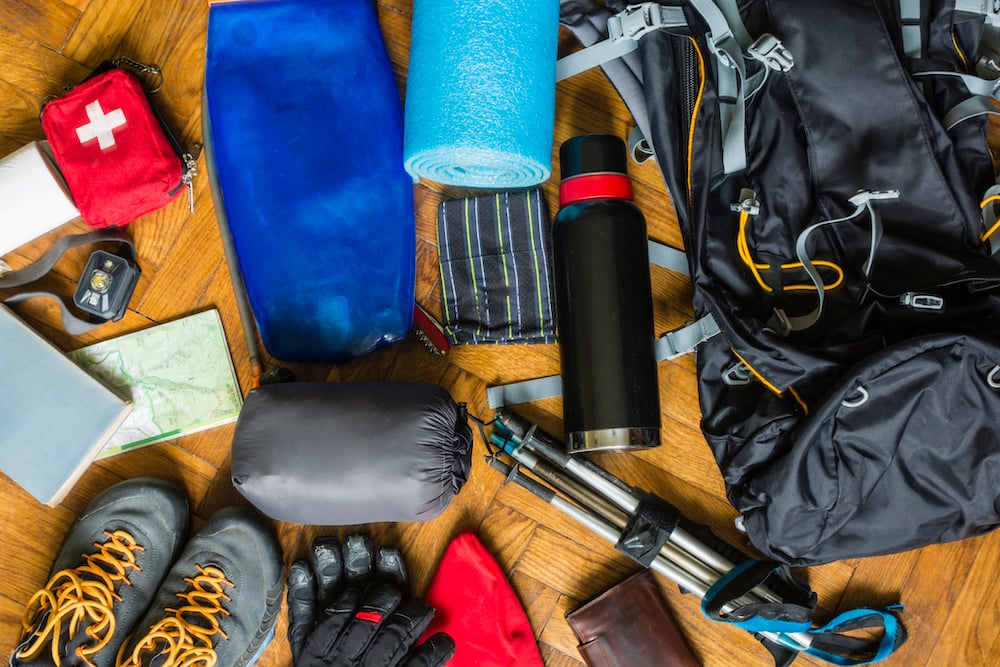
How to choose the right bag for your adventure
There are a few things you need to consider when picking the right dry bag for your adventure. Some factors will be simply down to personal preference (would you prefer pink, teal or purple?) but there are a few that will be key to how useful your equipment will be.
First up, as we've mentioned before, is the size and capacity of your dry bag. Bigger is not always better, so have a good think about whether it will fit in your kayak, rucksack, paddleboard, panniers... Would it be better to have several smaller bags or one huge bag? It's also a really good way to make sure you don't overpack and stick to the essentials, to make sure it all fits in.
Another consideration is waterproofing and durability. These tend to come hand in hand as the thicker, more plastic-like materials tend to be both tougher and more waterproof. There is definitely a place for lightweight dry bags that wouldn't survive an extended dunk in a river. These can be great for hiking and are far less bulky for fitting into smaller pockets, say. But the waterproof coating does eventually start to peel after enough use.
Tied up with this is the weight of the dry bag. This might not be something you're considering at all and for most people, the differences would be negligible. But if you're on a super ultralight expedition, with just a Cliff Bar and a pair of pants for the week, then an enormous dry bag might be an overkill. Unless you're intending to bivvy in it!
Best dry bag: our recommendations
If you've got through all that but would still like to be pointed in a clear direction before you venture out into the wild world of dry bag shopping, here are a few places to start. These are our recommendations for some of the best dry bag picks out there.
1. Ortlieb PD350 Dry Bag Series

You might have heard of Ortlieb for their waterproof panniers - a favourite with adventure cycle tourers worldwide. Well, you'll be pleased to know that they also make thick, chunky dry bags that are designed for being thrown in water. If you're off on a kayaking trip or need to be 100% certain your gear will stay dry, this is your best bet. Sizes go from 13 to 79 litres - plenty enough space!
Price: £18.50 - £30 | Cotswold Outdoor
2. Sea to Summit Hydraulic Dry Pack

A bit of a niche piece of kit: it's waterproof and very easy to carry, thanks to built in rucksack straps. You might consider this if you needed to carry a lot of heavy kit a long way inside a dry bag. Or perhaps if you were going on a multi-day packrafting expedition and wanted the one bag to rule them all. In most cases this is an overkill.
Price: £170 | Sea to Summit
3. Sea to Summit Dry Bags

Sea to Summit dry bags have made a great name for themselves. You can get them in a wide range of sizes, from keep-your-phone-in to line-my-60L-rucksack. They are designed for hiking or anything that's not getting dunked.
Price: £9 - £20 | Sea to Summit
4. Exped Fold Dry Bag Five Piece Set (XXS-L)

Finally, if you're looking for a variety of sizes all in one go, then Exped's multi-pack is a good place to start. You can find them in packs of four or five, depending on the sizes you'd like. I've had mine ten years and they're still going strong, if a little tatty. Again, these are good for hiking but probably wouldn't stand the test of a swim in the lake.
Price: £49.99 | Absolute Snow
Excellent! Now it's time to get your dry bags soaked on a kayaking holiday around the world!


