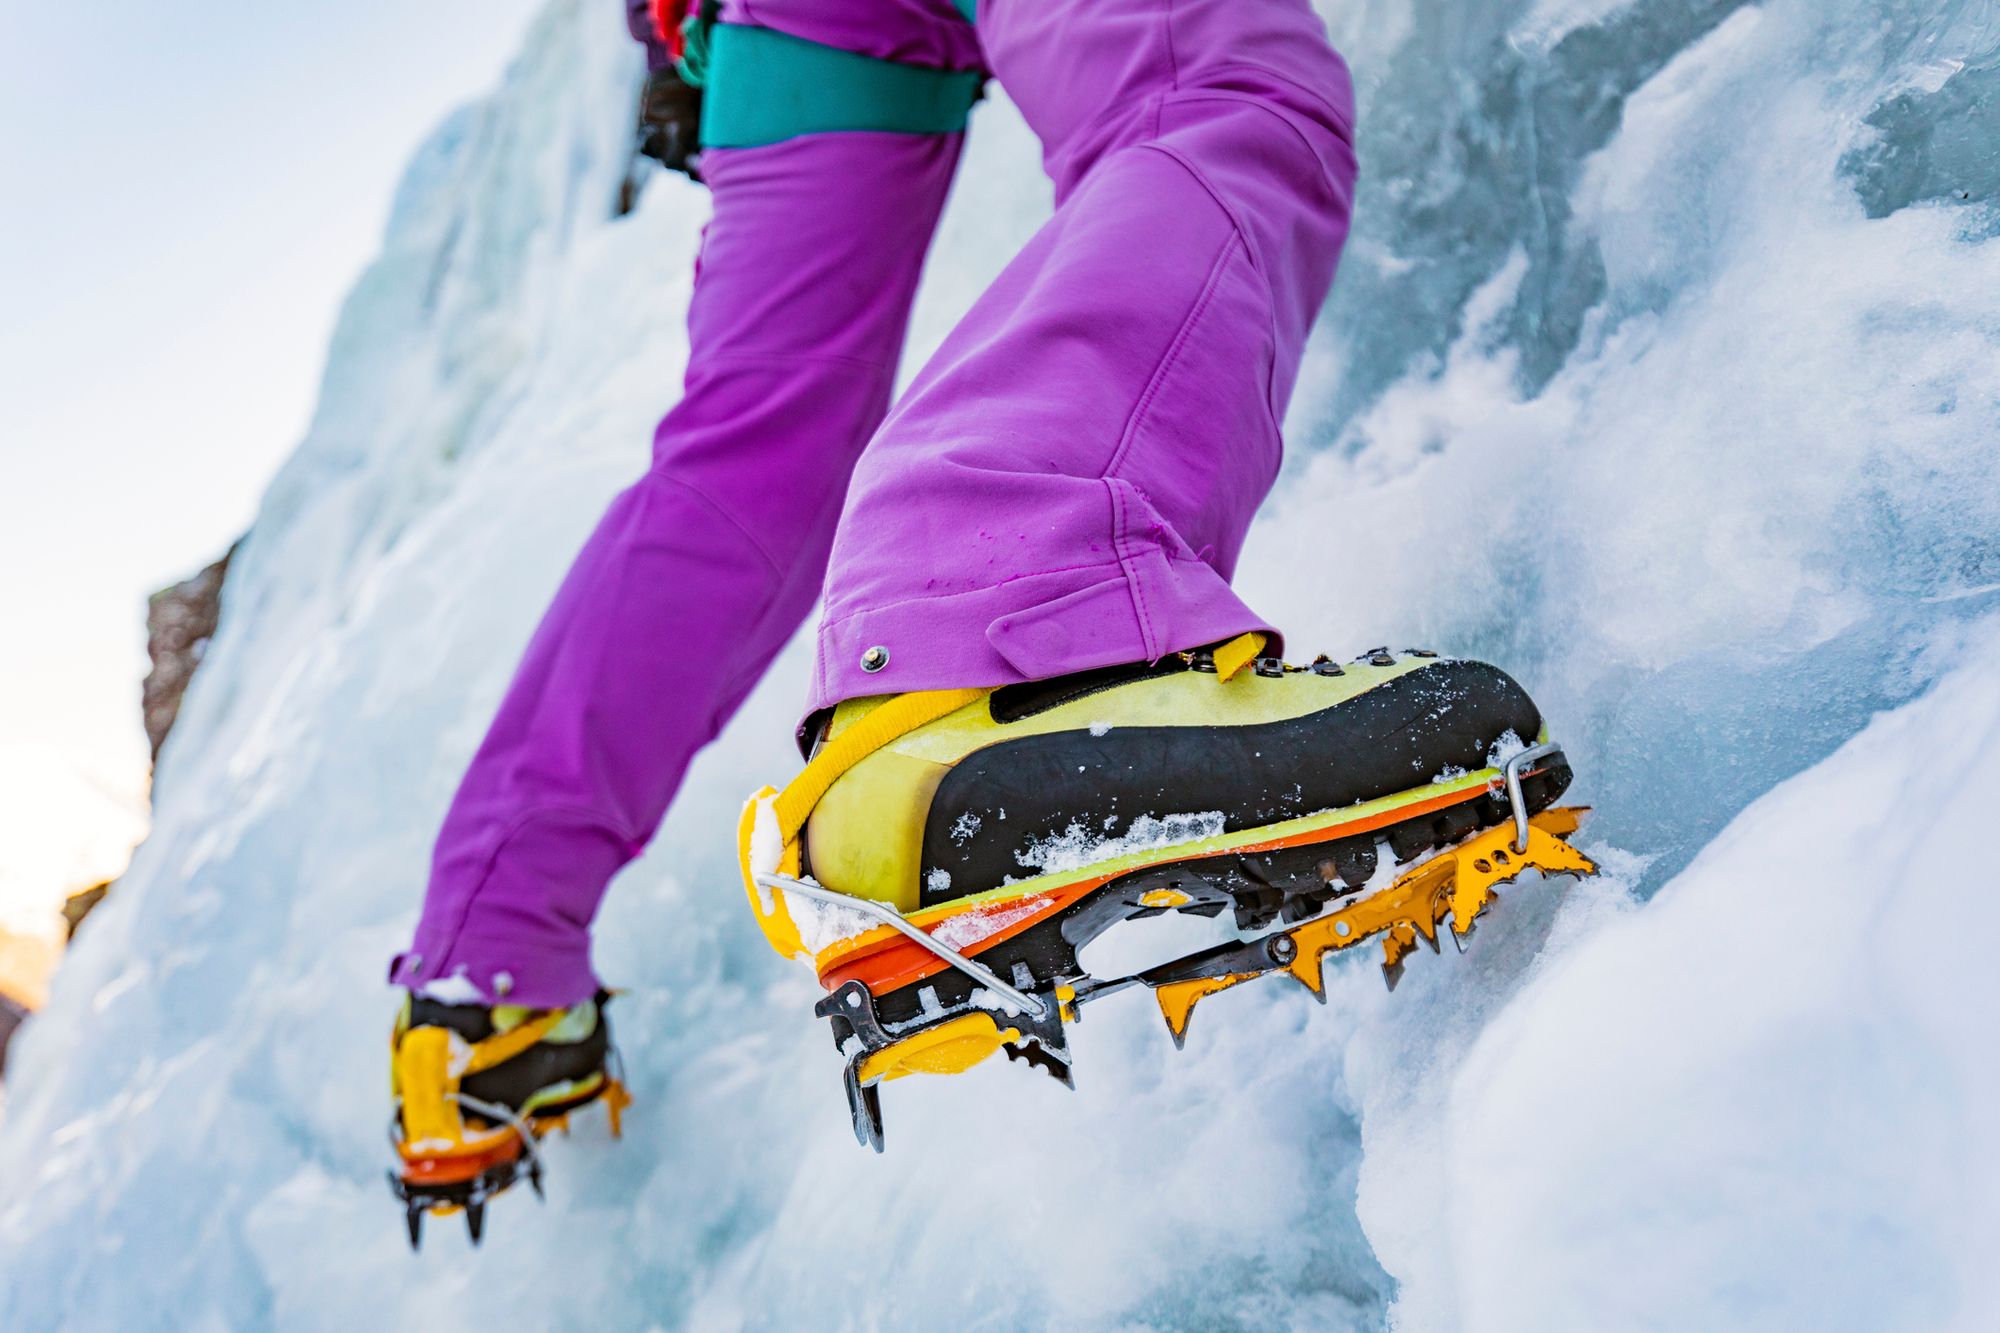
Crampons are pointy things that you strap to your boots, to walk on snow and ice. At least that’s probably what you’d say (at high speed) if it came up in a game of Articulate. If you started explaining crampon ratings and that they were invented by shepherds in the Alps for farming in the snow, you’d probably be evicted from the team. Or be the kind of person who says “First manufactured by an Italian blacksmith called Grivel” and then stares blankly at your team mates until they get it or pass out from frustration.
Luckily, we are not playing Articulate, so we can be verbose in a helpful way. You’re probably here to get a primer in what crampons are, how to use them and whether they’ll fit on your boots. That’s great, because it probably means you’re thinking of a wintery adventure.
What are Crampons?
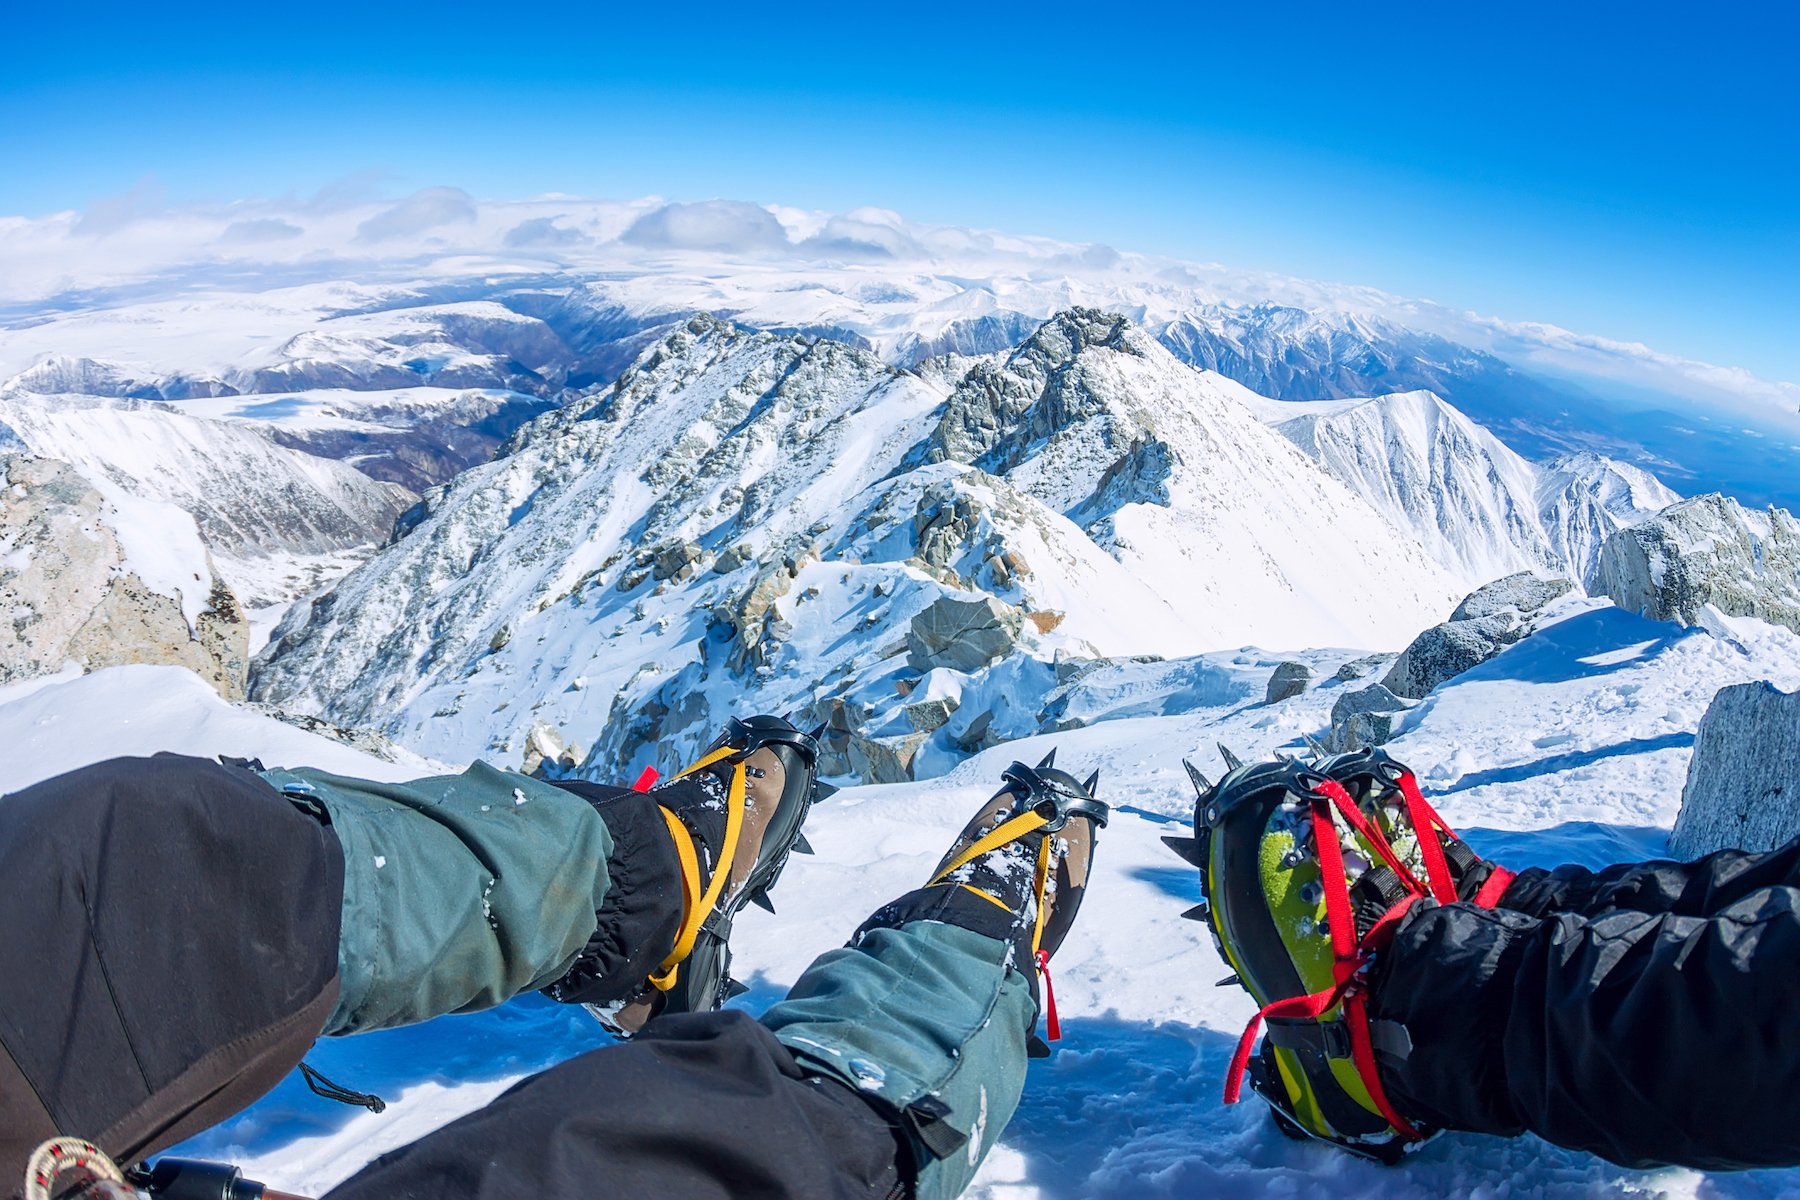
What are crampons? Well, we did kind of mean what we said earlier. Crampons are the pointier, angrier version of snowshoes and skis. Where boards slide and snowshoes rest daintily on top, crampons are designed to dig their teeth into ice and snow. Or their points, as the “teeth” are technically called. Cue some joke about the point of crampons… This gives you secure step on icy ground or hard-packed snow where your feet would otherwise be all over the place. There are even more extreme versions designed specifically for ice climbing and steeper snow slopes.
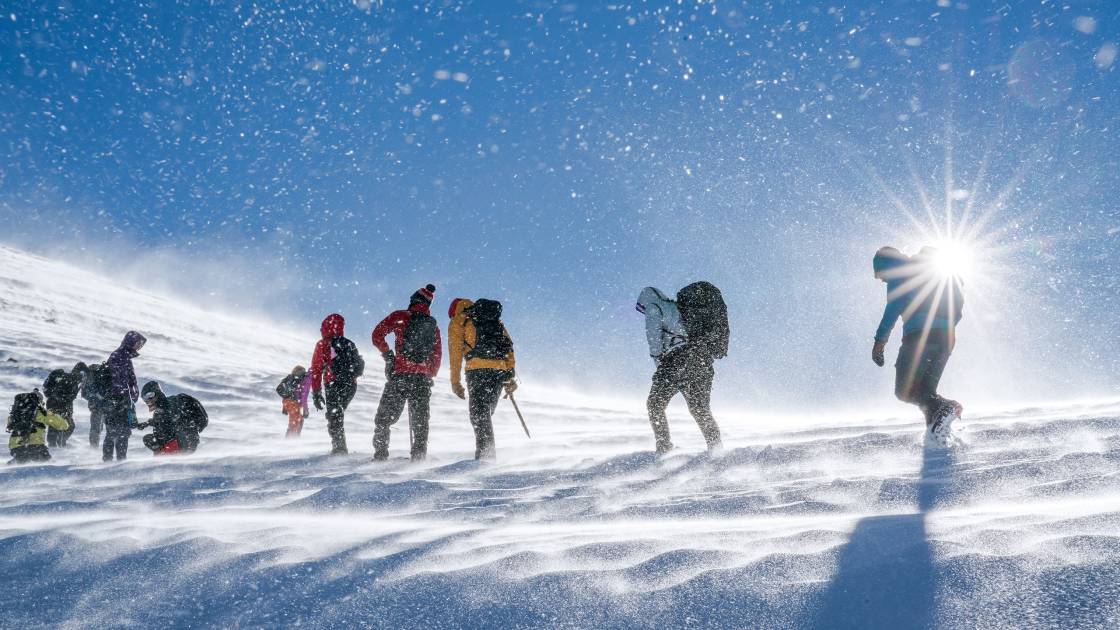
Crampons usually have 10 or 12 points – although some greedy ice climbing crampons will have 14 points. Typically 10 points all face downwards and then the extra two points stick out the front to make 12. Having front points are very useful for climbing steeper ground. The crampon points are made from metal, usually steel.
Depending on the snow you're walking on, the space between the points underneath your foot can get clogged up with snow. Like having the snowball equivalent of platform boots on your feet. Obviously, this means the points don't sink into the snow and keep you firmly attached. To solve this, many crampons now come with built in anti-balling plates.
What is a Crampon? The Parts Explained
There are a few key components that make up crampons. These can be divided into the 'base' which forms the bottom of the crampon and the 'binding system', which is what secures the crampon to your boot.
On the base, the crampon is formed by the grippy teeth (or 'points'), the anti-balling plates (which prevent snow accumulating below your feet) and the flex bar, which allows for movement.
On the binding system, you'll find some combination of a tether, heel clip and front cage, all of which are used to secure the crampon to your hiking boot.
When do I need to wear crampons?
If there is snow on the hills then it is a good idea to carry crampons with you - even if you're not sure you're actually need them. When you're unable to create safe steps in the snow easily, or you need more grip, that's when you need crampons.
Crucially, remember to put your crampons on before you get to this insecure ground, though, as you may otherwise be putting yourself in danger.
Will my boots be compatible with crampons?
Not all crampons are made equal. That is 100% deliberate and there are a few things you should know about crampon ratings before we get started. Just as hiking boots are rated B0, B1, B2 and B3, so are crampons rated C1 to C3. Incase you were sleeping through winter boots class, here’s a quick refresher:
- B0 are flexible three season hiking boots (often called “summer” boots). They typically have fabric or thin leather top parts and a bendy sole.
- B1 are four season hiking boots (often called “winter” boots). They typically have a thick leather top part and semi-stiff soles – you could bend them if you put some effort in.
- B2 are four season “mountain” boots. Yeah they’re technically for hiking too, but you want them for their really stiff sole and the ability to take C2 crampons (more on that later). Use these for travelling over glaciers, hut to hut alpine tours and moderate mountaineering or climbing in winter.
- B3 are completely rigid technical mountain boots. They’re often made of plastic on top and can take C3 crampons. Use these boots for high altitude mountaineering and hard or mixed ice climbing. Basically, these guys are super serious.
Types of crampons and how to tell the difference
Now, you would think that C1 crampons would fit B1 boots and so on. Well, it’s almost that simple. Ideally, if your boots are rated B2, crampons rated C2 are best. Similarly for boots rated B1, crampons work best if they're C1. The same for B3 and C3. Most importantly, there is no C0. You cannot wear crampons with flexible three season hiking boots. The crampons just say no and fall off. Let's run through each type of crampon and its special features.
C1 Crampons
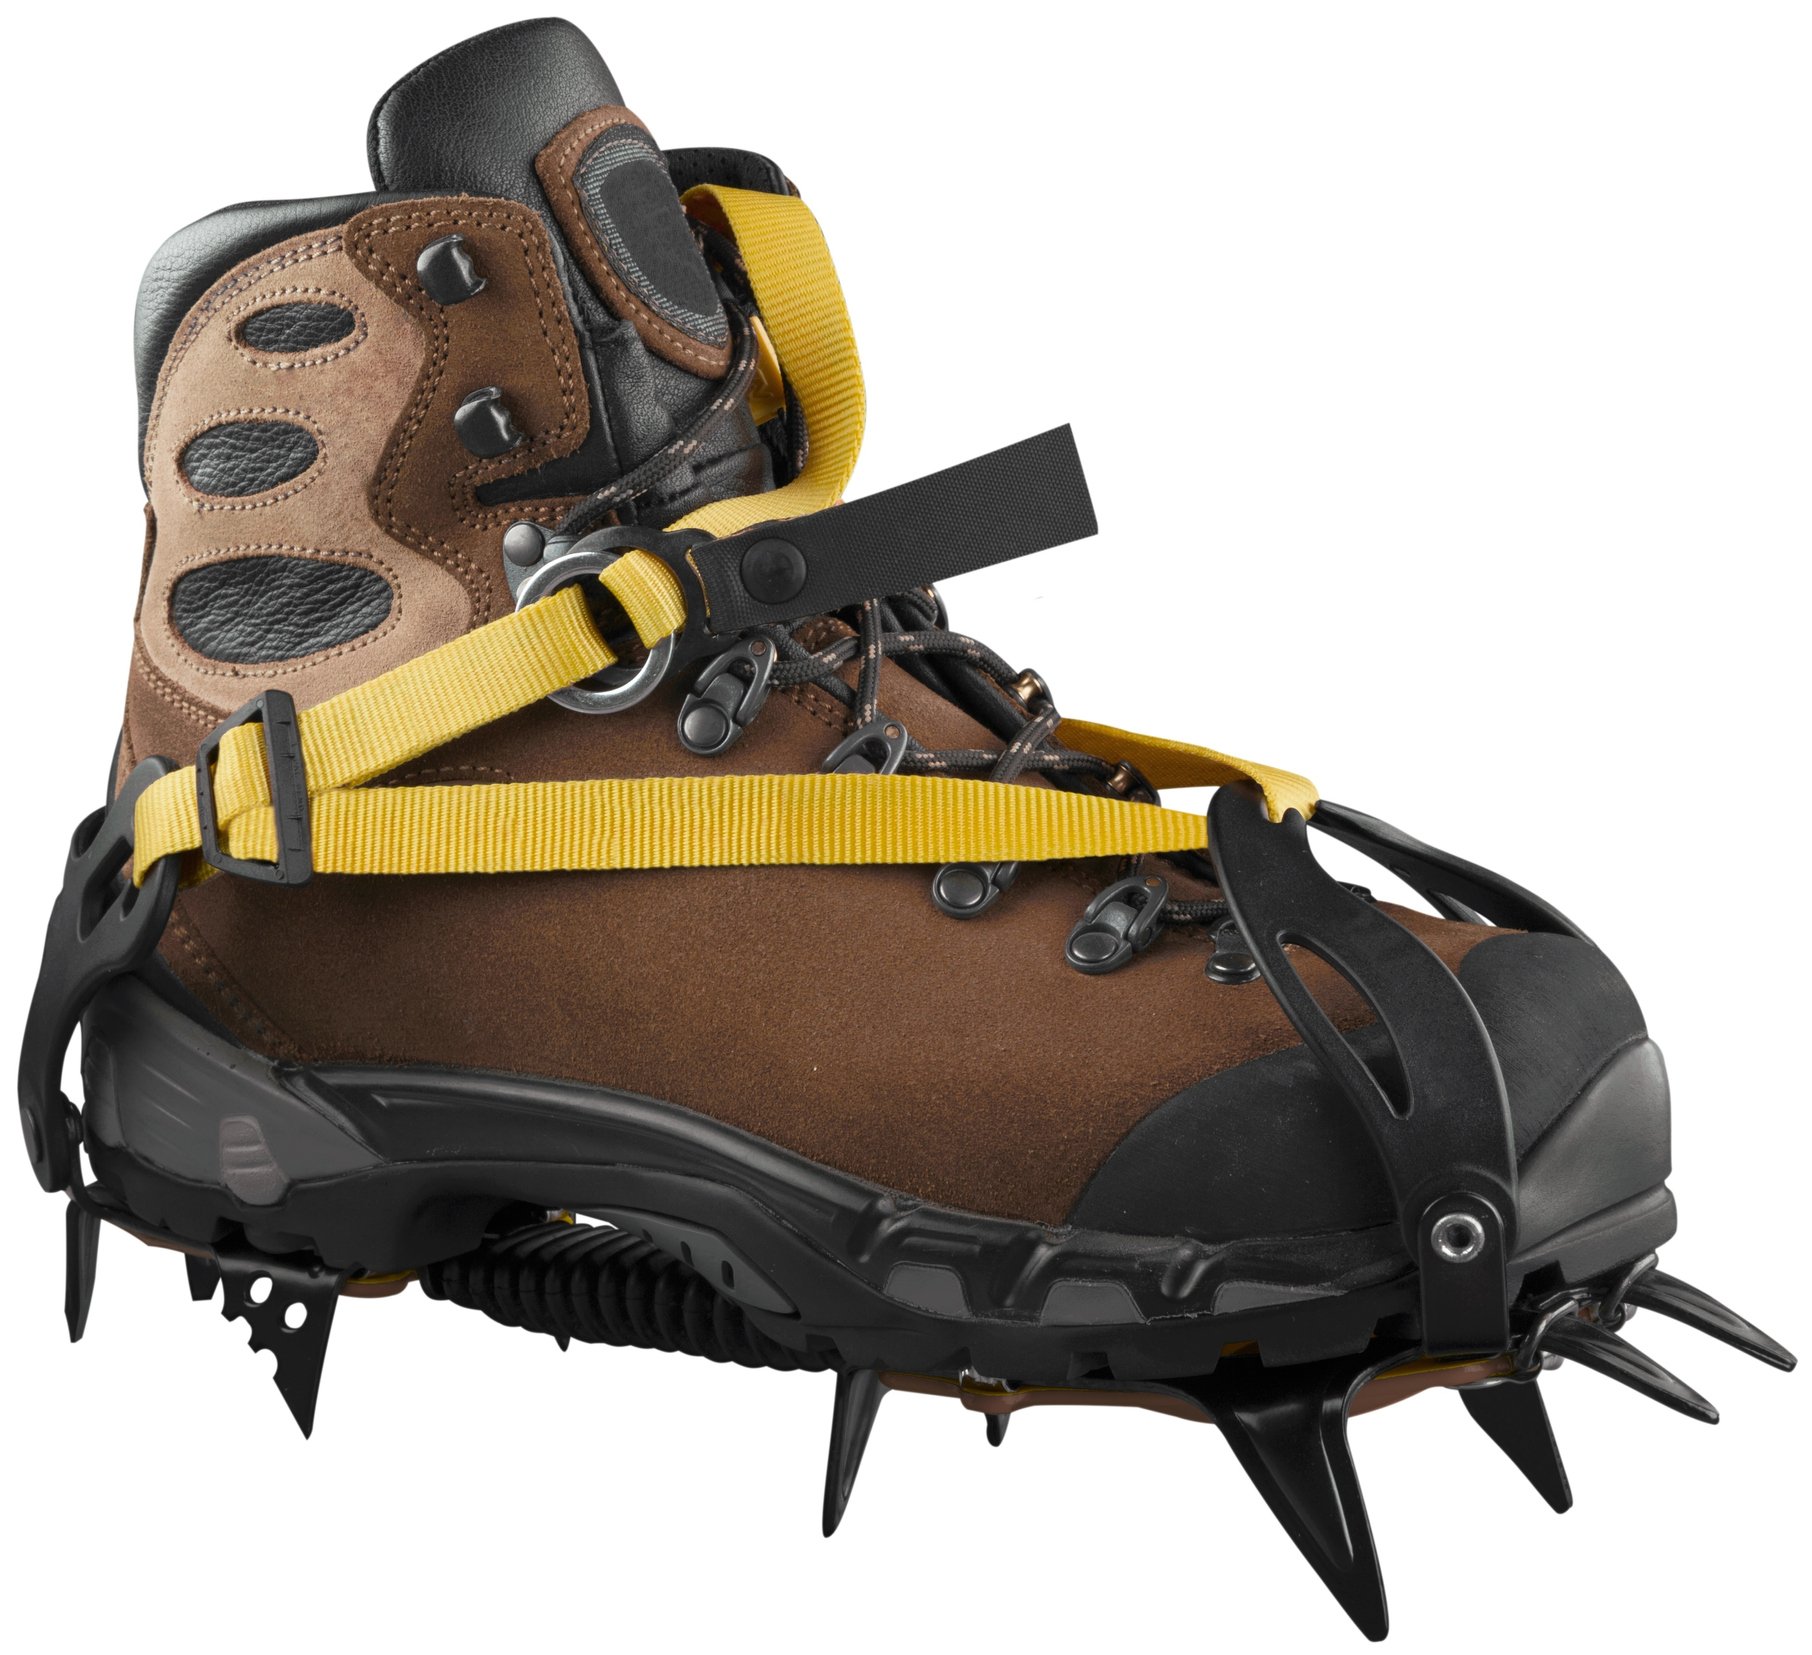
These crampons are known as basket binding or flexible crampons. They are designed to fit boots that are fairly flexible, but will still fall off if you wear them on flexible summer hiking boots. Basically, if your boot bends so much when you take a step that it can wiggle its way out of the crampon, then you’ll need stiffer boots. Hiking boots described at “four season” (aka B1) will do the job nicely. C1 crampons are held to your boot by a plastic “basket” that you step into and then tighten up the straps. Unlike other types of crampons, your boots don’t need to have specific crampon features.
C2 Crampons
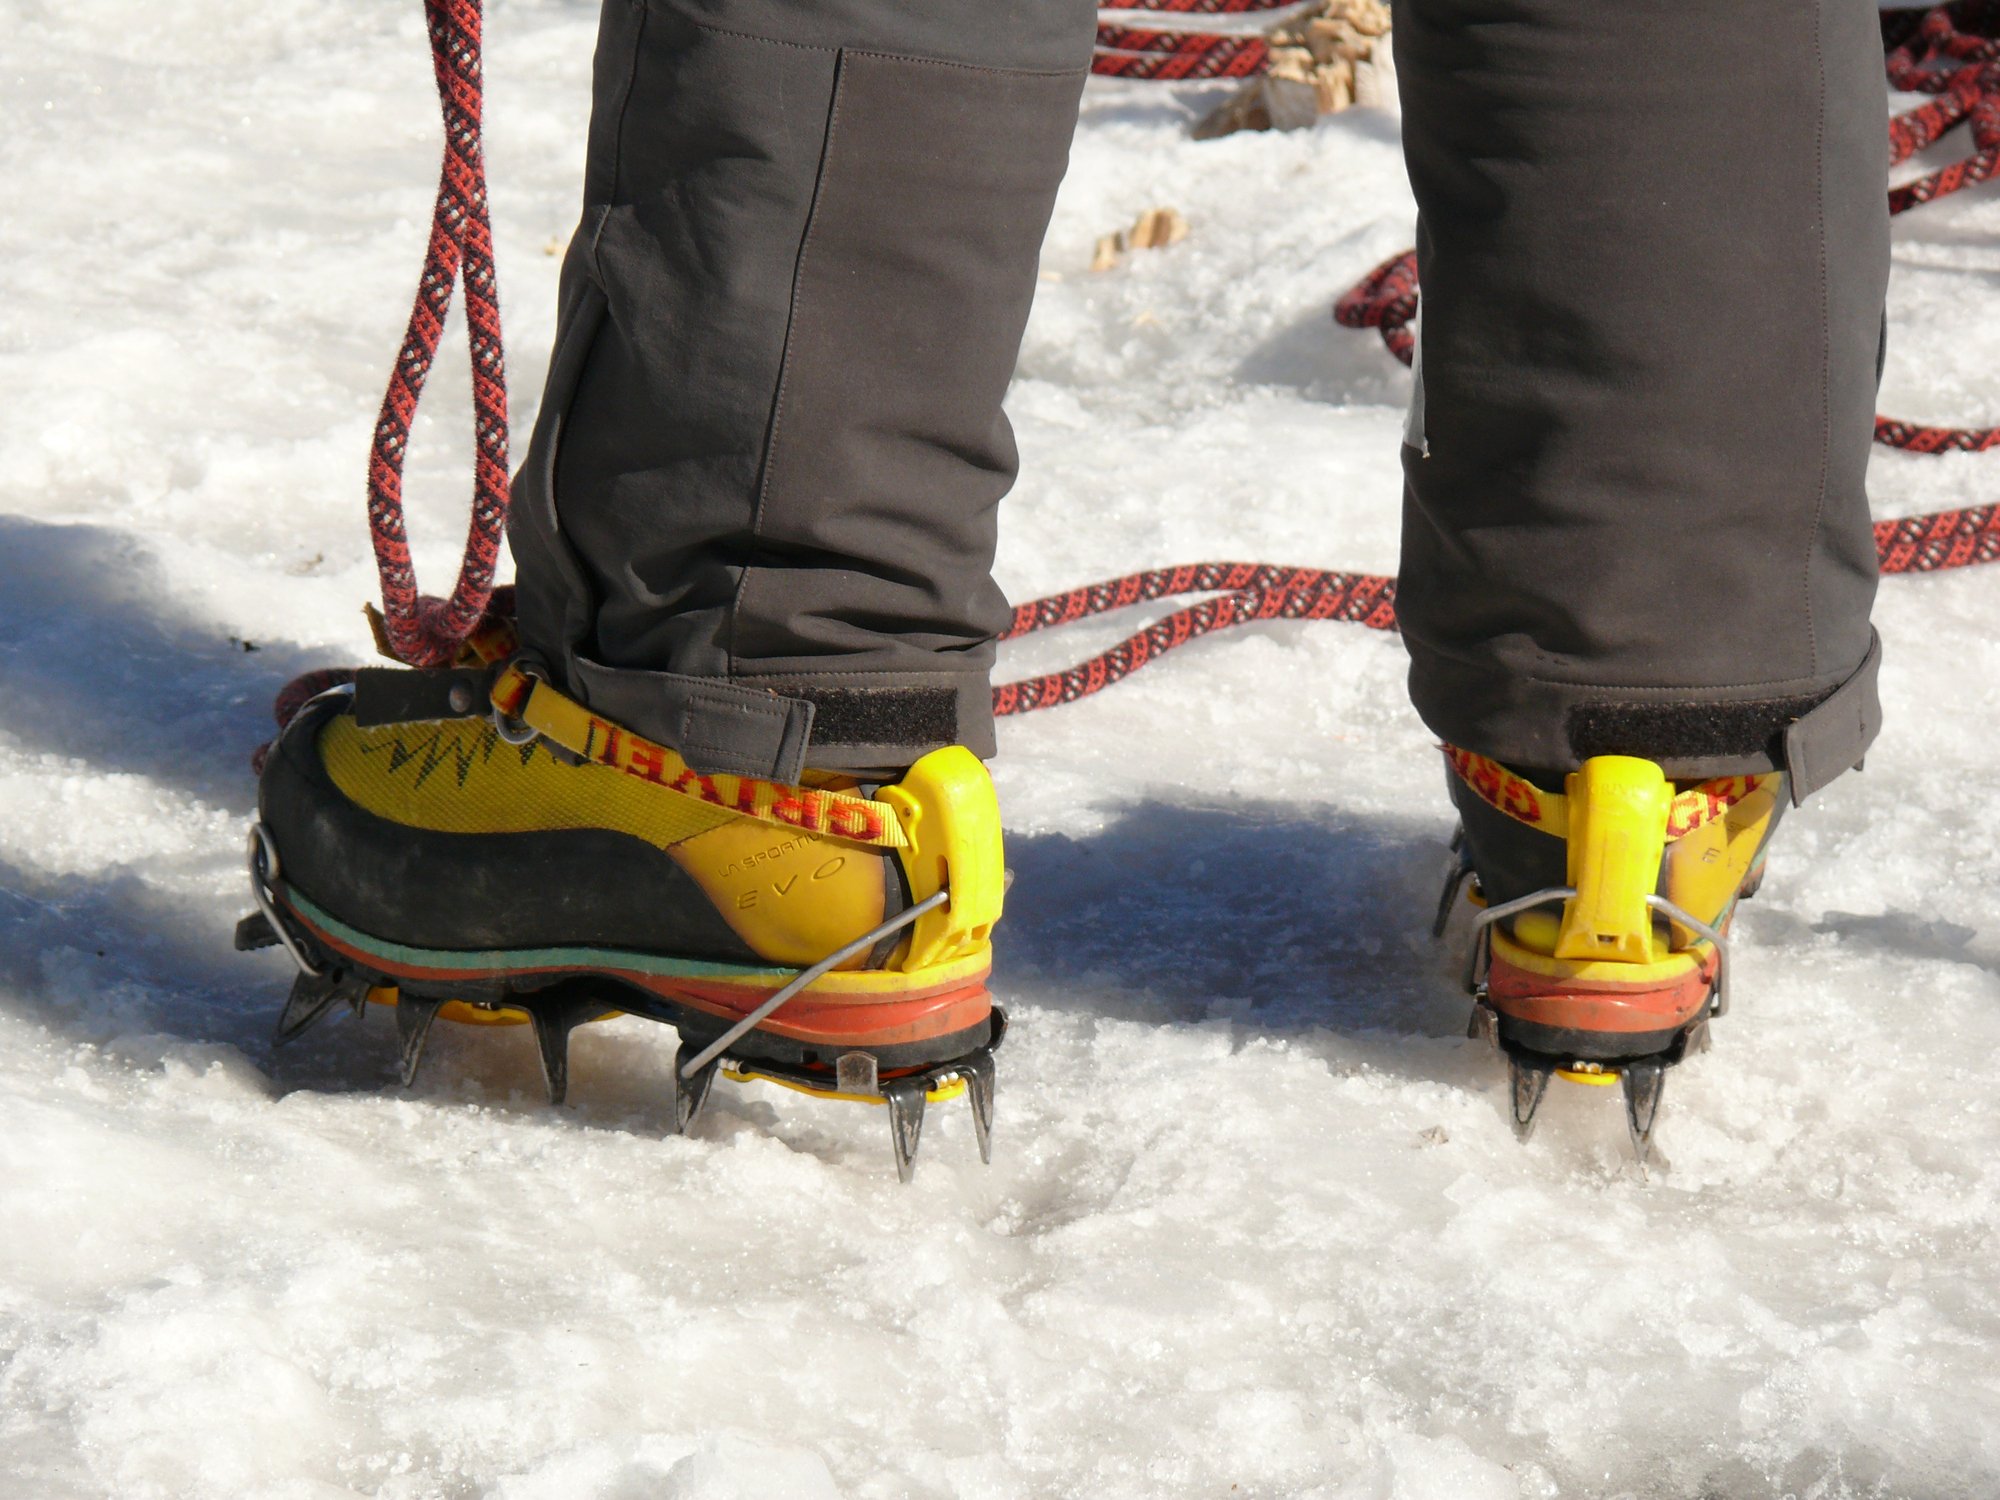
C2 crampons are designed for stiffer boots – which typically have a metal bar inside the sole. That’s how stiff they are! These boots are often called B2s and because they are stiffer, the C2 crampon can be stiffer too. Notice that the most important difference between C1 and C2 crampons is that C2s have a clip system on the back. This is often called a heel lever. Unless your boots have a special ridge on the back, designed for the crampon to clip into at the heel, you won’t be able to wear them.

These would be your crampons of choice for steep winter walking or scrambling and for medium-angled ice or snow slopes. For example, winter mountaineering in Scotland (but not ice climbing) or traversing glaciers.
C3 Crampons
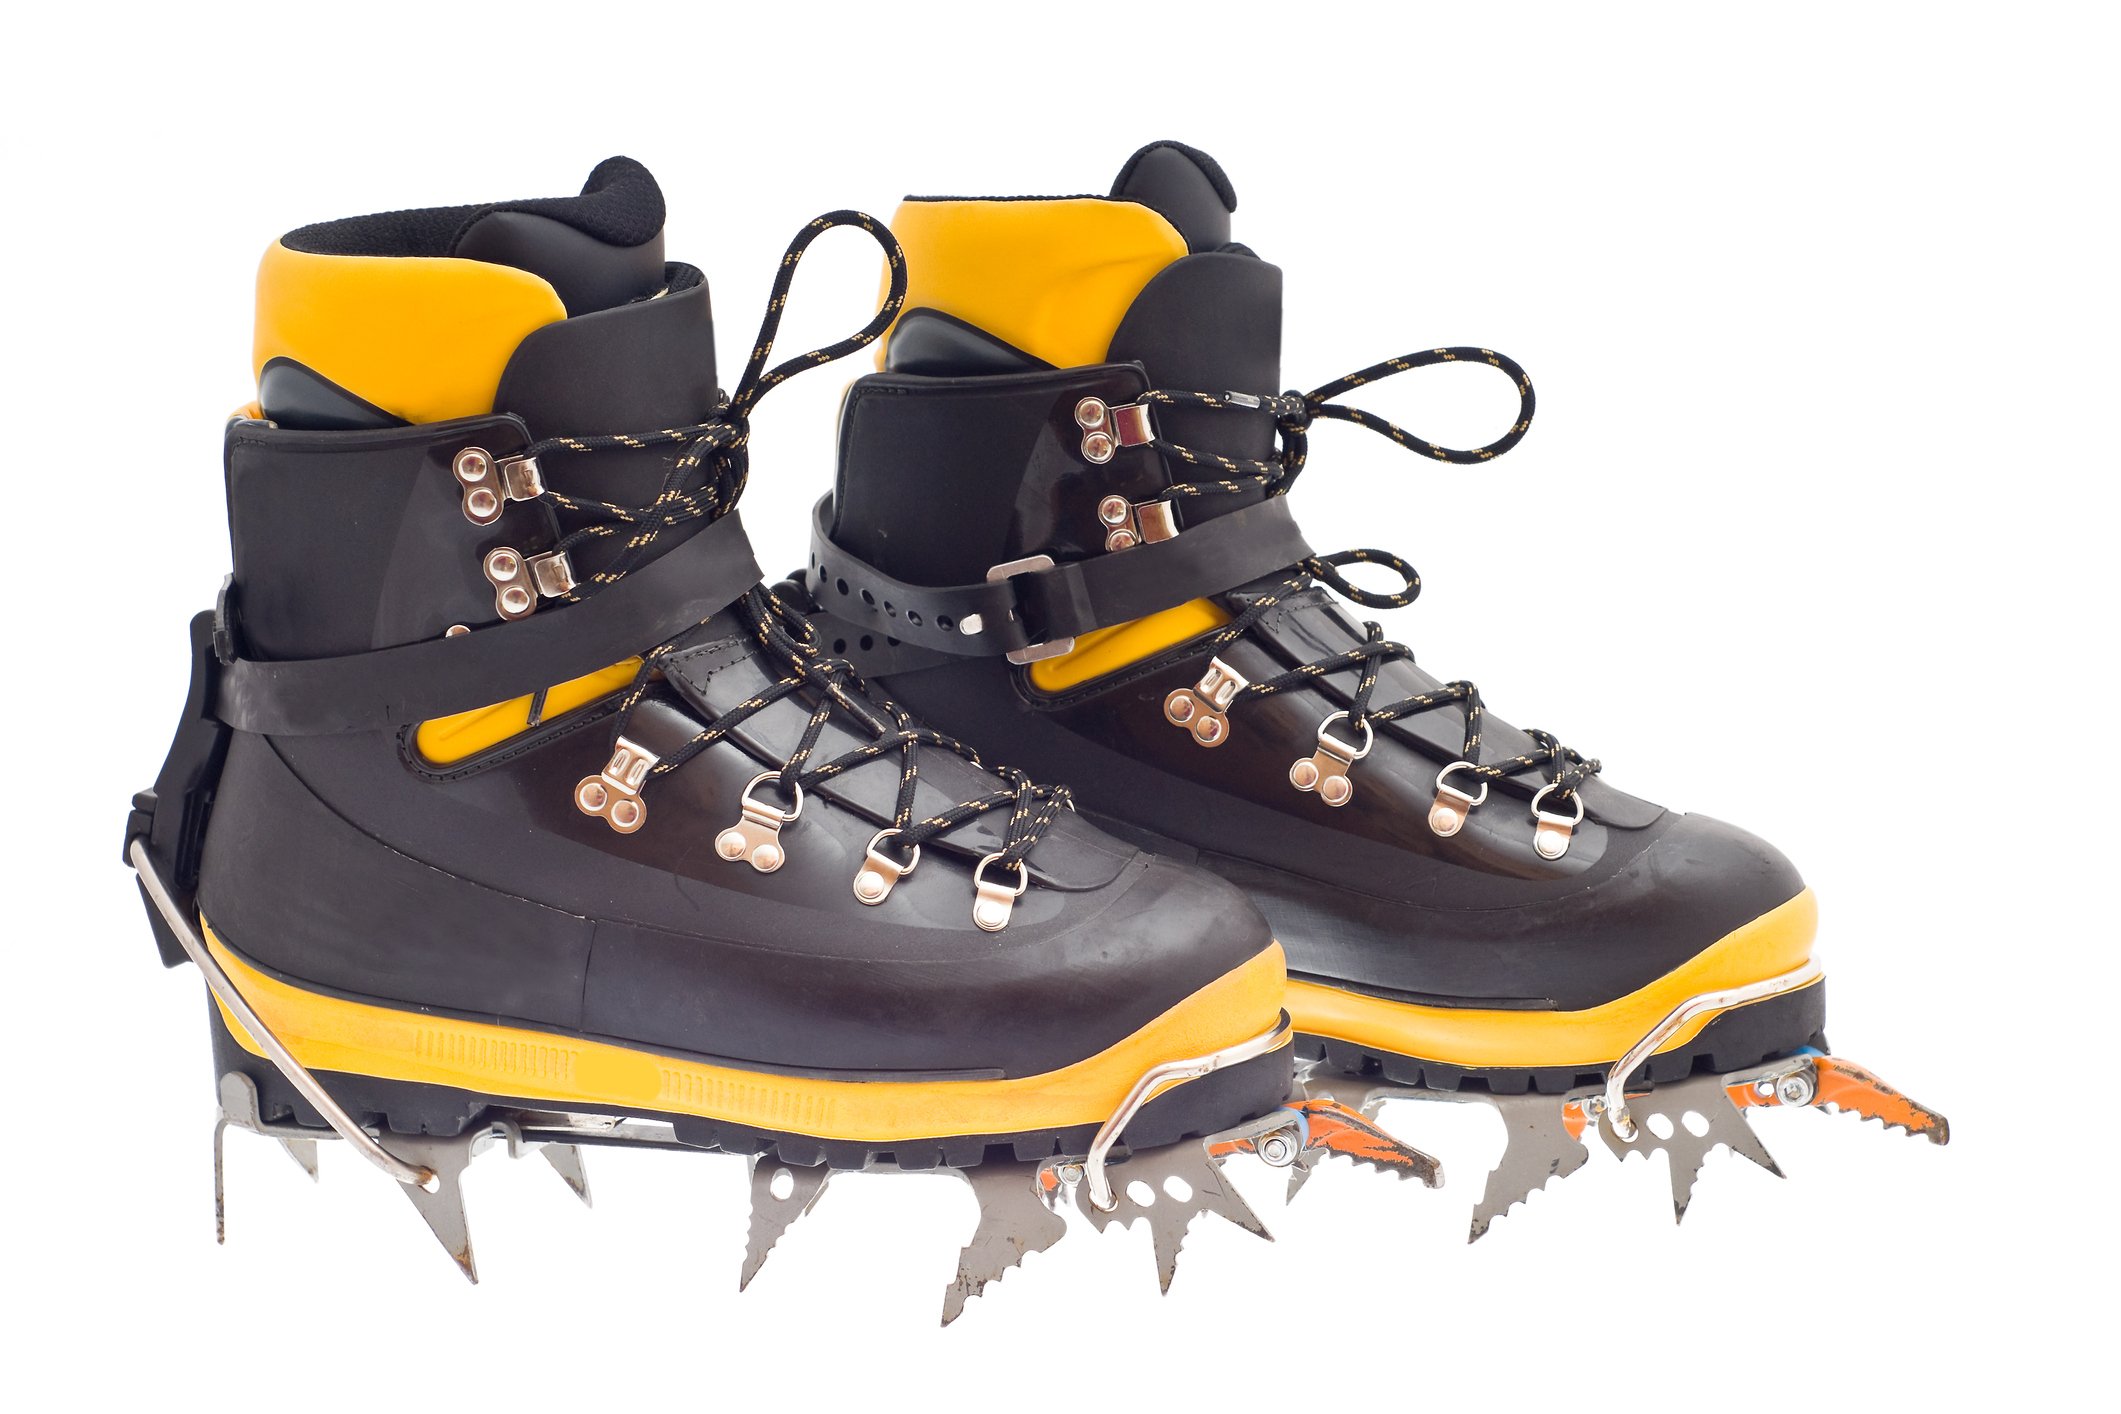
Last up, C3 crampons are the stiffest and most specialised of the lot. Not only do your boots need a ridge for a crampon clip at the heel, but they also need a ridge at the toe end for the front crampon bar. You can probably guess the rest. These crampons are very stiff and so you boots need to be the stiffest you can get: B3 boots – many of which are made of hard plastic. Fun fact, they’re often made in two different colours to make it easier to teach. “Move your red boot” is somehow less ambiguous than “Move your left foot”. Go figure.
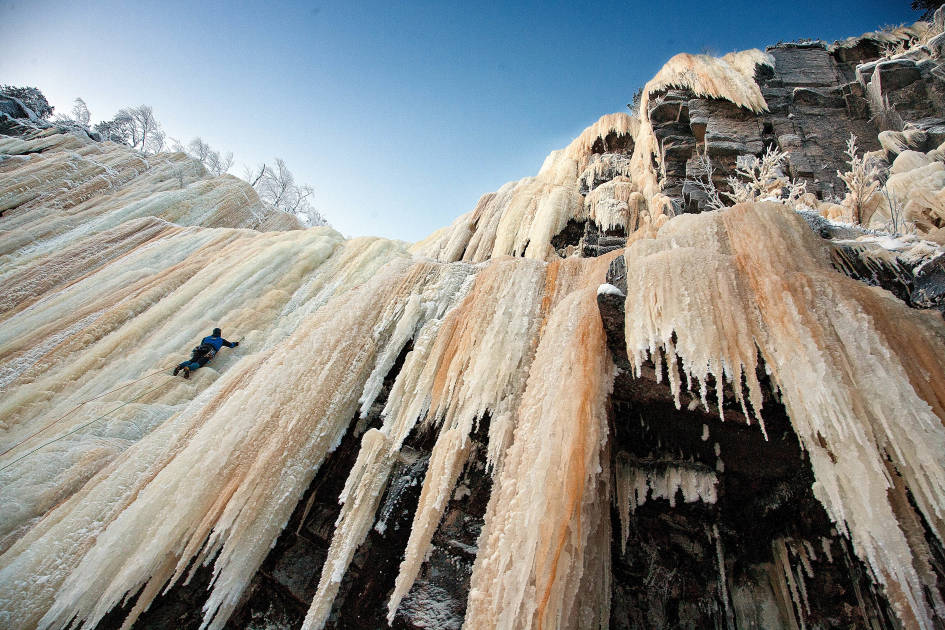
C3s are your crampons of choice for steep snow and ice slopes, or vertical and overhanging rock and ice climbing. Basically, winter climbing. Also if you’re climbing one of the Seven Summits, or a really high peak (we’re talking 5000m+) you’ll probably want to be wearing C3 crampons.
Where can I bend the rules?
Ideally, you want to match C1 crampons with B1 boots and so on. But, depending on your activity, you can mix and match a little bit. For example, it is always possible to put a flexible crampon on a stiffer boot. You could put a C1 crampon on a B2 or B3 boot. But that doesn’t mean it’ll be any use for your activity! Say you went for the C1 – B3 combination, that doesn’t mean you can go and do vertical ice climbing. Although they’ll fit on your B3 boots, the C1 crampons are just too flexible for ice climbing. If you really get the urge to try, make sure you’re top-roped for when the crampons start to fall off halfway up (been there, done that, got the t shirt…)! Actually, maybe just get the right boot and crampon combination in the first place.

At the opposite end of the scale, you could wear C3 crampons on B3 boots for just going on a winter walk with low-angled slopes. But actually that’s going to get really annoying quite quickly. The boots don’t bend, so you’re going to be clomping along like a hefallump. Plus you’re more likely to damage the crampons or have to stop and clear the snow out from under them.
Yep, we can see your eyes glazing over at all the numbers and letters. Rather than go through all the possibilities, here’s a handy table from Winter Skills by Andy Cunningham and Allen Fyffe (the official handbook for Winter Mountain Leaders in the UK).
| Crampon Usage | C1 | C2 | C3 |
|---|---|---|---|
| Walking on easy angled terrain | B1, B2, B3 – Good | B2, B3 – Acceptable | B3 – Poor |
| Steep walking and scrambling or mid-angled snow and ice slopes | B1 – not recommended B2, B3 – Acceptable |
B2 – Good B3 – Acceptable |
B3 – Acceptable |
| Steep (up to vertical) snow and ice, mid-grade climbing | B1 – No! B2, B3 – Acceptable |
B2 – Acceptable B3 – Good |
B3 – Good |
| Vertical or overhanging rock and ice climbing | B1, B2 – No! B3 – Poor |
B2 – Poor B3 – Acceptable |
B3 – Good |
How to wear and walk in crampons
Using crampons is fairly straightforward. The biggest hazard is that you’ve got lots of sharp pointy things attached to your feet, but we’ll get to that in a minute.
Step one: you’re going to need to put the crampons on. Take the crampons out and put them points down into the snow. You should be able to tell which crampon is left and which is right based on a slight curve of the middle bar… Or someone might have conveniently written left and right on them!
We’re also assuming that you’ve sized up the crampons to make sure they fit your boots before you’ve hit the snow slopes. Definitely worth doing – and if you’re with a guide, they’ll help you adjust the crampons to fit your boots beforehand.
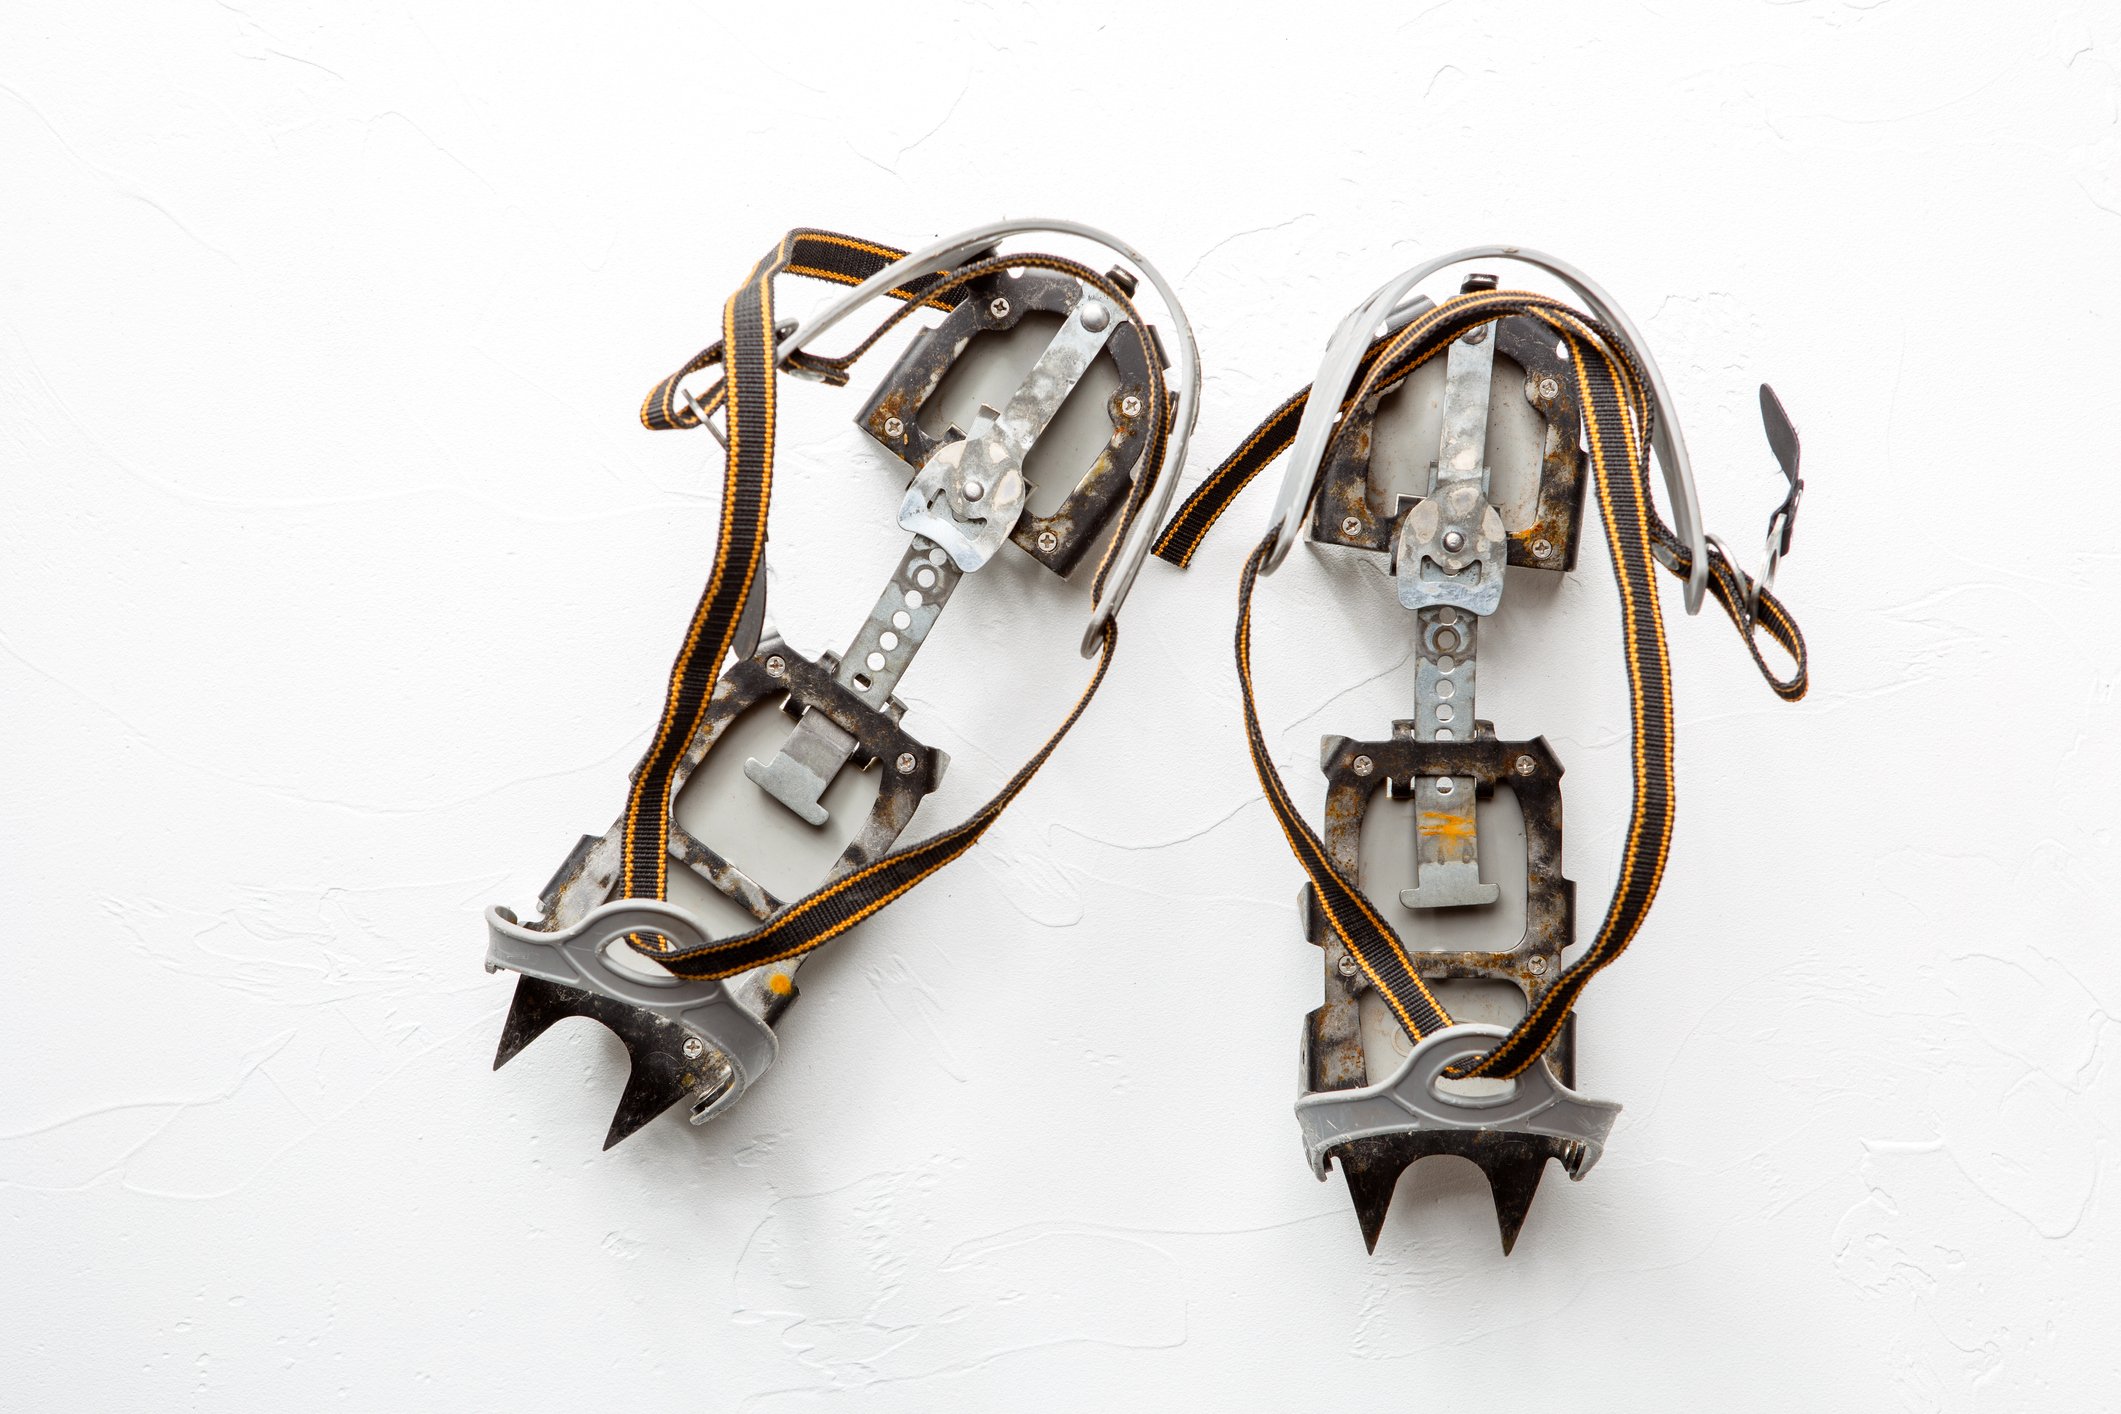
Right, you’ve got your crampons on the snow in front of you. Now fold all the straps and clips outwards, so nothing’s obstructing the space for your foot to go into. Step in toe first, then make sure your heel is snug to the back of the crampon. Fold the bars, straps and clips back up around your boot. Clip your heel in and then do all the straps up tightly. You will need to make a knot to tidy away any excess straps. Then do the same with the other foot.
Yippee, now you’re wearing crampons! The classic next move is to try to take a step, get a point caught on your clothing and trip over. This is even more common for 12 point crampons and gives you real empathy for Medieval courtiers with pointy shoes.
When walking with crampons, remember to walk with your legs slightly further apart than normal to avoid this trip hazard! People tend to say “walk like John Wayne” which makes sense if you like binge watching really old cowboy movies. The front points also mean there’s no room for shuffling. Imagine your former-teacher-of-choice shouting, “Pick your feet up!” after you. Be warned you may slice open your waterproof trousers or gaiters while you get the hang of the technique, so don’t wear really expensive ones!
Read more:
- How to Pack and Prepare for a Cold Weather Adventure
- How Can I Motivate Myself to Adventure in the Cold?
- The Best Winter Hiking Boots: What to Look for When Buying
Ready to test your skills in crampons? Check out our Sub Zero Adventures and Mountain Climbing Adventures. Or even join a winter skills course in Scotland to improve your crampon waddle.


