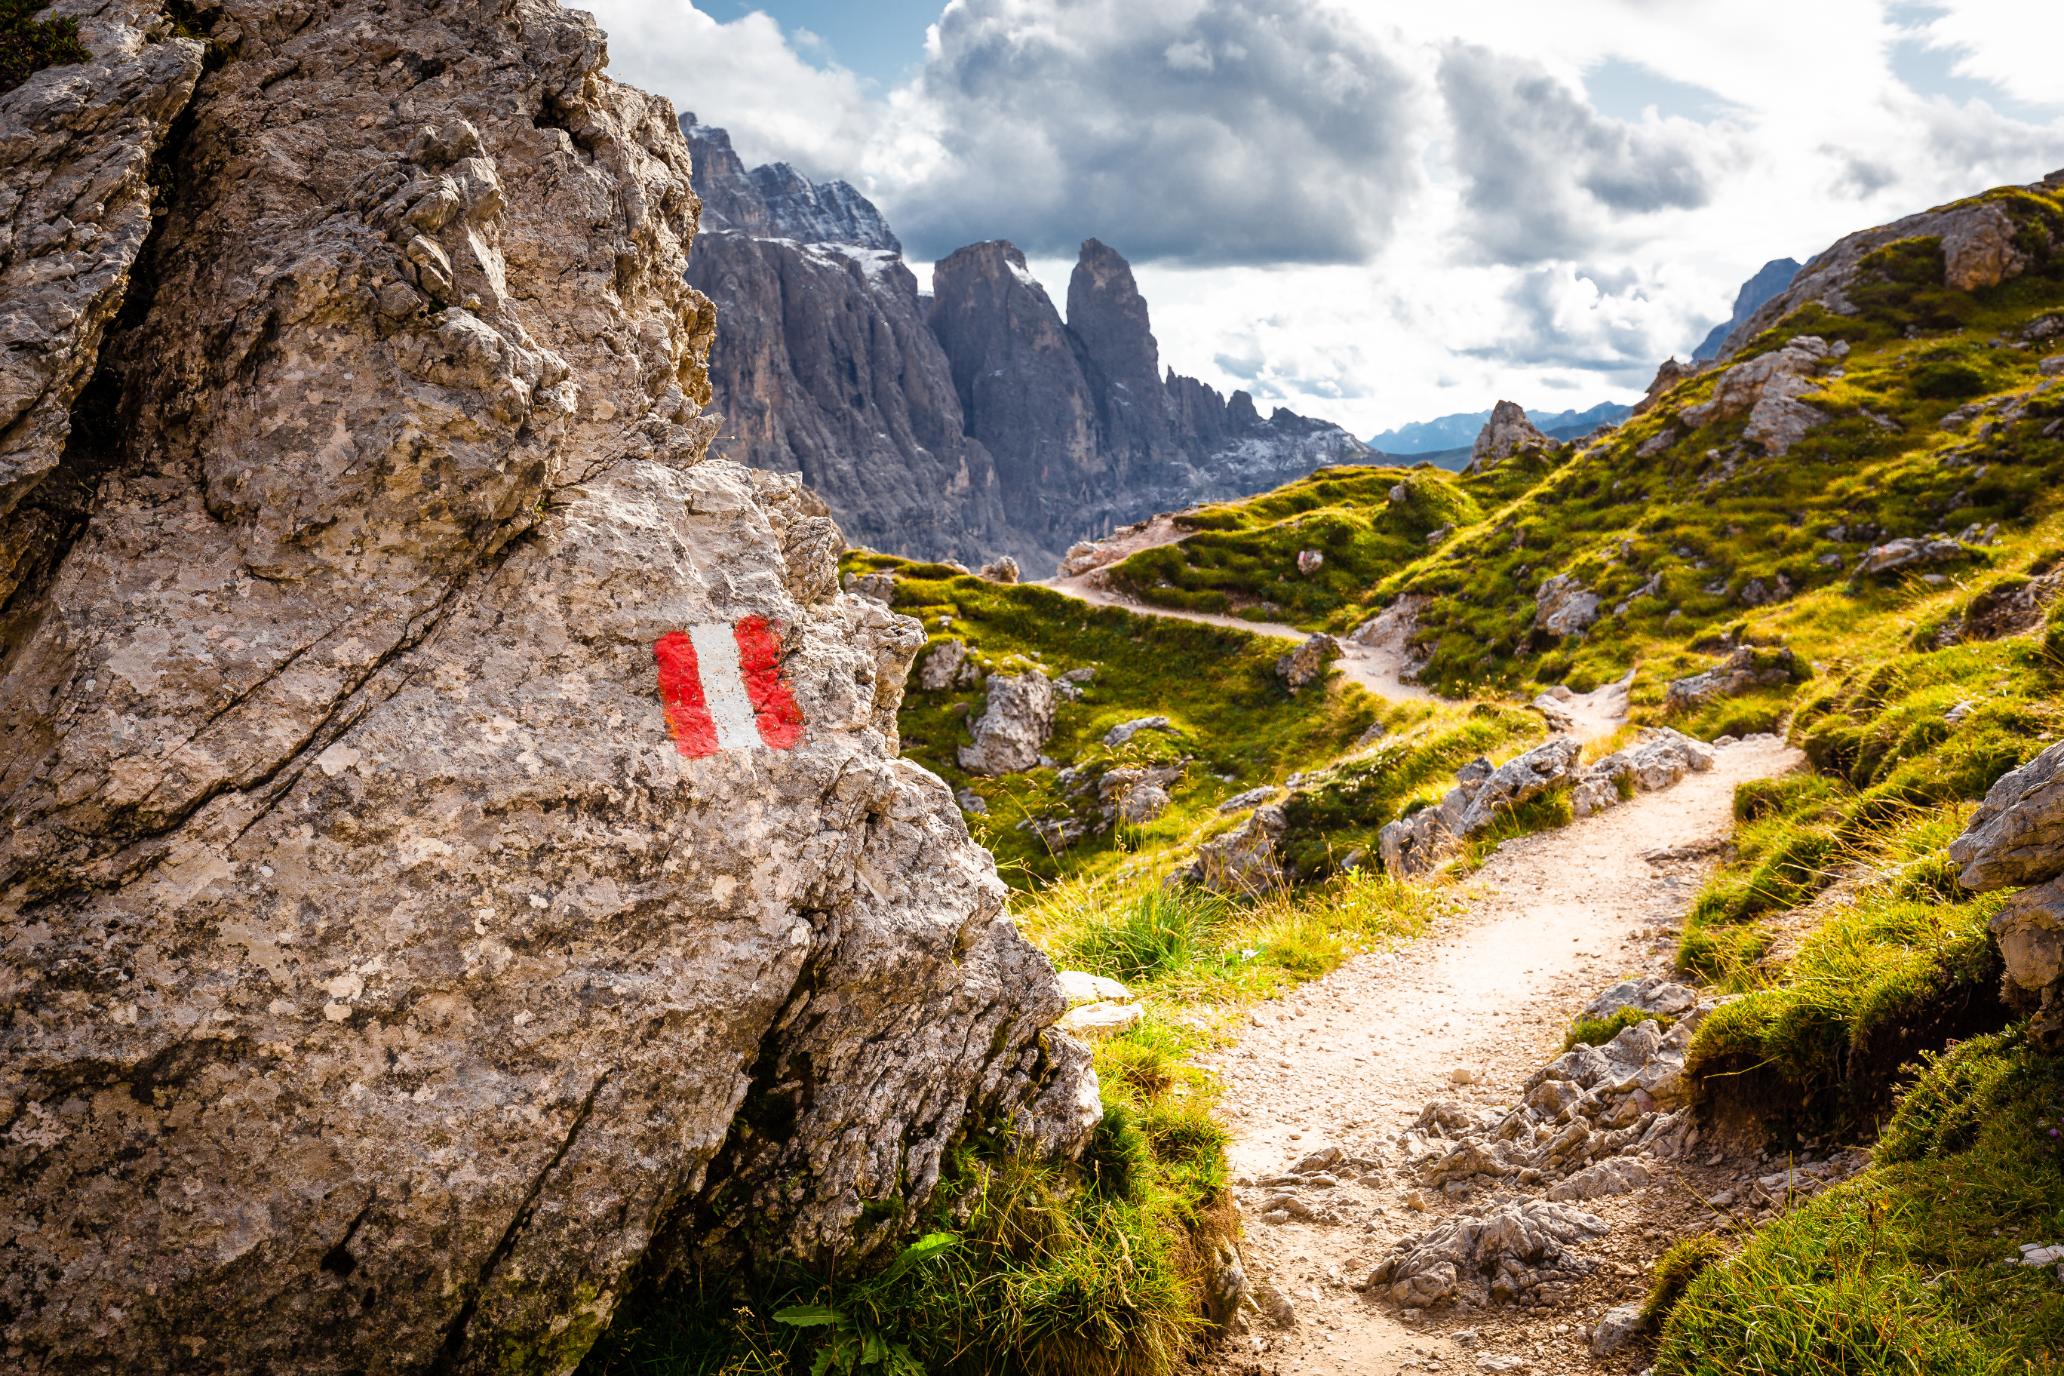
Sheer limestone walls towering overhead, high-altitude ridges that test your nerve and remote mountain huts – this is the Alta Via 2, one of the most challenging and rewarding multi-day hikes in the Dolomites. If the Alta Via 1 is considered the Dolomites’ scenic grand tour, the Alta Via 2 is its wilder counterpart – longer, steeper, and demanding a higher level of experience and endurance.
The 108 mile (174km) trek begins in the medieval town of Bressanone (Brixen) in South Tyrol, and snakes south through the dramatic landscapes of the Puez-Odle, Sella, Marmolada and Pale di San Martino ranges before finishing in the foothills above Feltre. Along the way, hikers will tackle exposed ridgelines, climb via ferrata routes secured with iron cables and navigate technical alpine terrain.
The majority of the Alta Via 2 is between 2,000m to 3,000m of elevation. You need to be an experienced hiker, someone who doesn’t suffer from vertigo
The scenery is spectacular. Think spires of pale limestone glinting in the sunrise, flower-strewn meadows and the white glint of glaciers. Best of all is its sheer wildness, from plunging gullies to lunarlike boulder fields. This is a trail that demands respect. Weather conditions can shift suddenly, rockfall is a hazard and sections of the route require not just physical stamina but mountaineering know-how.
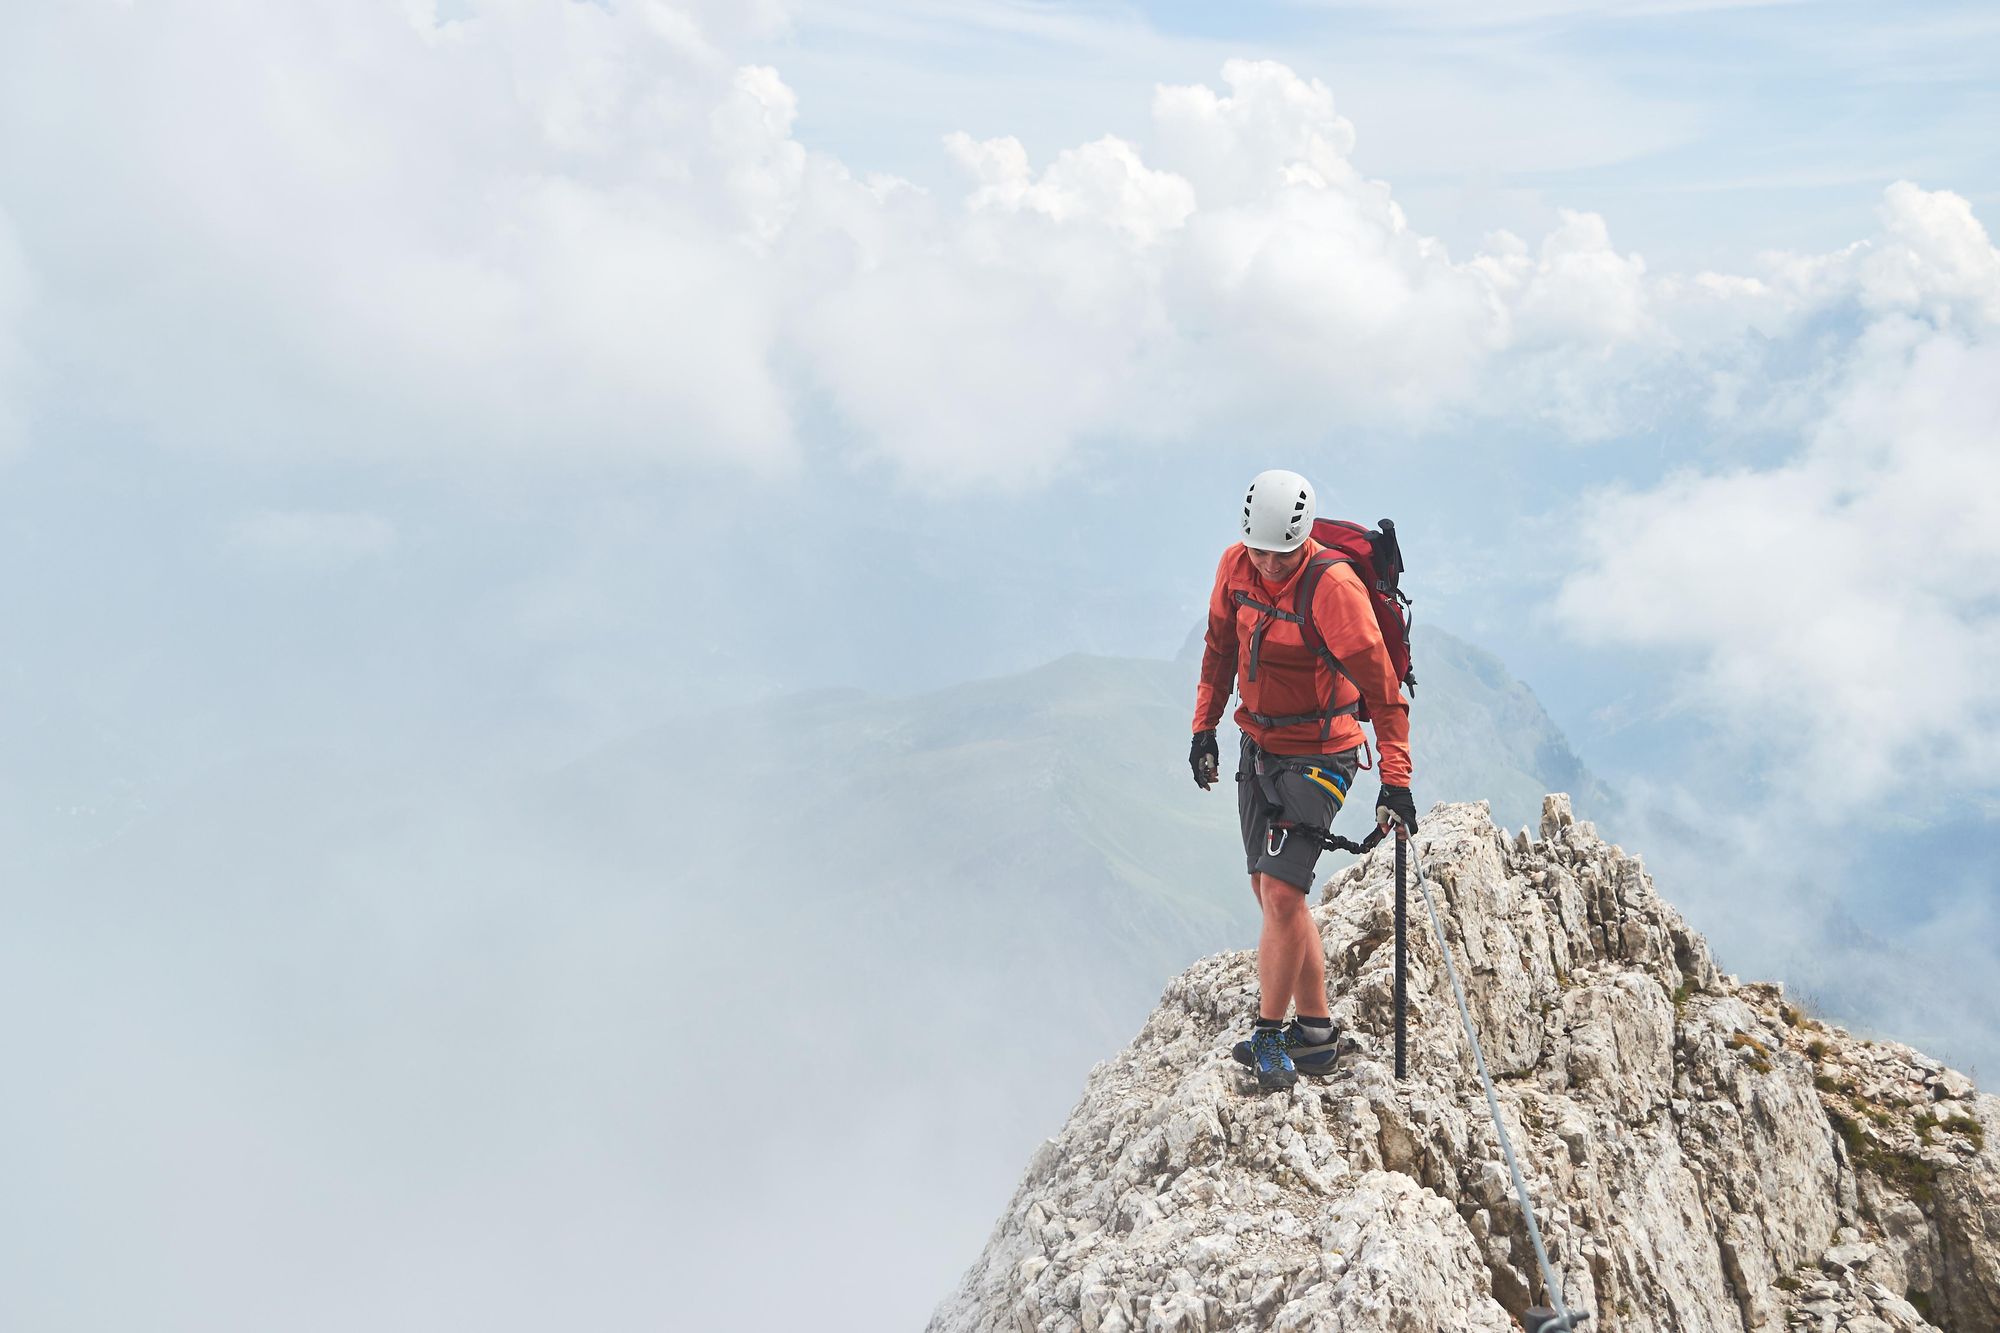
“The majority of the Alta Via 2 is between 2,000m to 3,000m of elevation,” says Miki Anastasio, a hiking guide in the Dolomites. “You need to be an experienced hiker, someone who doesn’t suffer from vertigo and is good at route-finding.
“The final stages of the hike are challenging. After the Rifugio Rosetta there’s a short exposed crossing, equipped with wire ropes, which leads us to Treviso refuge, to Passo Cerèda, to Cerèda refuge and Bivouac Feltre – you must bring food and water with you. From Refugio Bruno Boz to Rifugio Dal Piaz, there is nowhere to refill water, so you have to carry water with you. It’s important to be prepared.”
Ready to take on the most demanding of the Dolomites' high routes? Here’s everything you need to know.
Alta Via 2: Map and Basics
- Distance: 108 miles (174km)
- Walking time: 10 - 15 days
- Elevation gain: 11,650m (38,222ft)
- Highest point: 2,896m (9,499 ft)
How Difficult is the Alta Via 2?
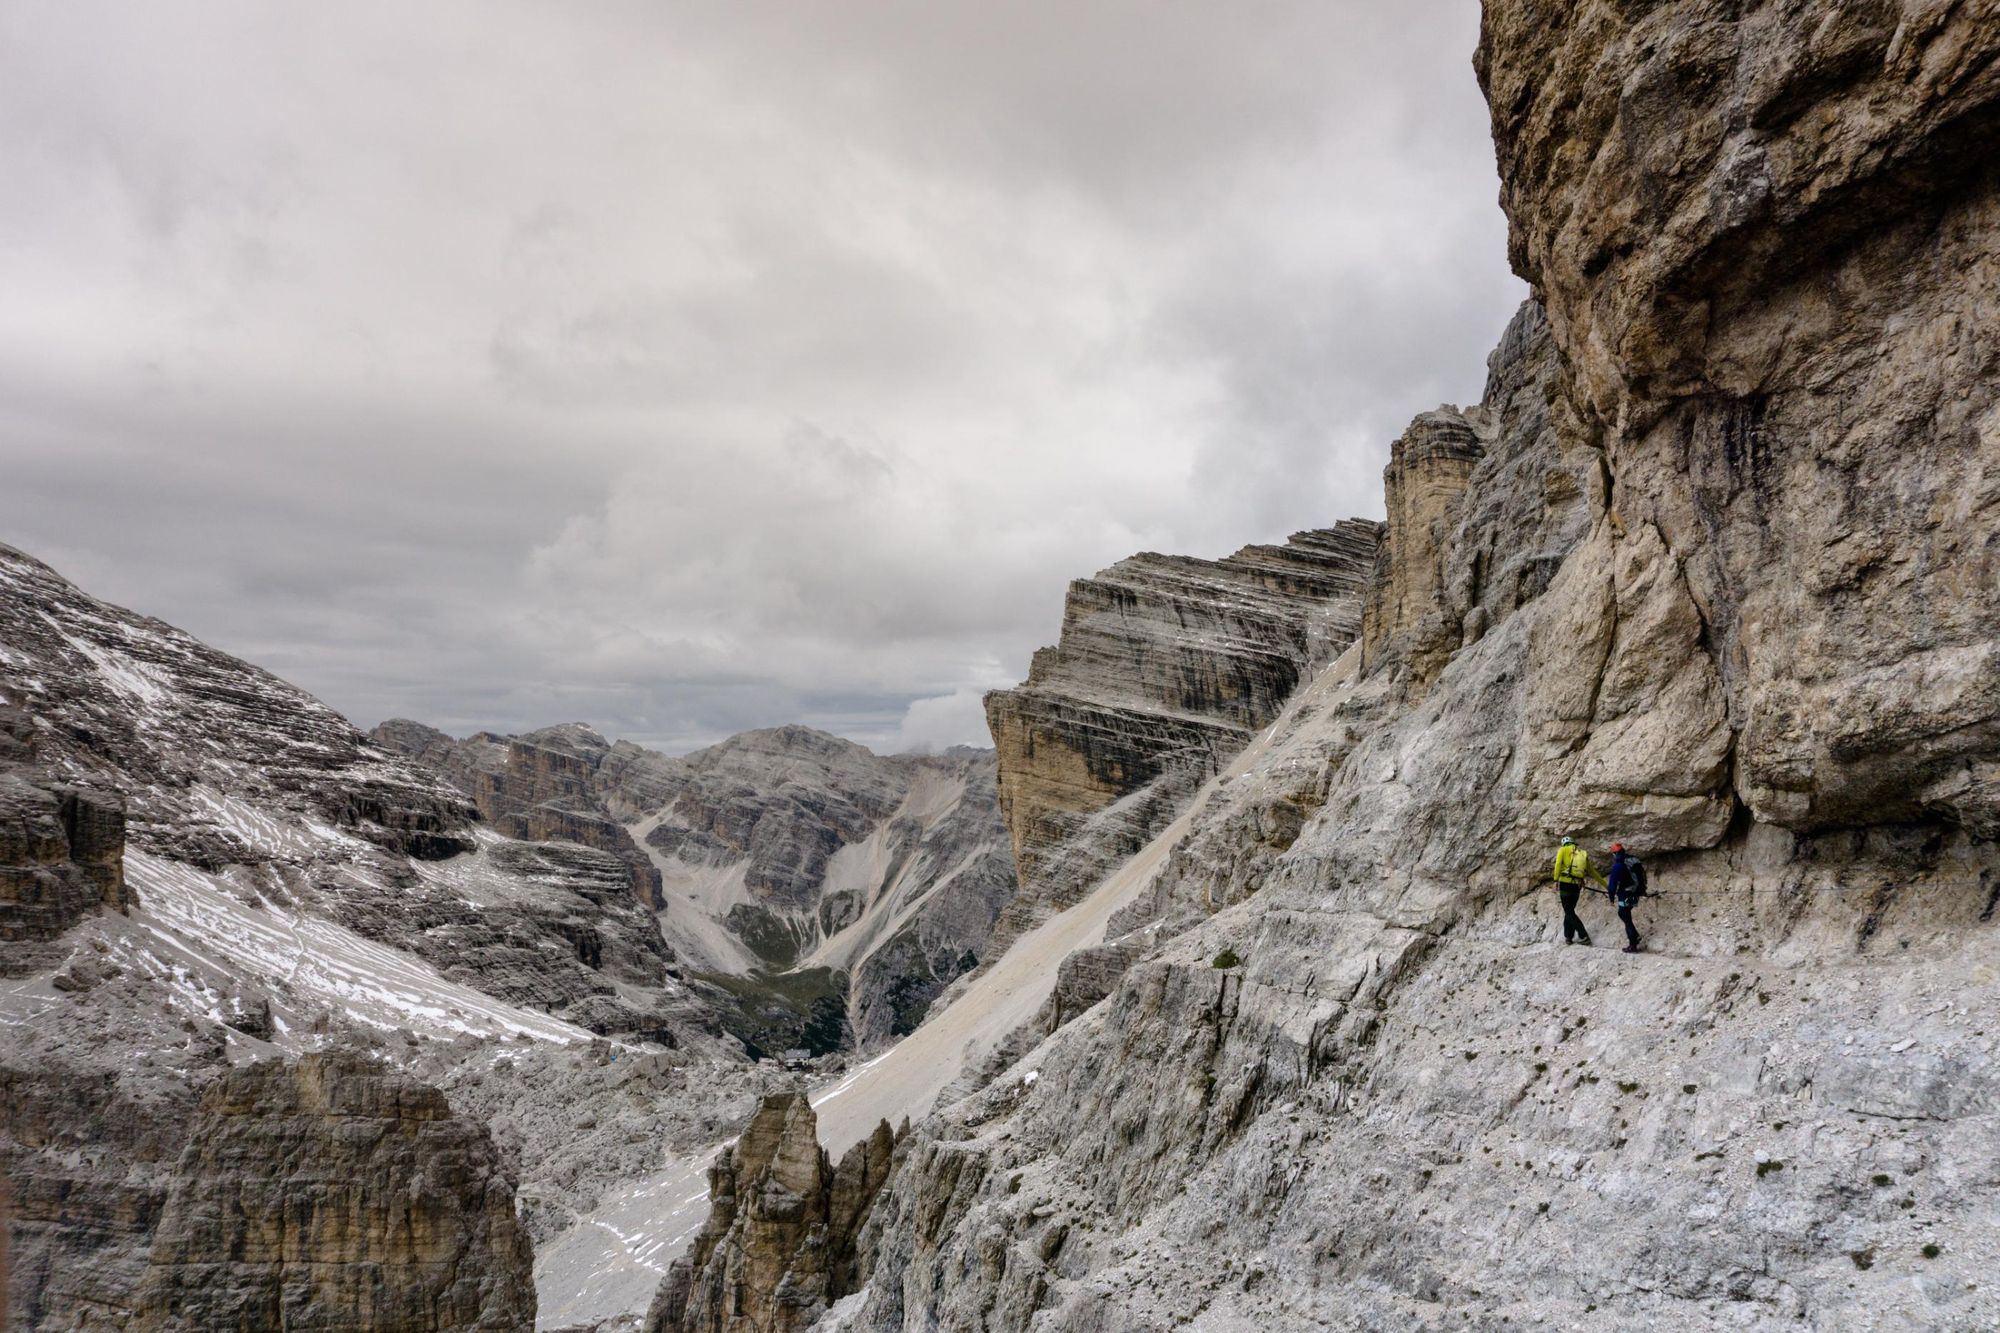
The Alta Via 2 is one of the most challenging long-distance hikes in the Dolomites. It spans 108 miles (174km) and takes 10 to 15 days to complete. The route includes exposed ridges, steep ascents and via ferrata sections, requiring experience in alpine hiking and good physical fitness.
“You also need mountaineering knowledge to tackle some very tough sections along the route,” Miki says. “We used to do treks along the Alta Via 2 but we stopped; people arrived and they weren’t properly trained. You have to be very experienced.”
We used to do treks along the Alta Via 2 but we stopped; people arrived and they weren’t properly trained
If this sounds like it too challenging, check out our Guide to Trekking the Alta Via 1, a slightly-less technical, but also beautiful multi-day trek in the Dolomites.
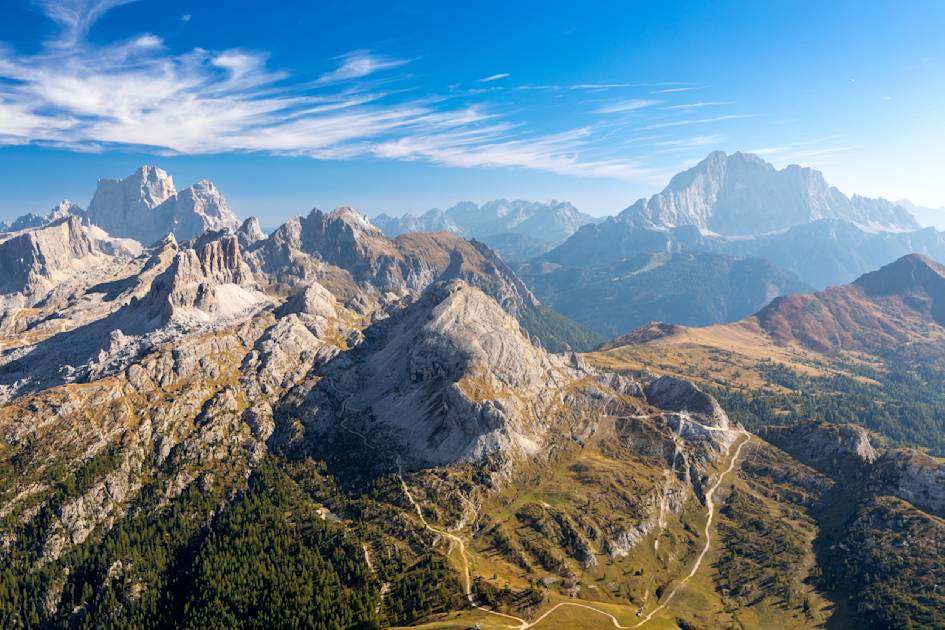
The Alta Via 2 Route
We’ve divided the Alta Via 2 into 13 stages. For more detailed information on the route, and maps for each stage, we recommend reading Cicerone’s Alta Via 2 - Trekking in the Dolomites.
Stage 1: Bressanone (Brixen) to Rifugio Plose
- Distance: 7.4 miles (12km)
- Walking time: 5-6 hours
- Ascent: 1,910m (6,266ft)
- Descent: 20m (66ft)
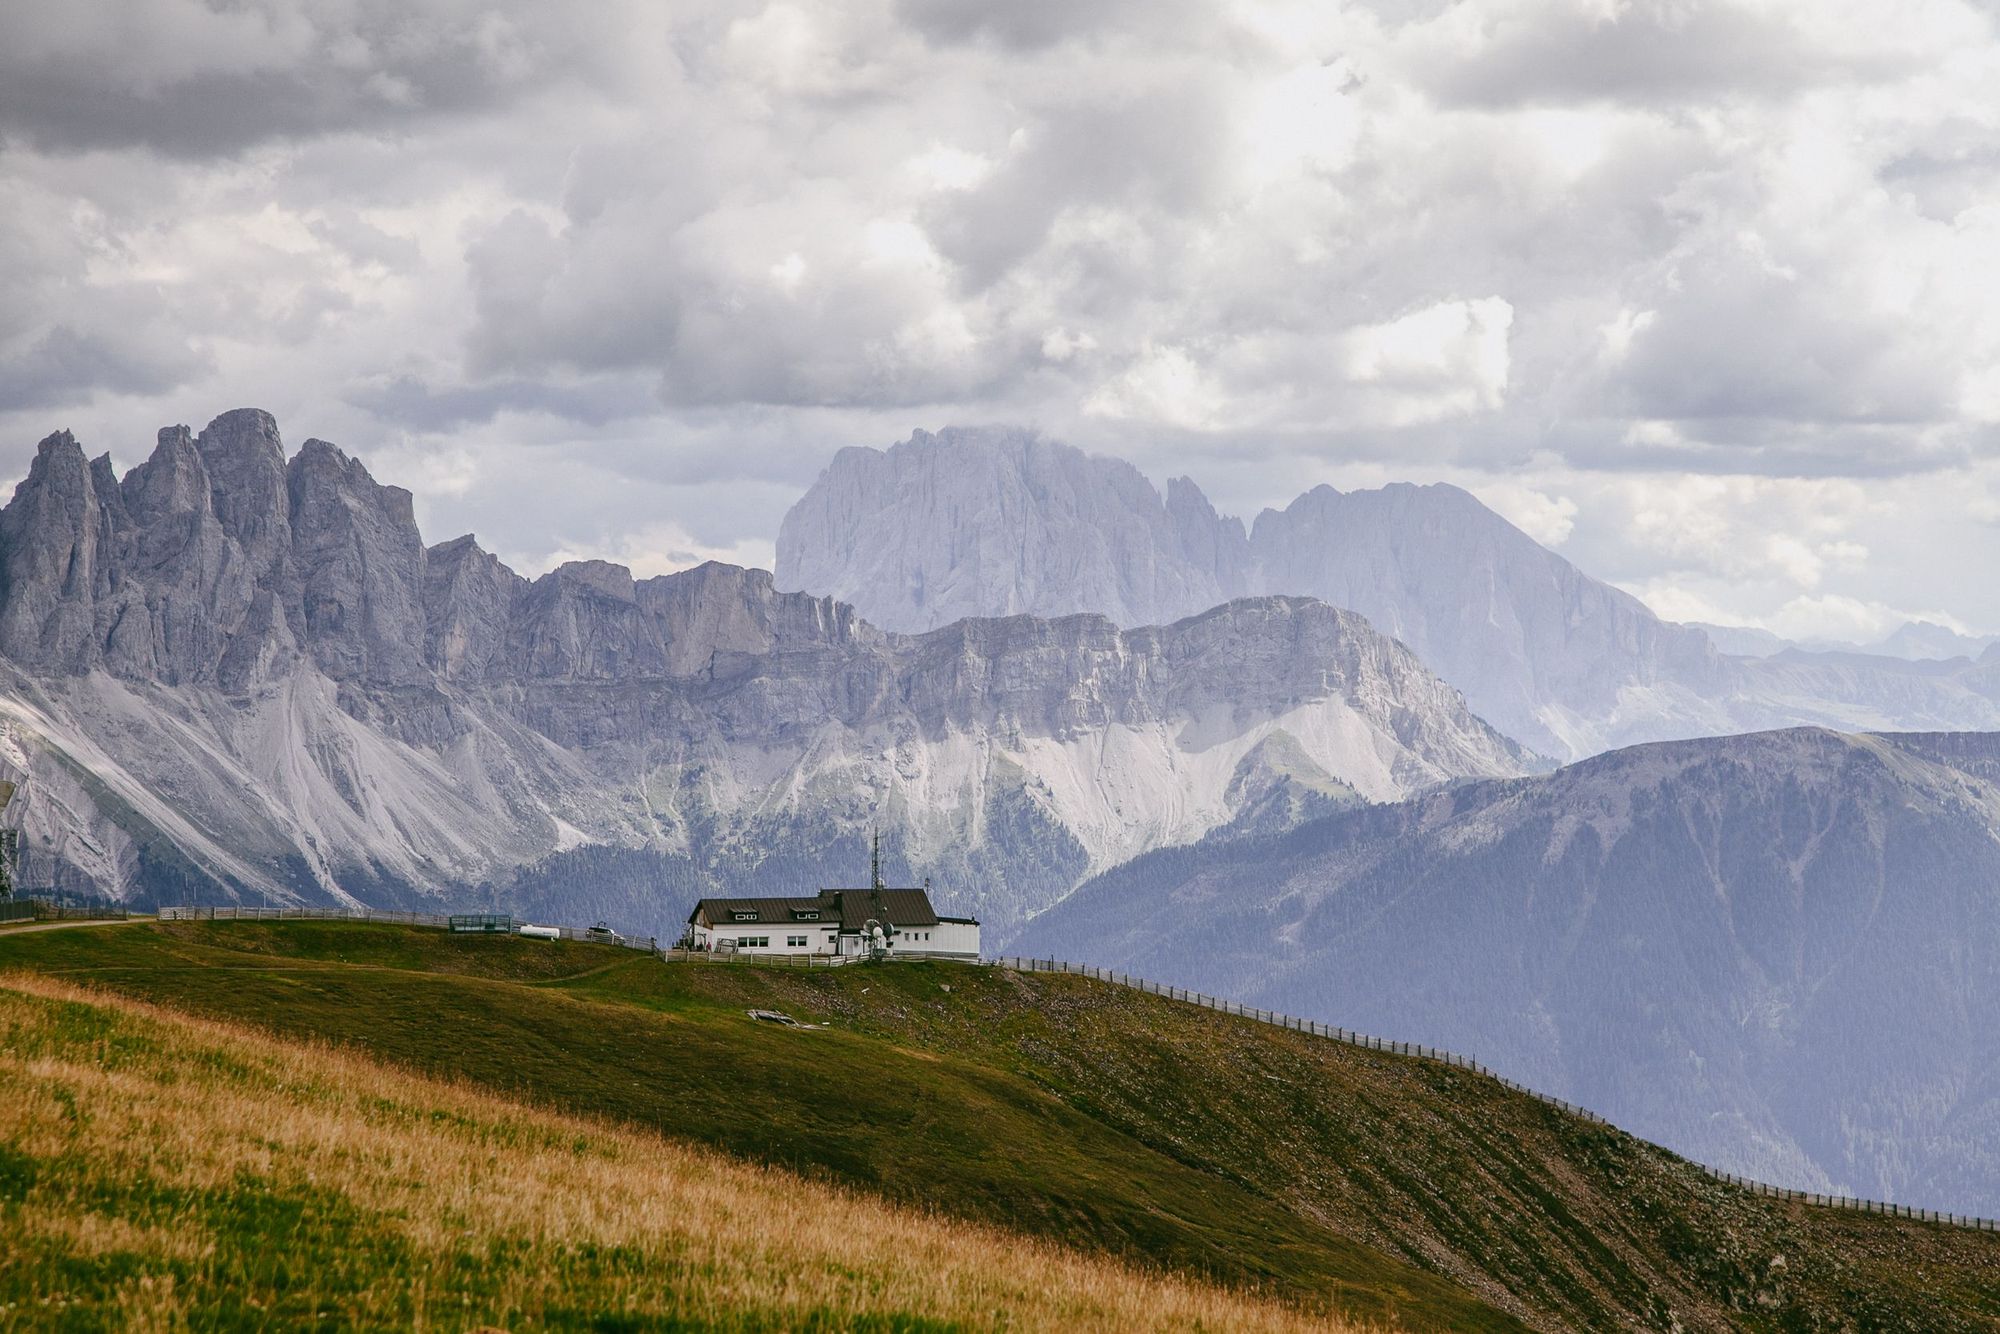
Starting at Bressanone railway station, walk east through the village following the no. 4 hiking path up through apple orchards, chestnut woods and rural farms to the village of St Andrea. Continue uphill on the trail to the Plose Seilbahn station, where some people grab a gondola up to the Valcroce/Kreutzal station (and thus save themselves 1,000m/3,281f of ascent).
If you plan on walking, continue uphill along the no. 4 path, passing woodlands and several farm buildings until you emerge above the treeline onto a high ridge, where you’ll have a birds-eye view over Bressanone. At a saddle close to Schönjochl, keep left and join the no. 7 path. There’s 200m (656ft) of steepening ascent until you reach Rifugio Plose.
“From the refuge, you’ll have a beautiful view of the jagged Odle di Eores,” Miki says. A worthwhile reward after your first day of hiking.
Stage 2: Rifugio Plose to Rifugio Genova
- Distance: 8.3 miles (13.5km)
- Walking time: 4 hours
- Ascent: 680m (2,231ft)
- Descent: 530m (1,739ft)
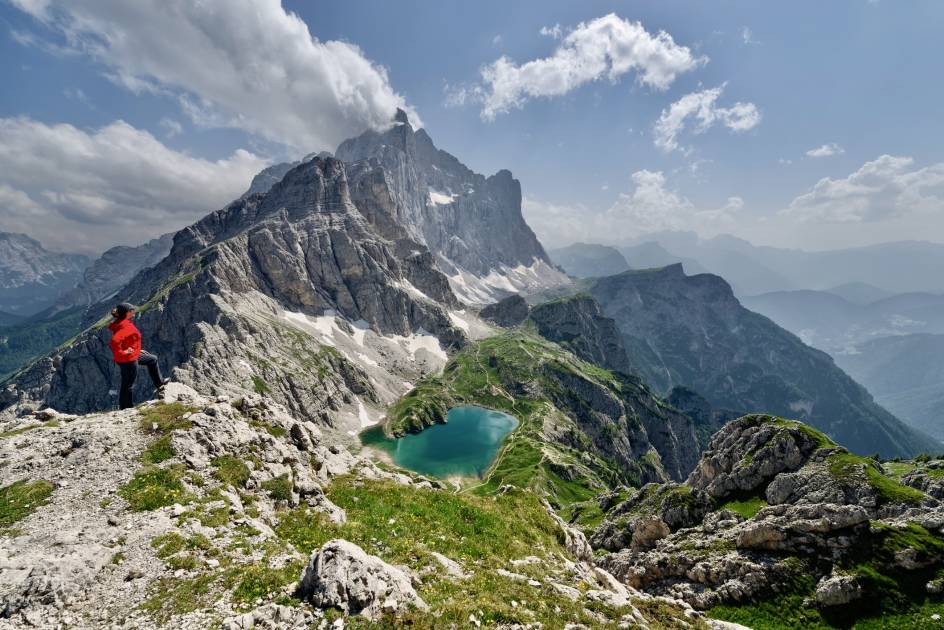
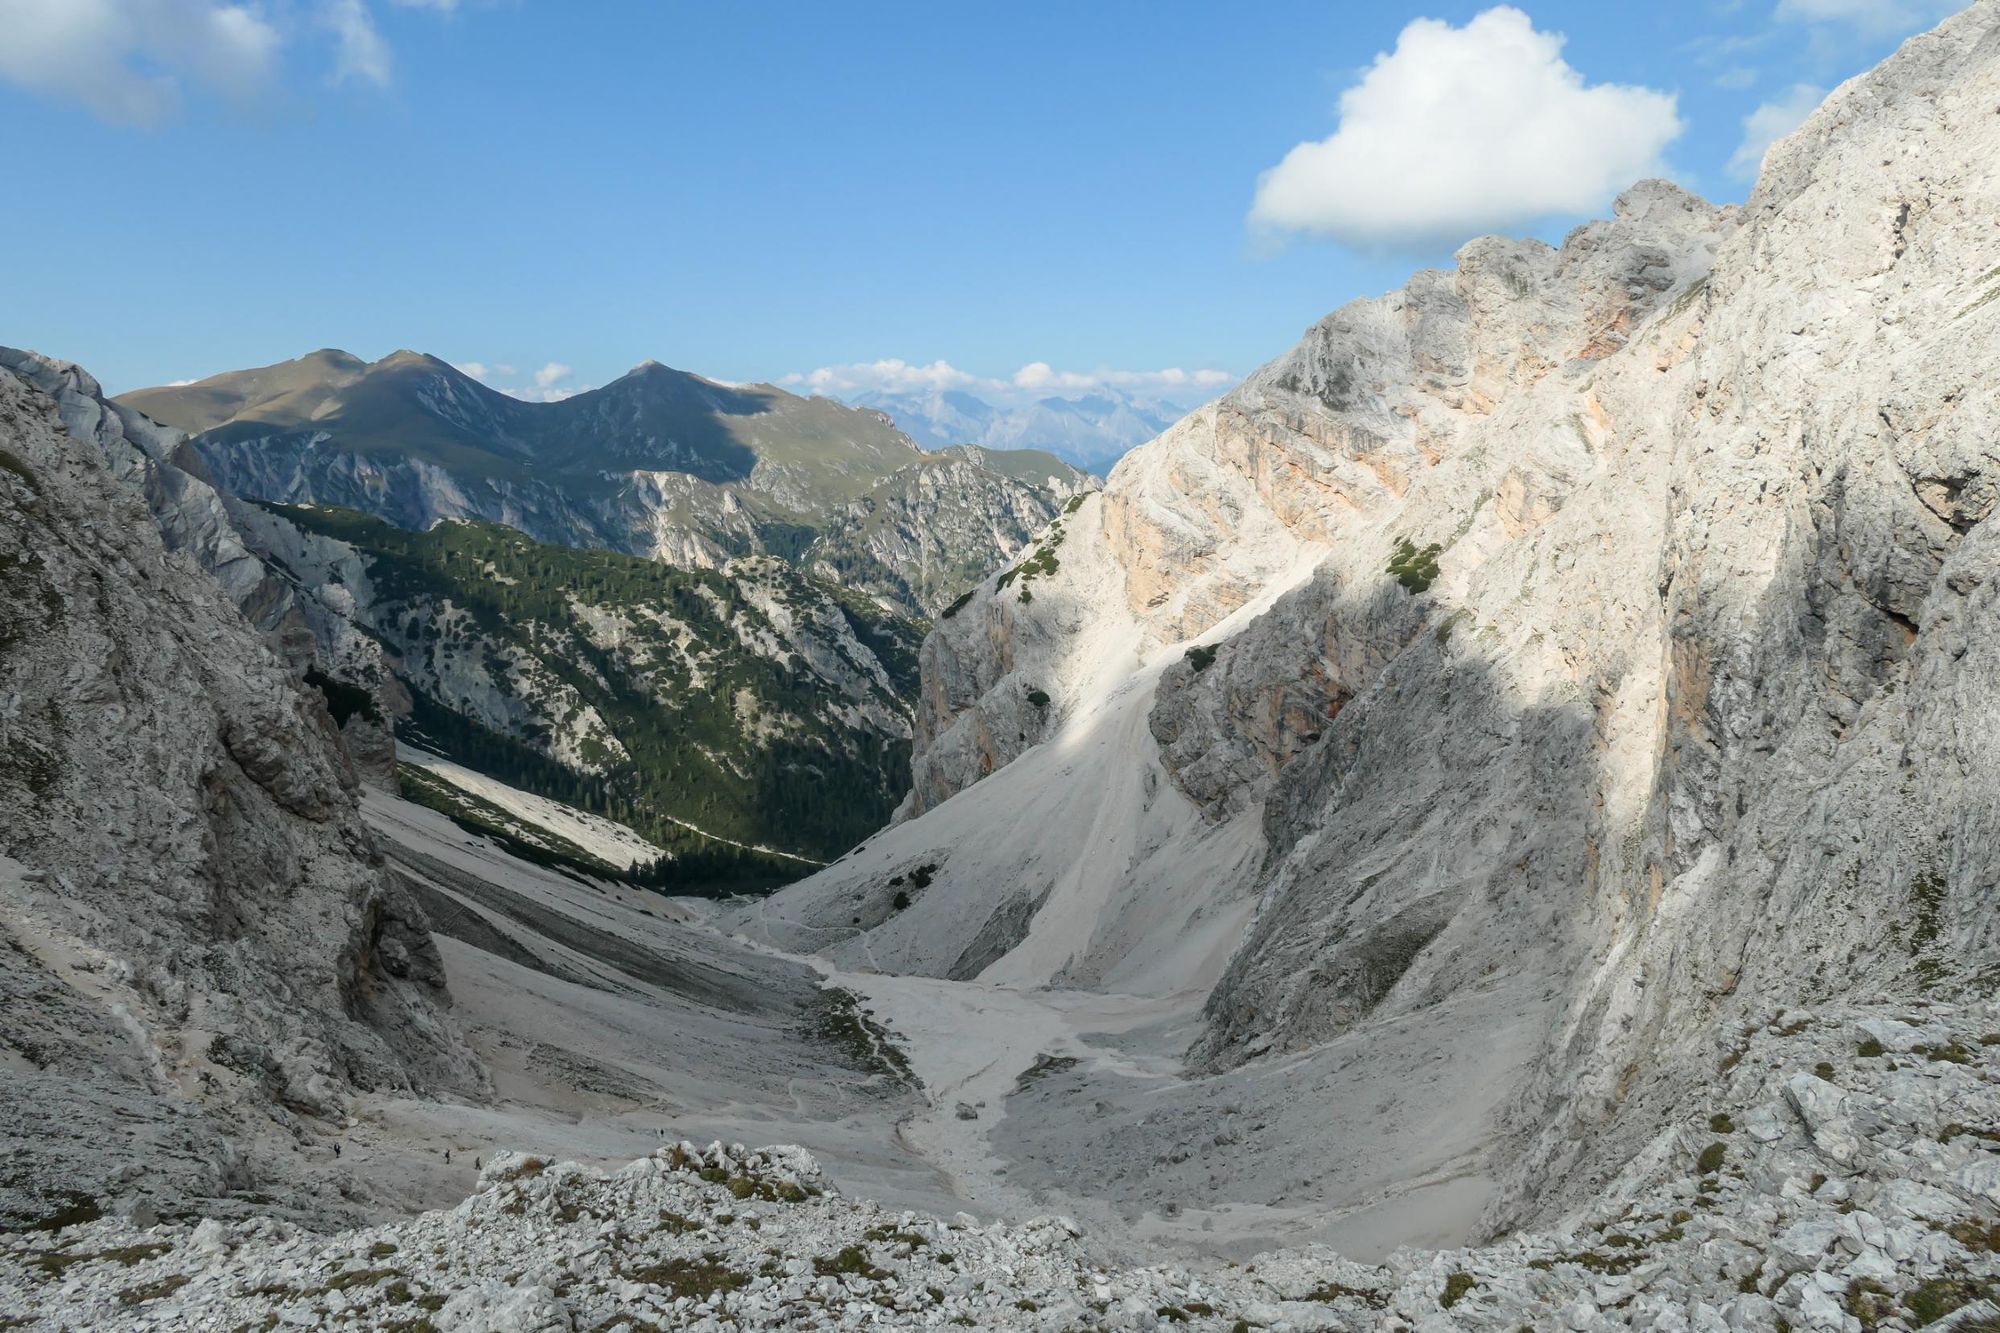
Leave the rifugio and continue along the no. 4 as it gently descends over grassy slopes and into woodland, emerging onto picturesque alpine meadows. Returning back into the woodland, you’ll cross boardwalks over marshy terrain before heading into the Puez-Odle Natural Park. The path leads south east through the woodland before entering a rocky gully leading to Forcella di Putia.
Climb over the scree and rocky boulders, heading up the left hand side of the gully. Eventually you’ll emerge at Forcella di Putia, where you’ll have a view of the scree and contrasting pastureland. Follow the path south over slopes carpeted with wildflowers to Rifugio Genova (a mountain hut renowned for its homemade cakes).
Route extension: At Forcella di Putia you can extend your hike with an ascent to the 2,875m (9,432ft) Sass de Putia, which takes around two hours to the top and back. This summit can also be reached by via ferrata, which we’d only recommend if you’re travelling with a guide.
Stage 3: Rifugio Genova to Rifugio Puez

- Distance: 7.4 miles (12km)
- Walking time: 5 hours
- Ascent: 840m (2,756ft)
- Descent: 660m (2,165ft)
Follow path no.3 uphill for an amazing panoramic view over the Puez group – a high wall of limestone peaks. You’ll pass marmot colonies as you head towards the Passo Kreuzjoch. Continue southwards onto scree slopes leading you uphill towards Forcella della Roa.
Follow path no. 2c along the cliffs to reach a gully, which you need to climb to reach Forcella Nives (2,740m/ 8,989ft) – from here, head over gentle slopes to Rifugio Puez.
Alternative route: If you’d prefer to tackle a via ferrata, descend Forcella della Roa into a rocky ampitheatre. Take the left fork to link up with path no. 2, heading uphill to Forcella di Sielles. You’ll follow stretches of cable to the adjoining crest, then a narrow scree path to grassy slopes. From here, the route continues over pastureland to join up with the main trail.
Stage 4: Rifugio Puez to Rifugio Pisciadu
- Distance: 6.2 miles (10km)
- Walking time: 5 hours
- Ascent: 900m (2,952ft)
- Descent: 800m (2,624ft)
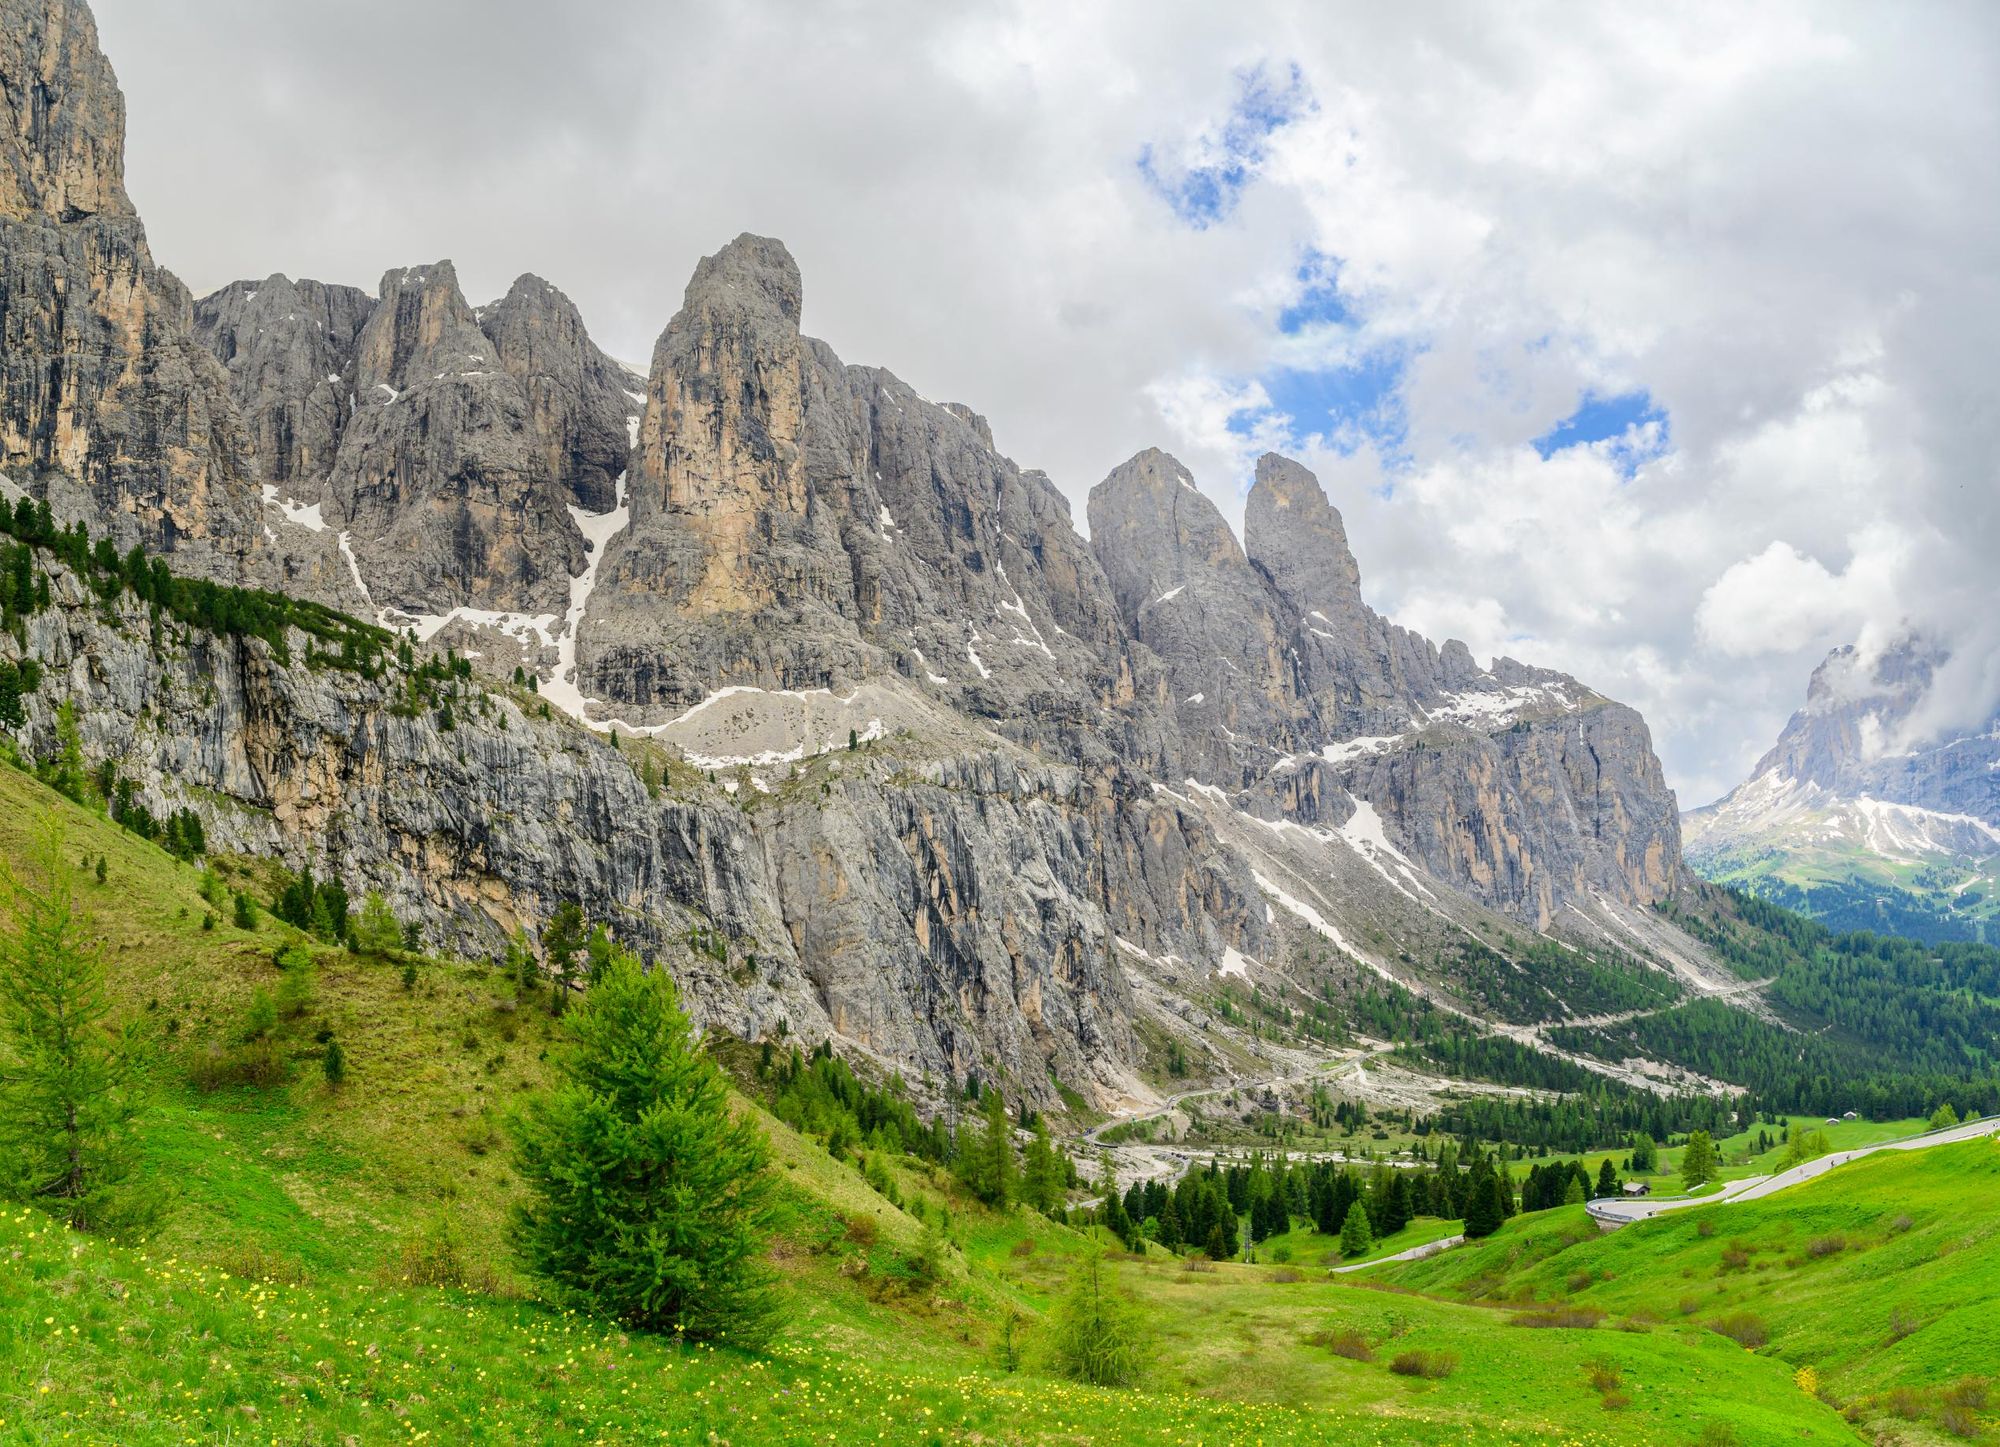
Today’s hike starts off on path no. 2 along the vast Puez plateau, which is studded with volcano-like mounds. A few minutes after leaving Rifugio Puez, you will see the U-shaped Vallunga, or “Long Valley”. But keep an eye on the ground, too - you’ll see fossilised ammonites and megalodon shells.
You’ll follow path no.2 across three saddles: Forcella dei Campei; Forcella Crespeina; and Forcella Cier Danter les Pizes, known for rows of eroded stone pinnacles. Descending from the latter, you’ll reach Rifugio Jimmy, a good refuelling stop before the gruelling second half of the day.
Around 15 minutes later, you’ll reach Passo Gardena, said to be one of the most scenic passes in the Dolomites.
From Passo Gardena you’ll start the fixed rope route known as Tridentina. It’s difficult, especially when it’s crowded
“From Passo Gardena you’ll start the fixed rope route known as Tridentina,” Miki says. “It’s difficult, especially when it’s crowded, because hikers are coming the other way.”
To reach Tridentina, take path no. 666 uphill, bearing left under vast stone cliffs. You’ll then head into the wild Val Setus, a ravine of scree and rubble, and slowly ascend it. One part of the path takes you across the gully wall, aided by iron rungs, spikes and thick cable – take it slow. When you emerge, it’s just a short hike to Rifugio Pisciadu.
Stage 5: Rifugio Pisciadu to Castiglioni Marmolada Rifugio
- Distance: 9.9 miles (16km)
- Walking time: 6-7 hours
- Ascent: 690m (2,263ft)
- Descent: 1,230m 4,035ft)
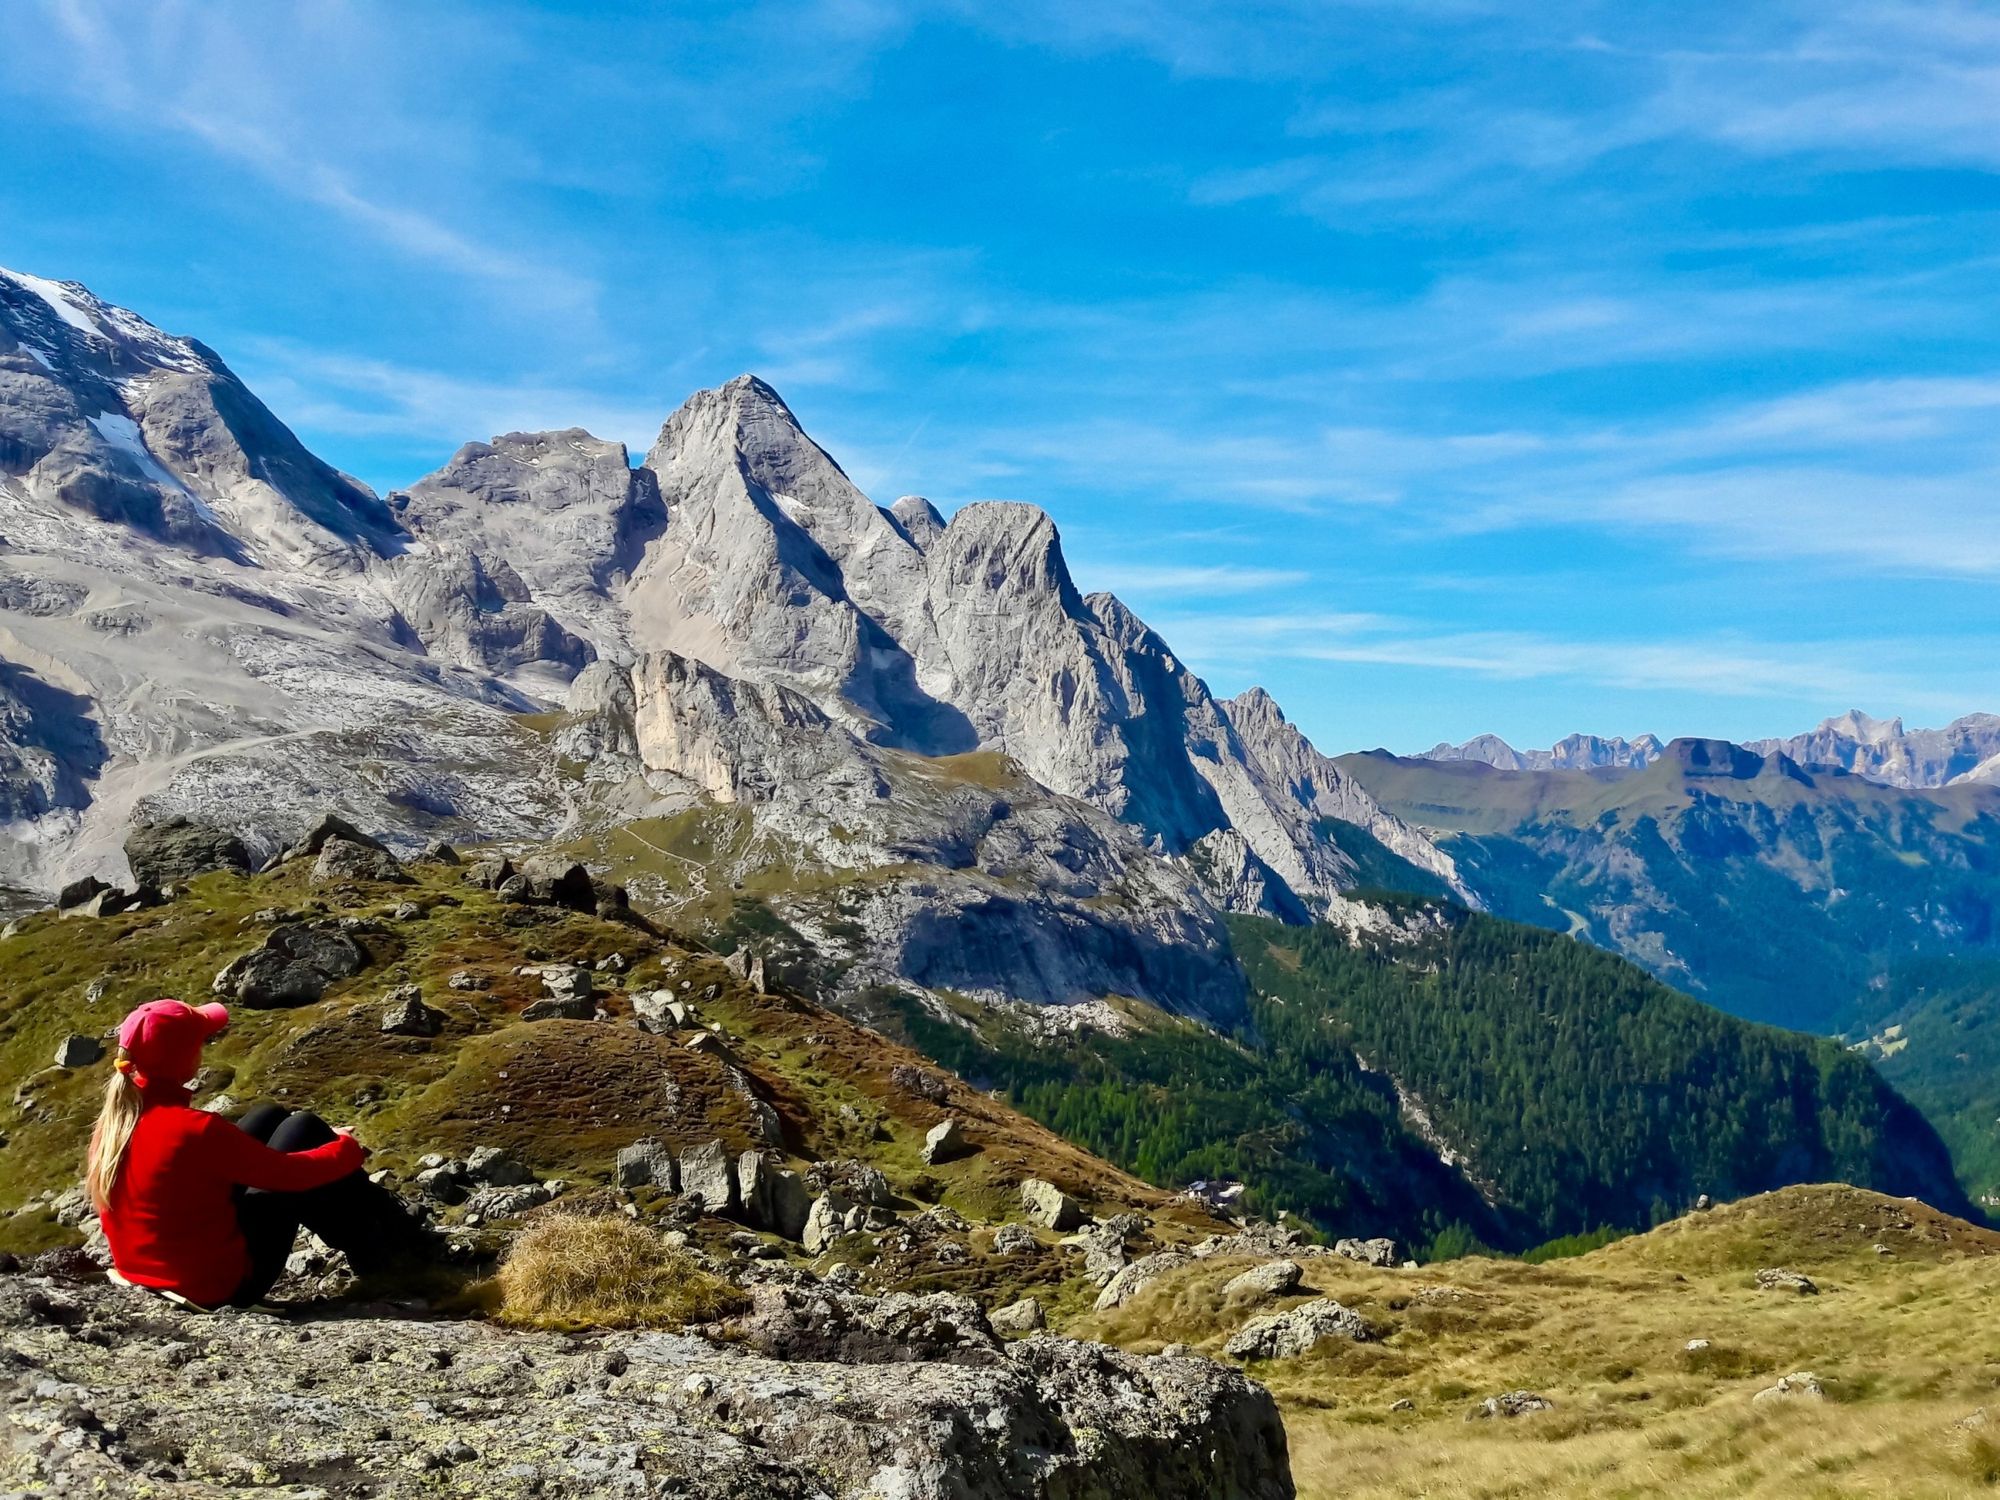
From Rifugio Pisciadù, take path no. 666 along the eastern side of the lake. The route climbs above Val de Tita with a choice of paths: one across rocks, the other secured with wire cables for safety. They join up and continue over scree and occasional snowfields before reaching a saddle. From here, head south, then west, and climb to the high plateau of the Sella. The trail crosses the plateau before descending to the Zwischenkofelscharte and joining path no. 647.

Follow path no. 647 south to the summit of Zwischenkofel (2,907m/9,537ft), which can be bypassed via a secured route. Descend to Rifugio Boè and take path no. 627 westwards to Rifugio Forcella Pordoi, enjoying panoramic views before descending steeply via scree or hairpin bends to Passo Pordoi.
At Passo Pordoi, follow path no. 601 south past Rifugio Sass Beccè. Continue along Viel dal Pan, an ancient trading route offering superb views of the Marmolada. At the junction with path no. 698, stay on no. 601, which leads south and then west across steep grassy slopes. The final descent takes you through woodland to the Fedaia Lake, before reaching Rifugio Castiglioni Marmolada.
Stage 6: Rifugio Castiglioni to Passo San Pellegrino
- Distance: 13.6 miles (22km)
- Walking time: 7 hours
- Ascent: 1,110m (3,641ft)
- Descent: 1,240m (4,068ft)
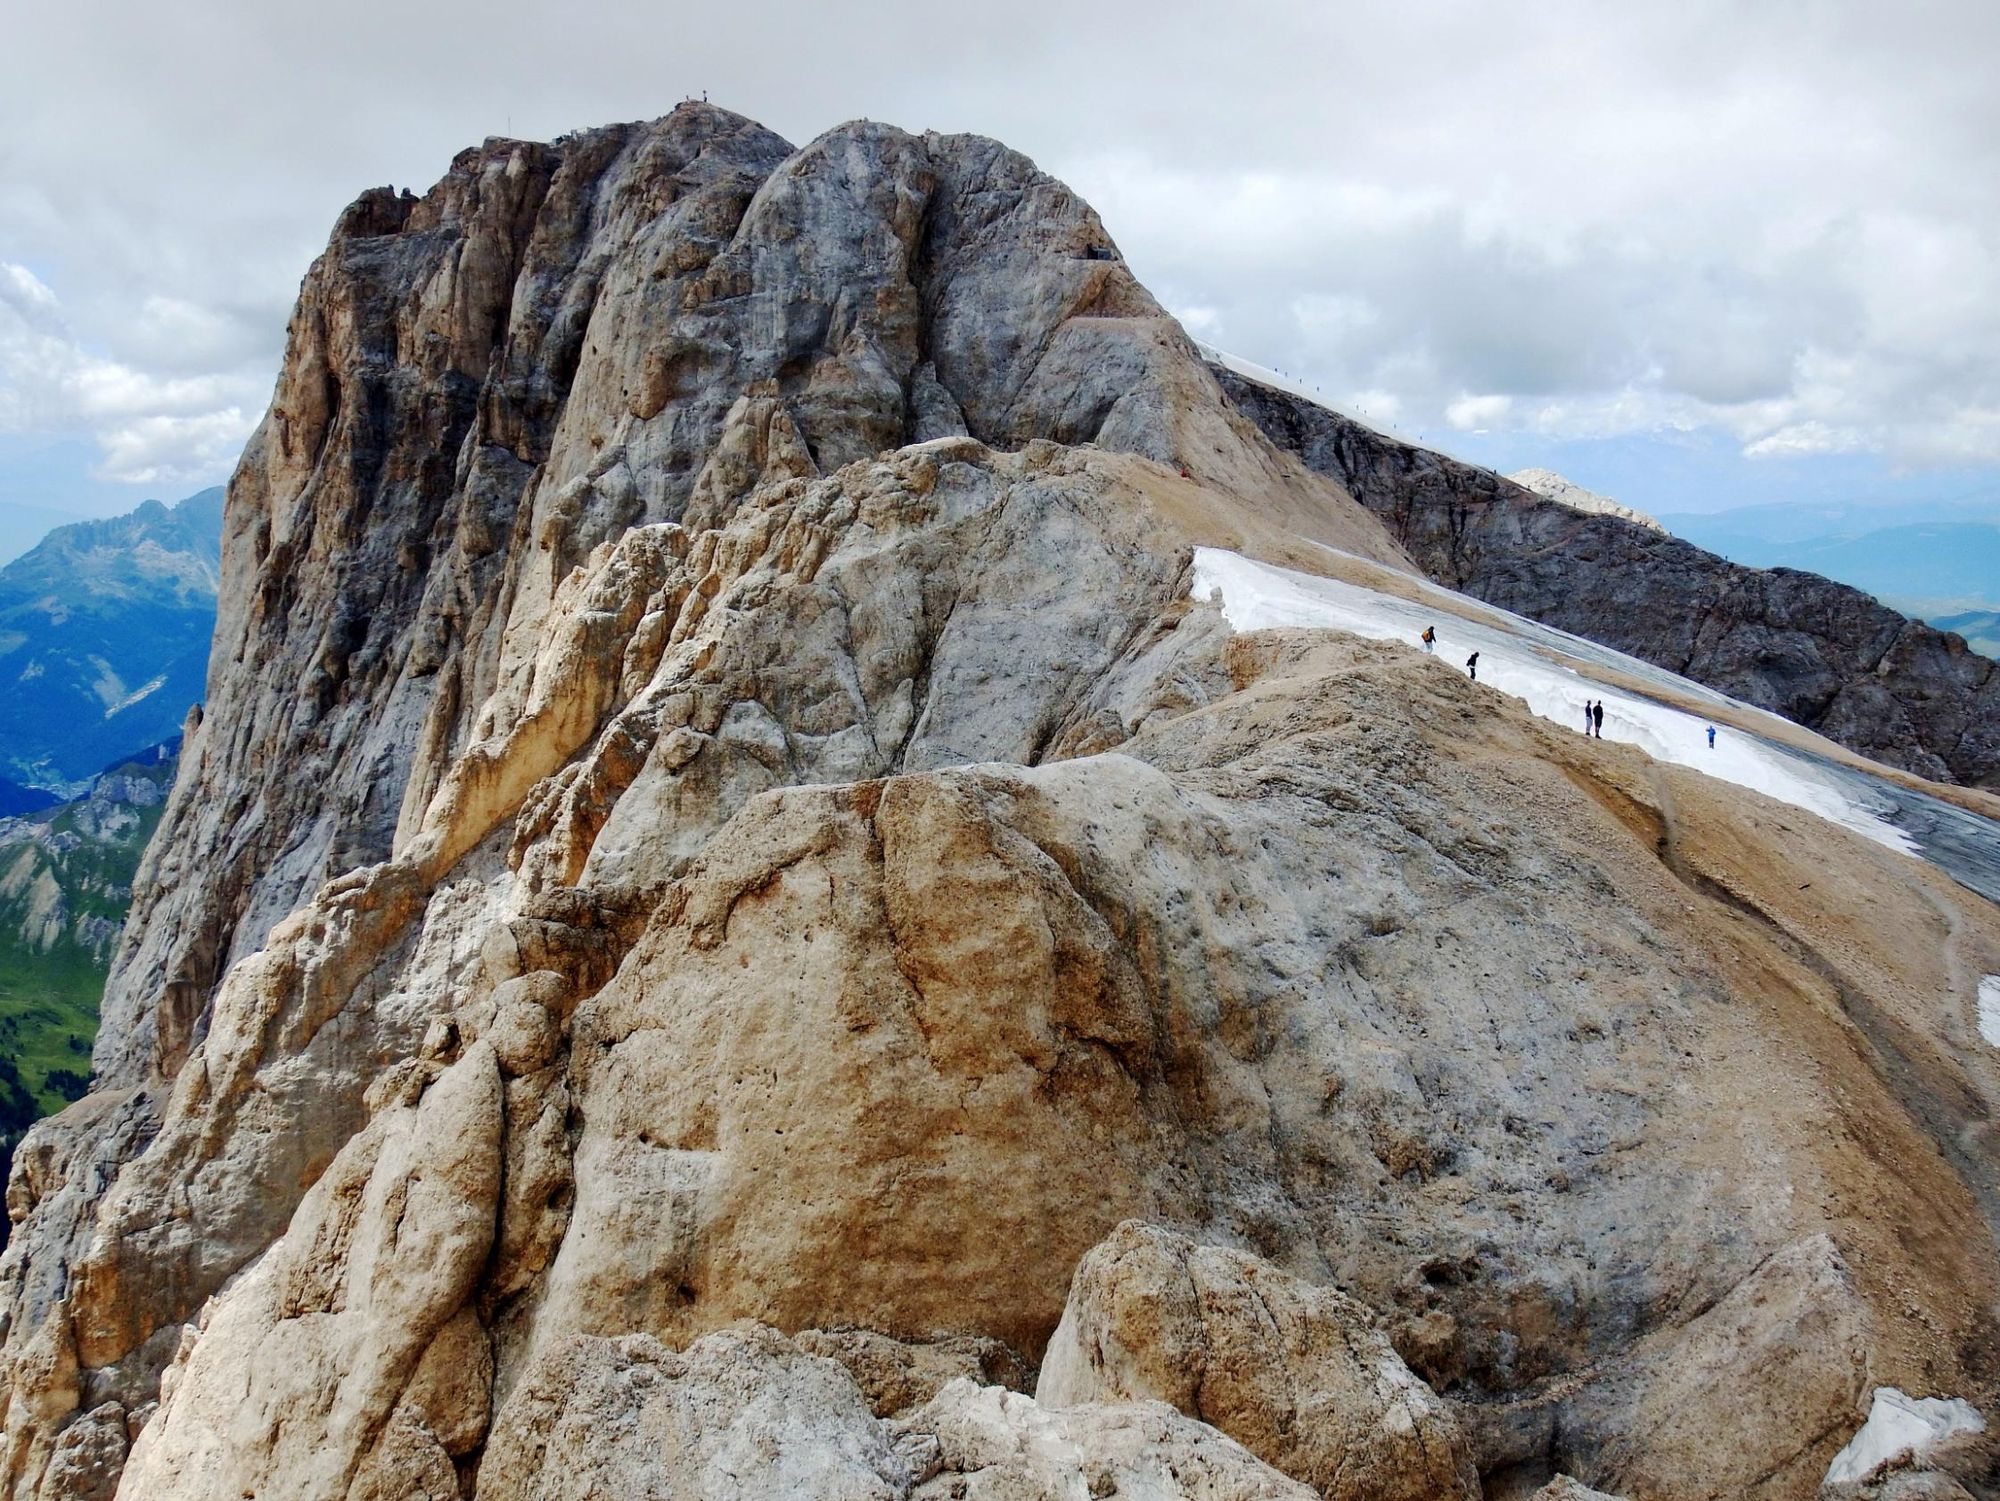
Cross the Fedaia Lake dam and follow the southern bank to Passo Fedaia. Follow the asphalt road to Malga Ciapèla (5.5 miles/9km). At Malga Ciapèla, follow path no. 610 west uphill, curving right towards Malga Ombretta. Take path no. 694 southwest, zigzagging uphill to Forca Rossa, between Pizzo Le Crene and Col Becher.
Follow path no. 606 to the ‘Marmoladascharte’, a challenging high alpine traverse of the Marmolada glacier with some steep ascents and descents
From the col, descend briefly on path no. 694 before switching to no. 670, which crosses into Valfredda. Turn northeast into a verdant valley dotted with rural farms. The route reaches Furciàde Hut, set in stunning mountain scenery. From here, descend to glimmering Lago di Pozze and follow the lakeshore towards Passo San Pellegrino (1,907m/ 6,256ft), marking the end of the stage.
Alternative route: Follow path no. 606 to the ‘Marmoladascharte’, a challenging high alpine traverse of the Marmolada glacier with some steep ascents and descents. Experienced mountaineers only! Descend to Passo Ombretta and rejoin the main trail near Malga Ciapèla.
Stage 7: Passo San Pellegrino to Rifugio Mulaz
- Distance: 8 miles (13km)
- Walking time: 5-6 hours
- Ascent: 1,040m (3,412ft)
- Descent: 380m (1,246ft)
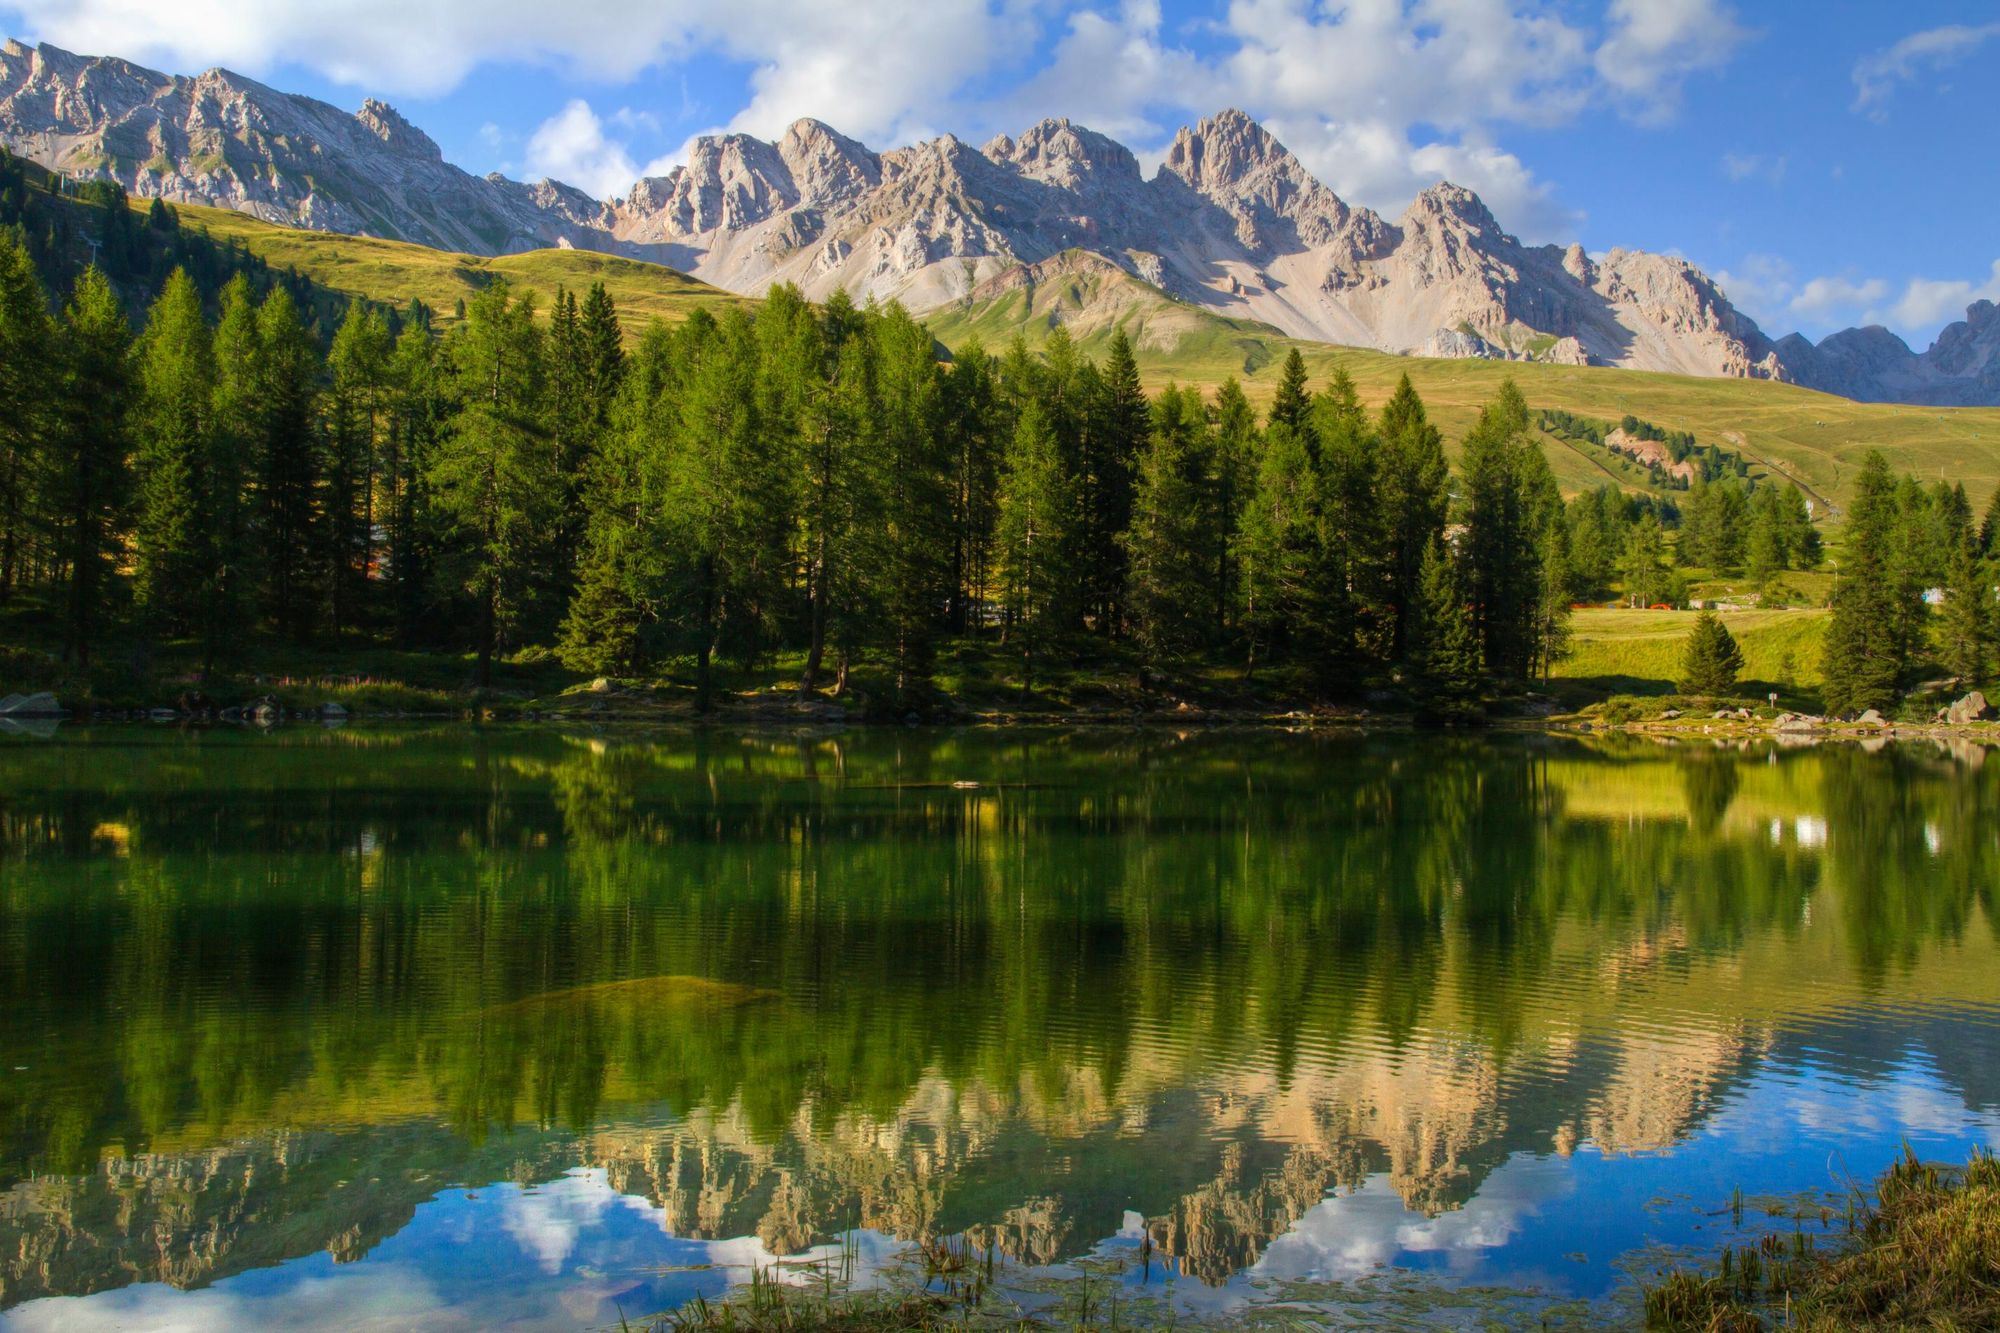
From Passo San Pellegrino, take path no. 658 southeast under the Cima Uomo cable car, climbing upward through alpine meadows. The route ascends to a plateau scattered with granite blocks. Below, Lake Cavia shimmers to the east. Continue south to Forcella Pradazzo, where stunning views open up towards Civetta, Pelmo, and Pale di San Martino.
Descend along path no. 658 to Malga Pradazzo hut, then continue to Passo Valles. From here, take path no. 751 east, climbing steadily along Cima Venegia’s northern slopes. Reach Forcella Venegia, where you cross into the national park, Parco Naturale di Paneveggio e delle Pale di San Martino. Follow the path over a grassy crest and into a basin with a small mountain lake, where you might spot marmots.
Cross the eastern and southern slopes of Cima Venegiota to reach Passo di Venegiota, then head east to Passo dei Fochèt. Follow path no. 751 uphill, across a ridge and over the eastern slopes of Monte Mulàz. Navigate terraces and an old glacier to reach Passo Arduini. From here, descend past a small plateau to Rifugio Mulàz (2,571m/8,4305ft).
Stage 8: Rifugio Mulaz to Rifugio Rosetta Pedrotti
- Distance: 4.6 miles (7.5km)
- Walking time: 4-5 hours
- Ascent: 750m (2,460ft)
- Descent: 740m (2,427ft)
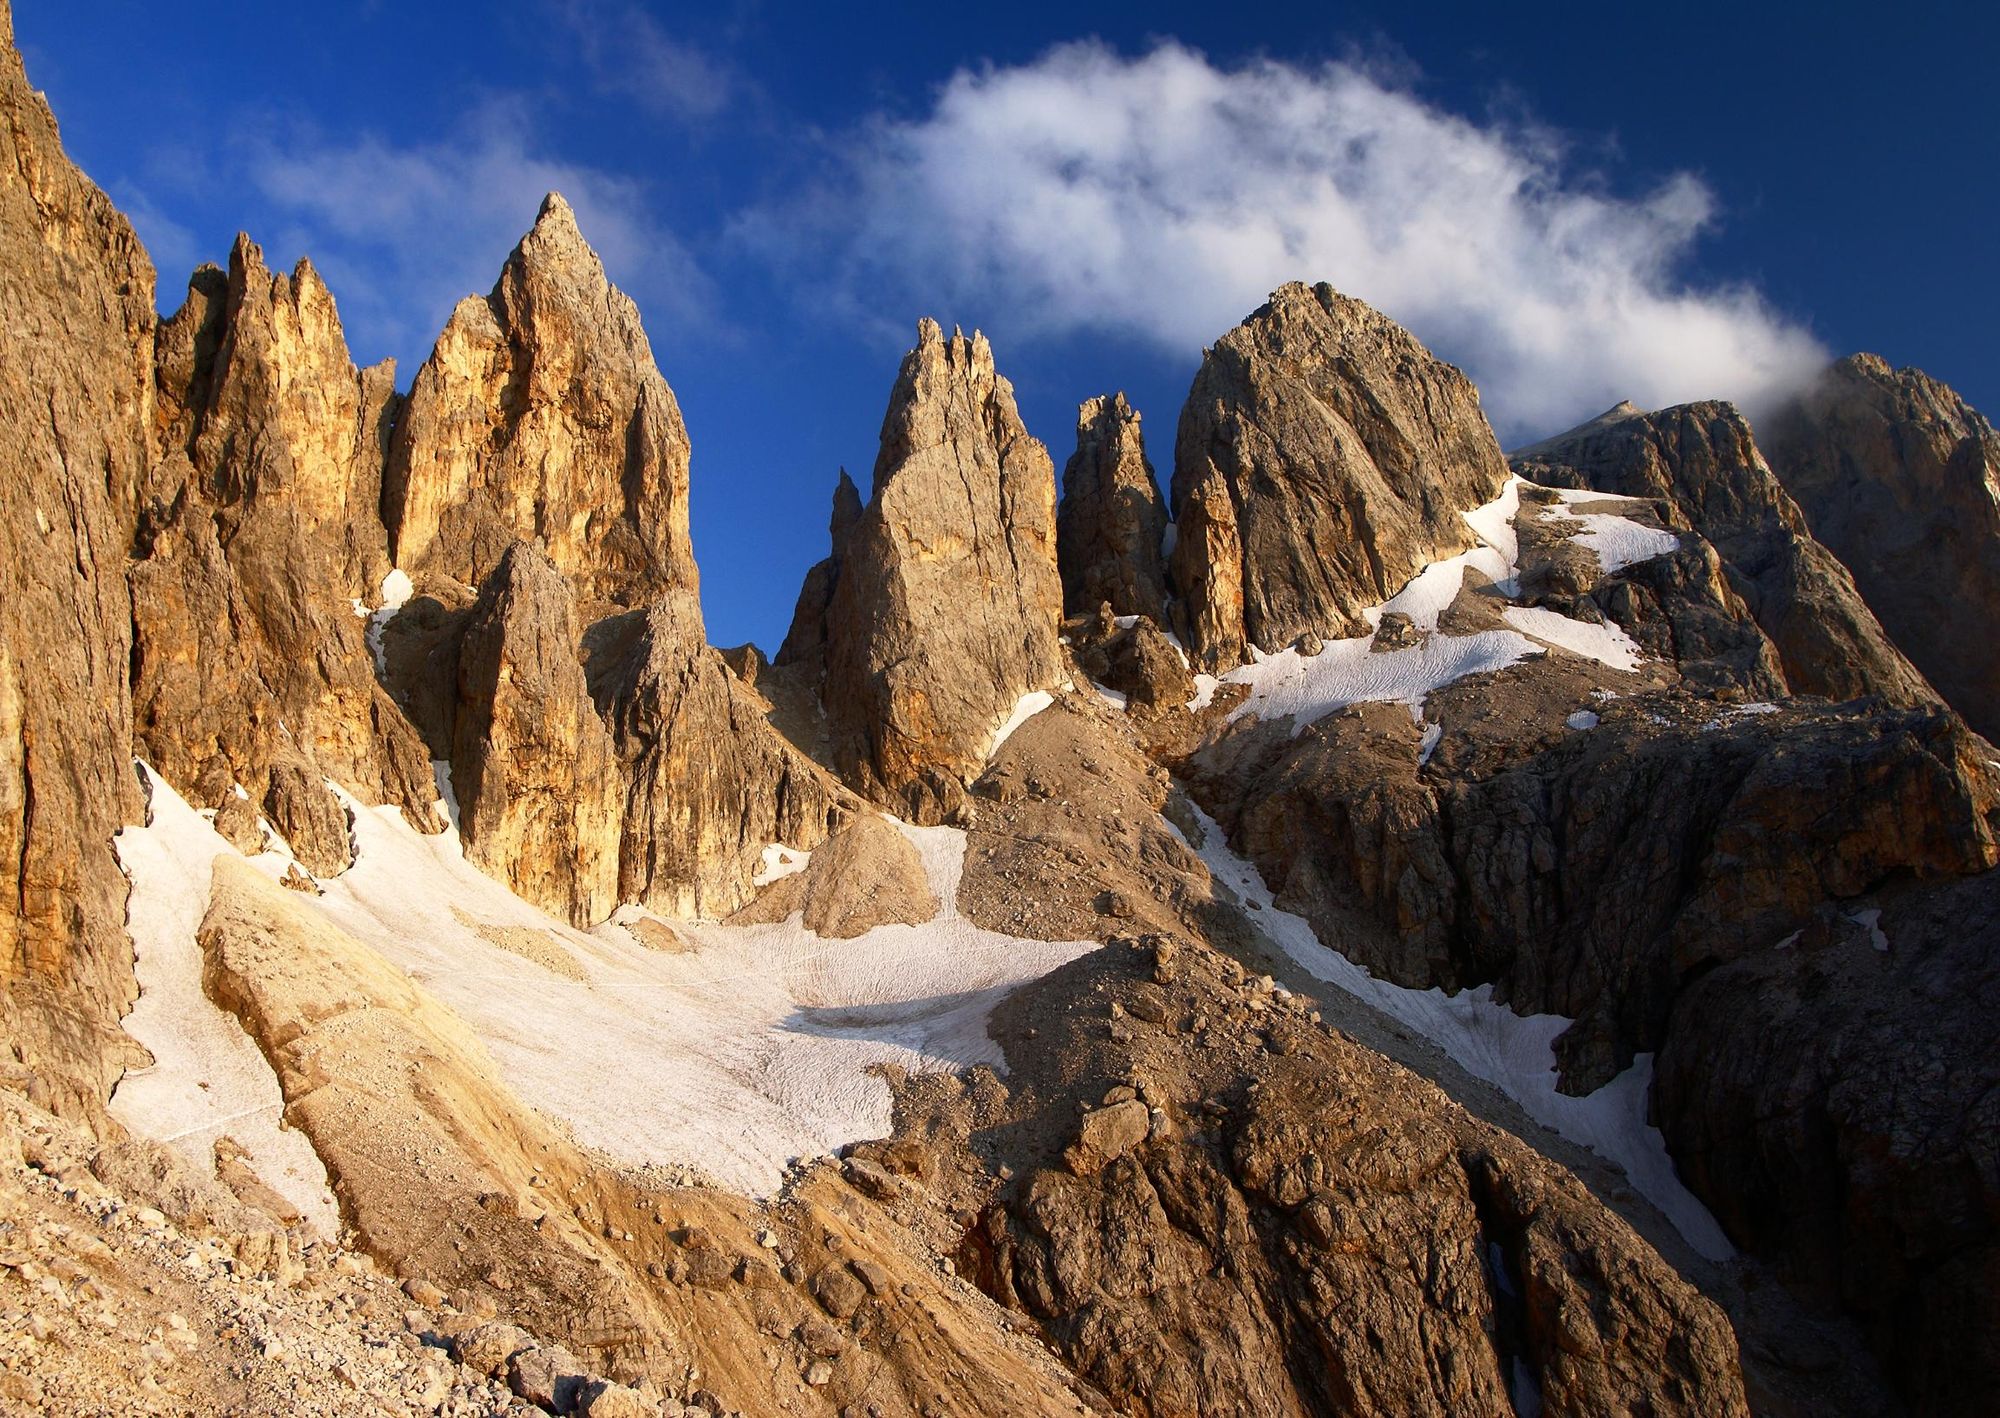
“From the Refugio Mulaz we head towards the Rifugio Pedrotti along the Passo delle Faràngole, an exposed path equipped with metal cable,” Miki says. “It takes you around two hours to complete that section.”
From Rifugio Mulaz, ascend west through scree to Passo del Mulaz. Turn south on path no. 703, climbing to Forcella Margherita. Continue crossing the rocky terrain to reach Passo delle Farangole at 2,932m-high (9,619ft), the highest point of this section, where steel cables and a ladder help your ascent. Descend steeply using cables to a rocky basin.
From the Refugio Mulaz we head towards the Rifugio Pedrotti along the Passo delle Faràngole, an exposed path equipped with metal cable
The route then turns east and south towards Col de Burèla, offering dramatic views of Torcia di Valgrande. Join path no. 716 and continue through the exposed Val delle Comelle, where steep meadows and cable-secured sections lead down to Pian dei Cantoni. From here, a gentle ascent brings you to Rifugio Rosetta.
Alternative route: Avoid the exposed Faràngole path by taking path no. 710 southwest over Passo del Mulaz, descending into Val Venegia and following a cart track to Baita Segantini. Continue past Rifugio Capanna Cervino to Passo Rolle. From here, follow a mix of trails and roads southeast to Col Verde, where you can catch a cable car that ascends to Rifugio Rosetta.
Stage 9: Rifugio Rosetta to Rifugio Treviso
- Distance: 8 miles (13km)
- Walking time: 6-7 hours
- Ascent: 790m (2,592ft)
- Descent: 1,740m (5,709ft)
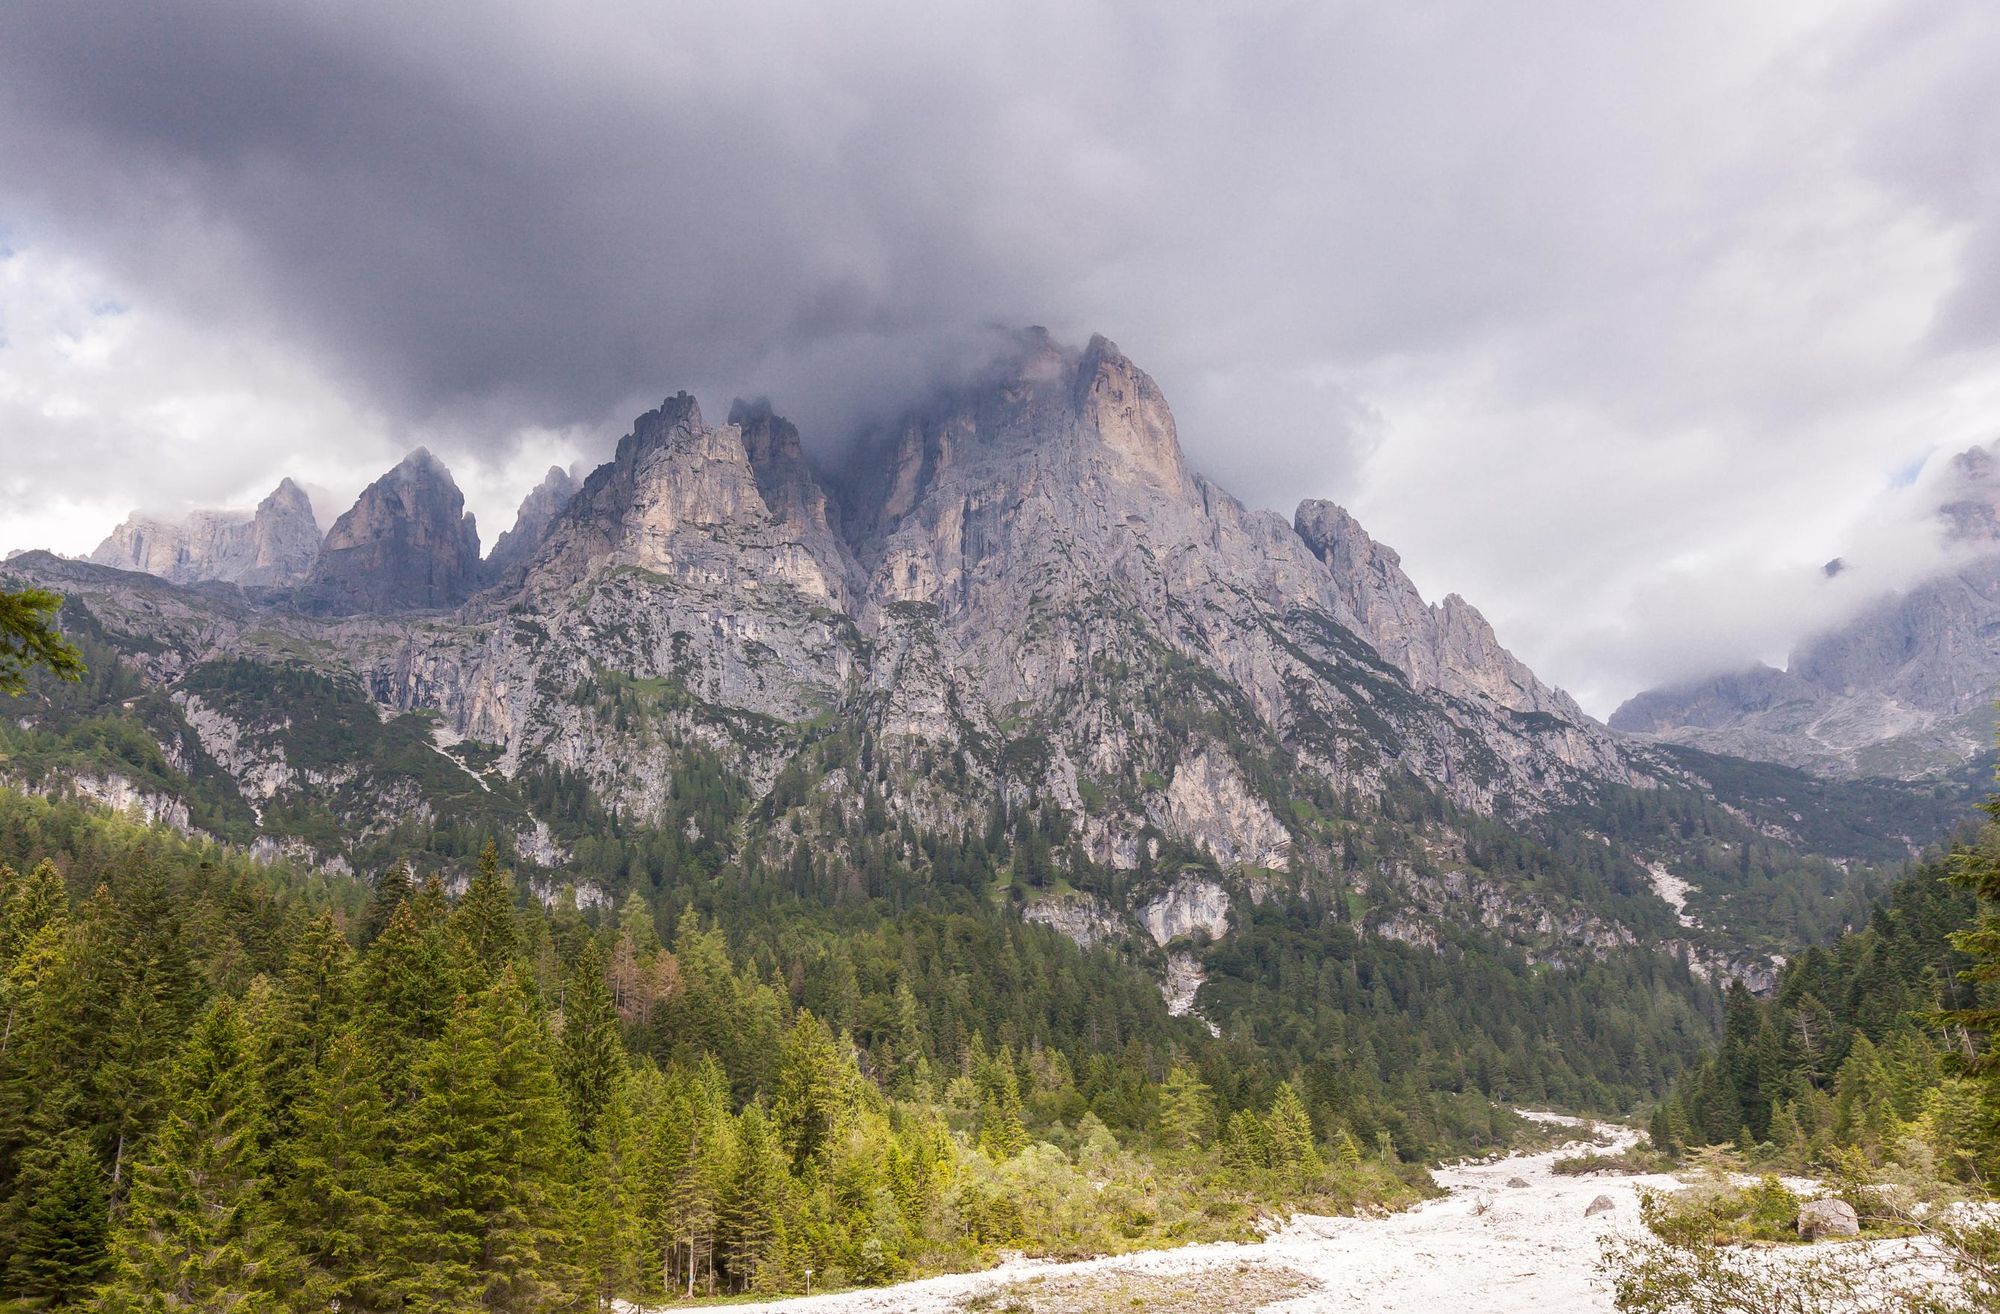
From Rifugio Rosetta, follow path no. 702 southward towards Passo di Val di Roda, then descend to Col de le Fede via a series of hairpin bends. At the col, take path no. 715. “It’s a short, exposed crossing, equipped with wire ropes, which aids the ascent to Passo di Ball,” says Miki. “There are stunning views of the Canali and Sass Maòr summits.”
Descend to Rifugio Pradidali and follow path no. 709 towards a mountain lake. Switch to path no. 711. This difficult section crosses rocky terrain and terraces before reaching Passo delle Lede. Descend carefully through a rocky gully, passing Vallon delle Lede and the 1957 crash site of an American airplane. Continue over rocky slopes and steep inclines, crossing Canali brook before reaching Rifugio Treviso, a peaceful hut nestled in the woods of the Valle Canali.
Alternative route: A less demanding option follows path no. 709 southward from Rifugio Pradidali through alpine meadows and valleys. Follow junctions leading to Malga Pradidàli and Malga Canali, continuing through forest roads and path no. 707 before reaching Rifugio Treviso.
Stage 10: Rifugio Treviso to Passo Cereda
- Distance: 5.2 miles (8.5km)
- Walking time: 4-5 hours
- Ascent: 750m (2,461ft)
- Descent: 1,010m (3,314ft)
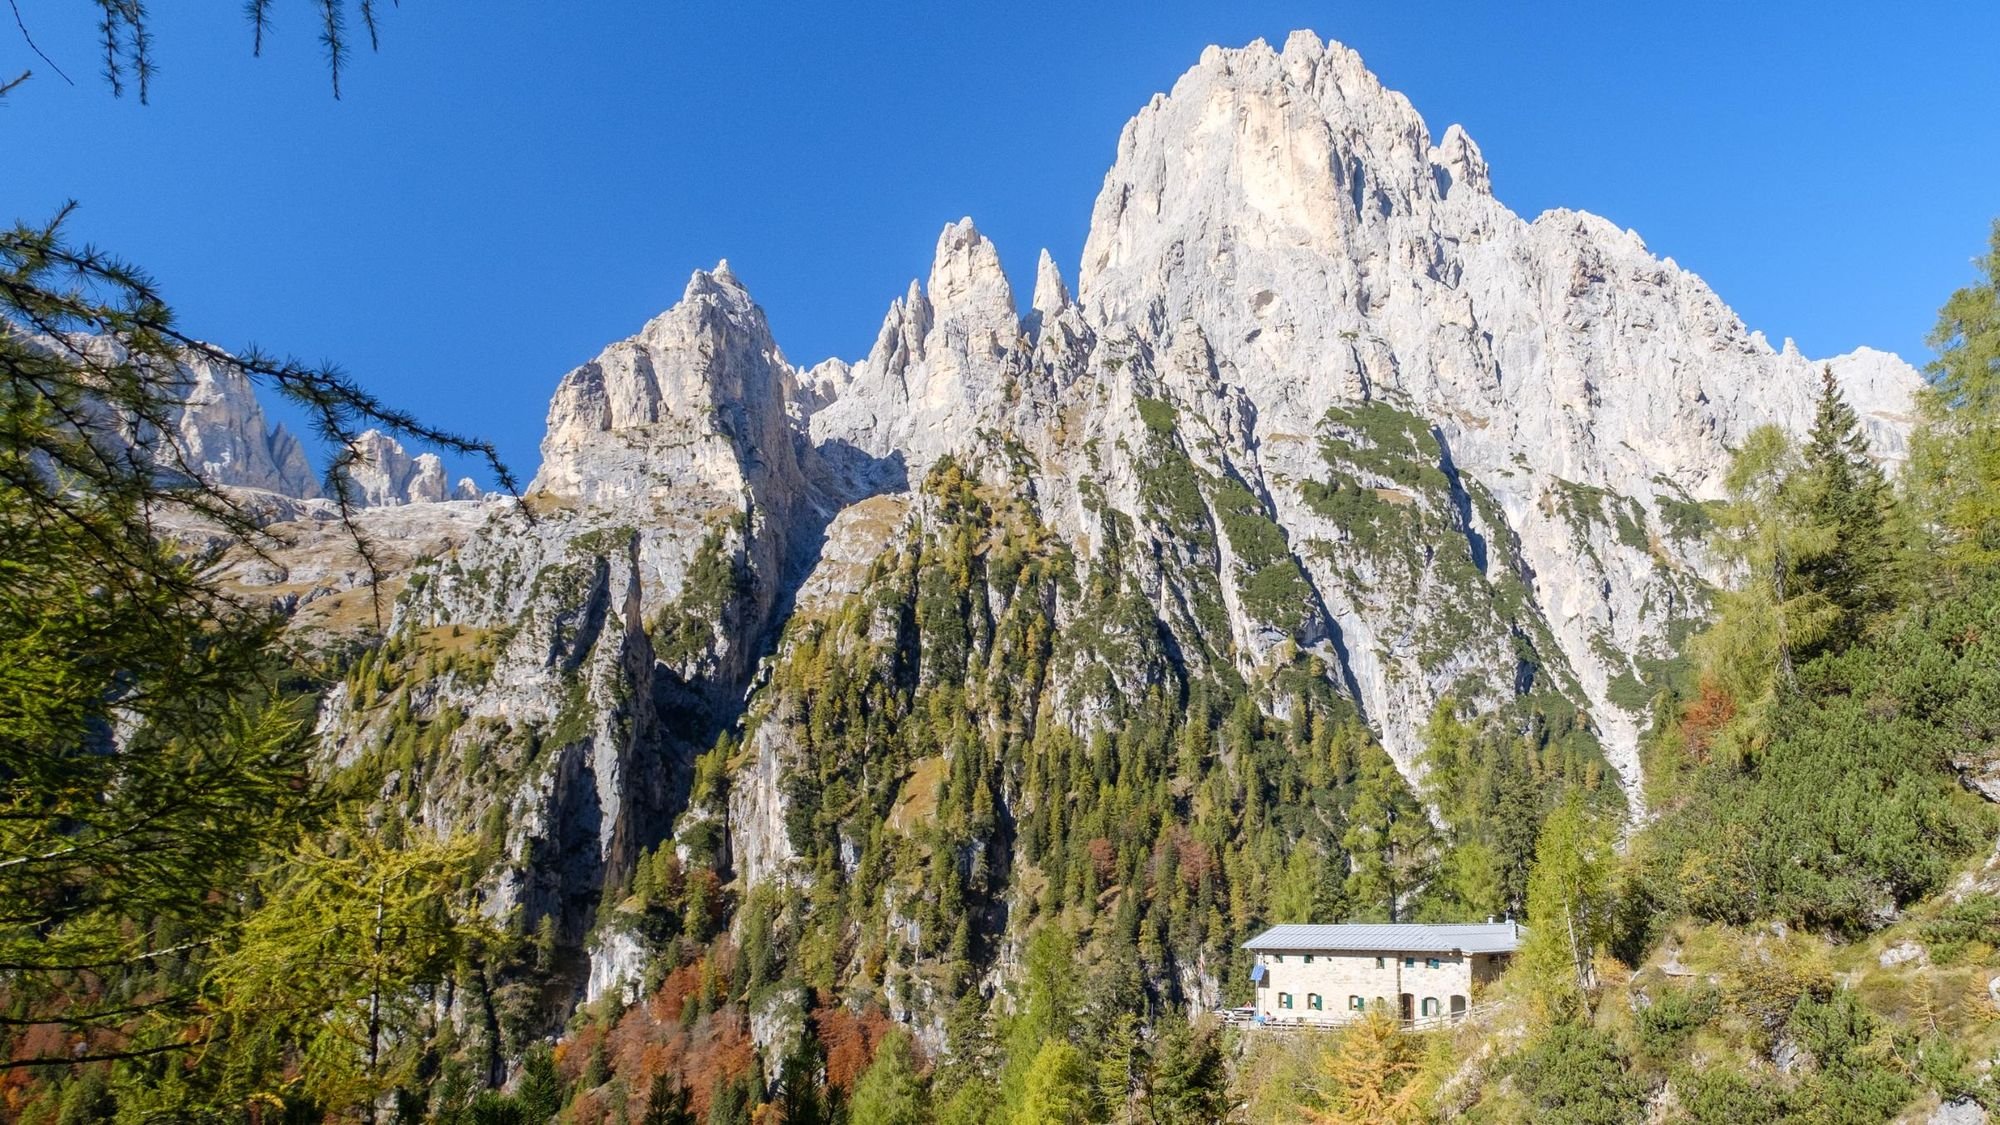
Path no. 718 heads south, weaving through bushes and gullies to the barren Vallon dell' Oltro, before heading east towards a jagged rocky col. The path steepens as it continues up through pinewoods and rocky patches before reaching Forcella d'Oltro.
Descend eastward for around 250m, crossing the steep slopes of the Cima d’Oltro, the Rocchette and the Cima Feltraio. Avoid misleading gullies leading to sharp precipices. Beneath Passo Regàde, climb a serpentine path toward the Bastie slopes, reaching Passo Ceréda, marked by grassy meadows and stunning views of Piz de Sagròn and Sass de Mura.
Stage 11: Passo Cereda to Rifugio Boz
- Distance: 8.3 miles (13.5km)
- Walking time: 7 hours
- Ascent: 1,250m (4,101ft)
- Descent: 900m (2,953ft)
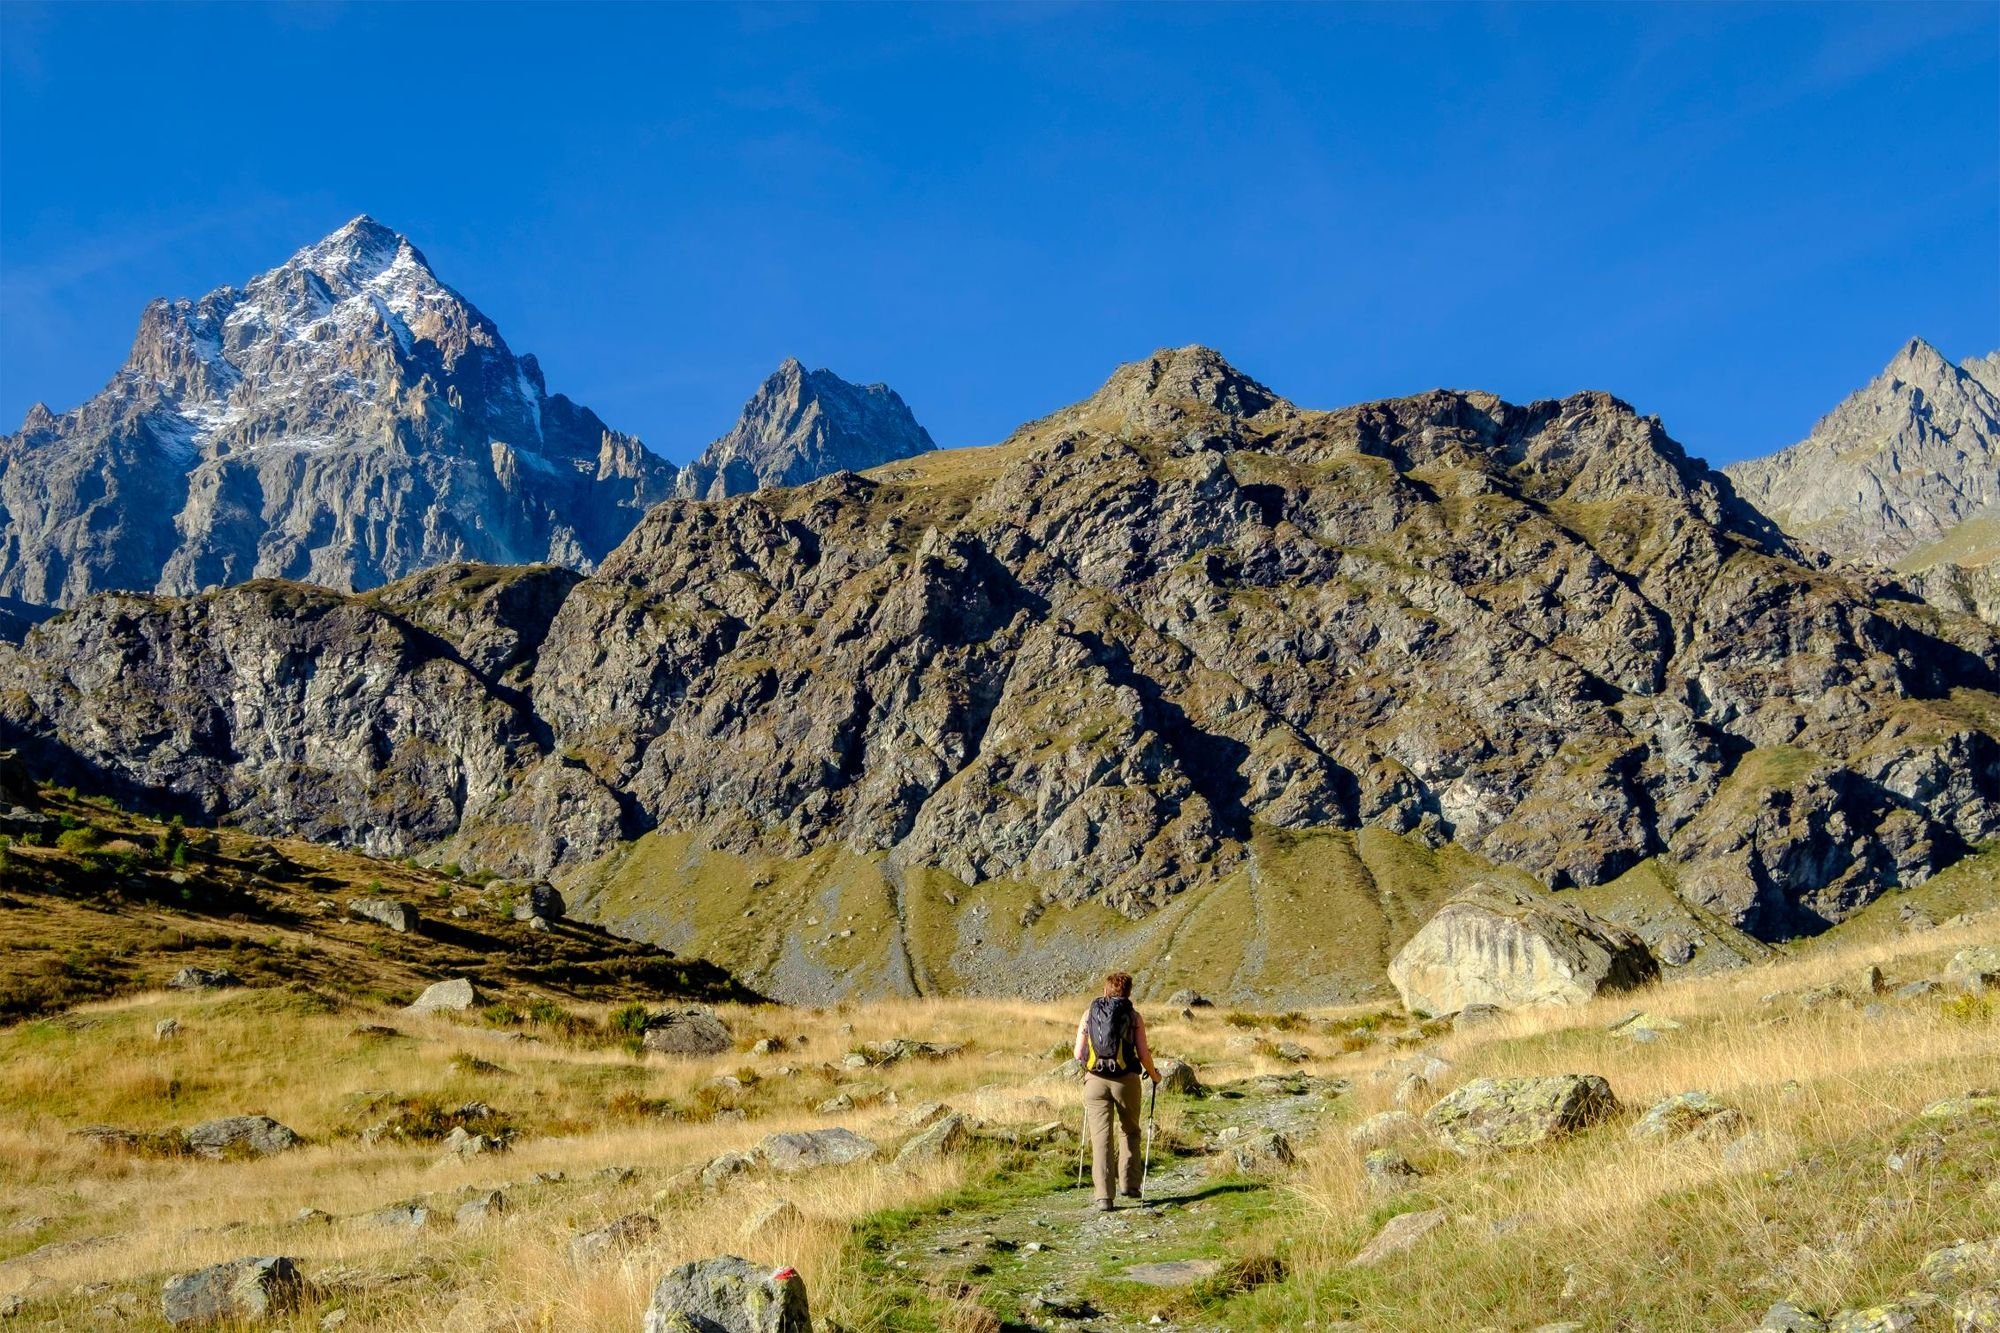
From Passo Cereda, follow road no. 347 east to the village of Padreterno, then take a smaller road south and east to Matiùz . Continue past the campsite, climbing southeast through meadows and pine forests. Cross a cart track and follow Sentiero dell’Intaiàda, a narrow trail along the rock face of Sasso Largo, before reaching a small col.
Climb through a rocky gully with wire cables to aid you, to reach Passo del Comedòn . Descend west across a saddle, then through rocky terrain to the plateau of Pian della Regina. A gradual ascent leads to Bivouac Feltre Walter Bodo. Continue south on path no. 801, passing small lakes and climbing to Col dei Béchi.
Follow the exposed but secured Troi dei Caserìn path under Sass de Mura. Cross pastures, a cave and grassy slopes to Passo de Mura, then climb to a saddle overlooking the Neva valley. Head southwest to Rifugio Bruno Boz (1,718m/5,636ft).
Stage 12: Rifugio Boz to Rifugio Dal Piaz

- Distance: 8.6 miles (14km)
- Walking time: 6 hours
- Ascent: 940m (3,084ft)
- Descent: 670m (2,198ft)
From Rifugio Boz, take path no. 801 south, then southwest to Passo Finestra. Continue west under the crest of Zoccarè, following the undulating southeast slopes. Ascend towards Sasso di Scàrnia, with views over the Pale di San Martino and the Val Canzoi. Steps and wire-cables aid your passage through the more exposed sections.
Descend past overhanging rocks, gullies, and rocky structures, following no. 801 west through dense pine woods to Alpe Ramezza. Climb along the ridge’s northern edge, overlooking the Noana Valley. Cross Piazza del Diavolo, a landscape of weathered boulders, before reaching the alpine meadows of Busa di Piètena.
Follow an military old cart track which climbs towards the Vette Grande pass (1,994m/6,542ft), the final col of the Alta Via 2. From here, a short descent leads to Rifugio Giorgio Dal Piaz.
Stage 13: Rifugio Dal Piaz to Feltre
- Distance: 11.8 miles (19km)
- Walking time: 4-5 hours
- Ascent: negligible
- Descent: 1,820m (5,971ft)
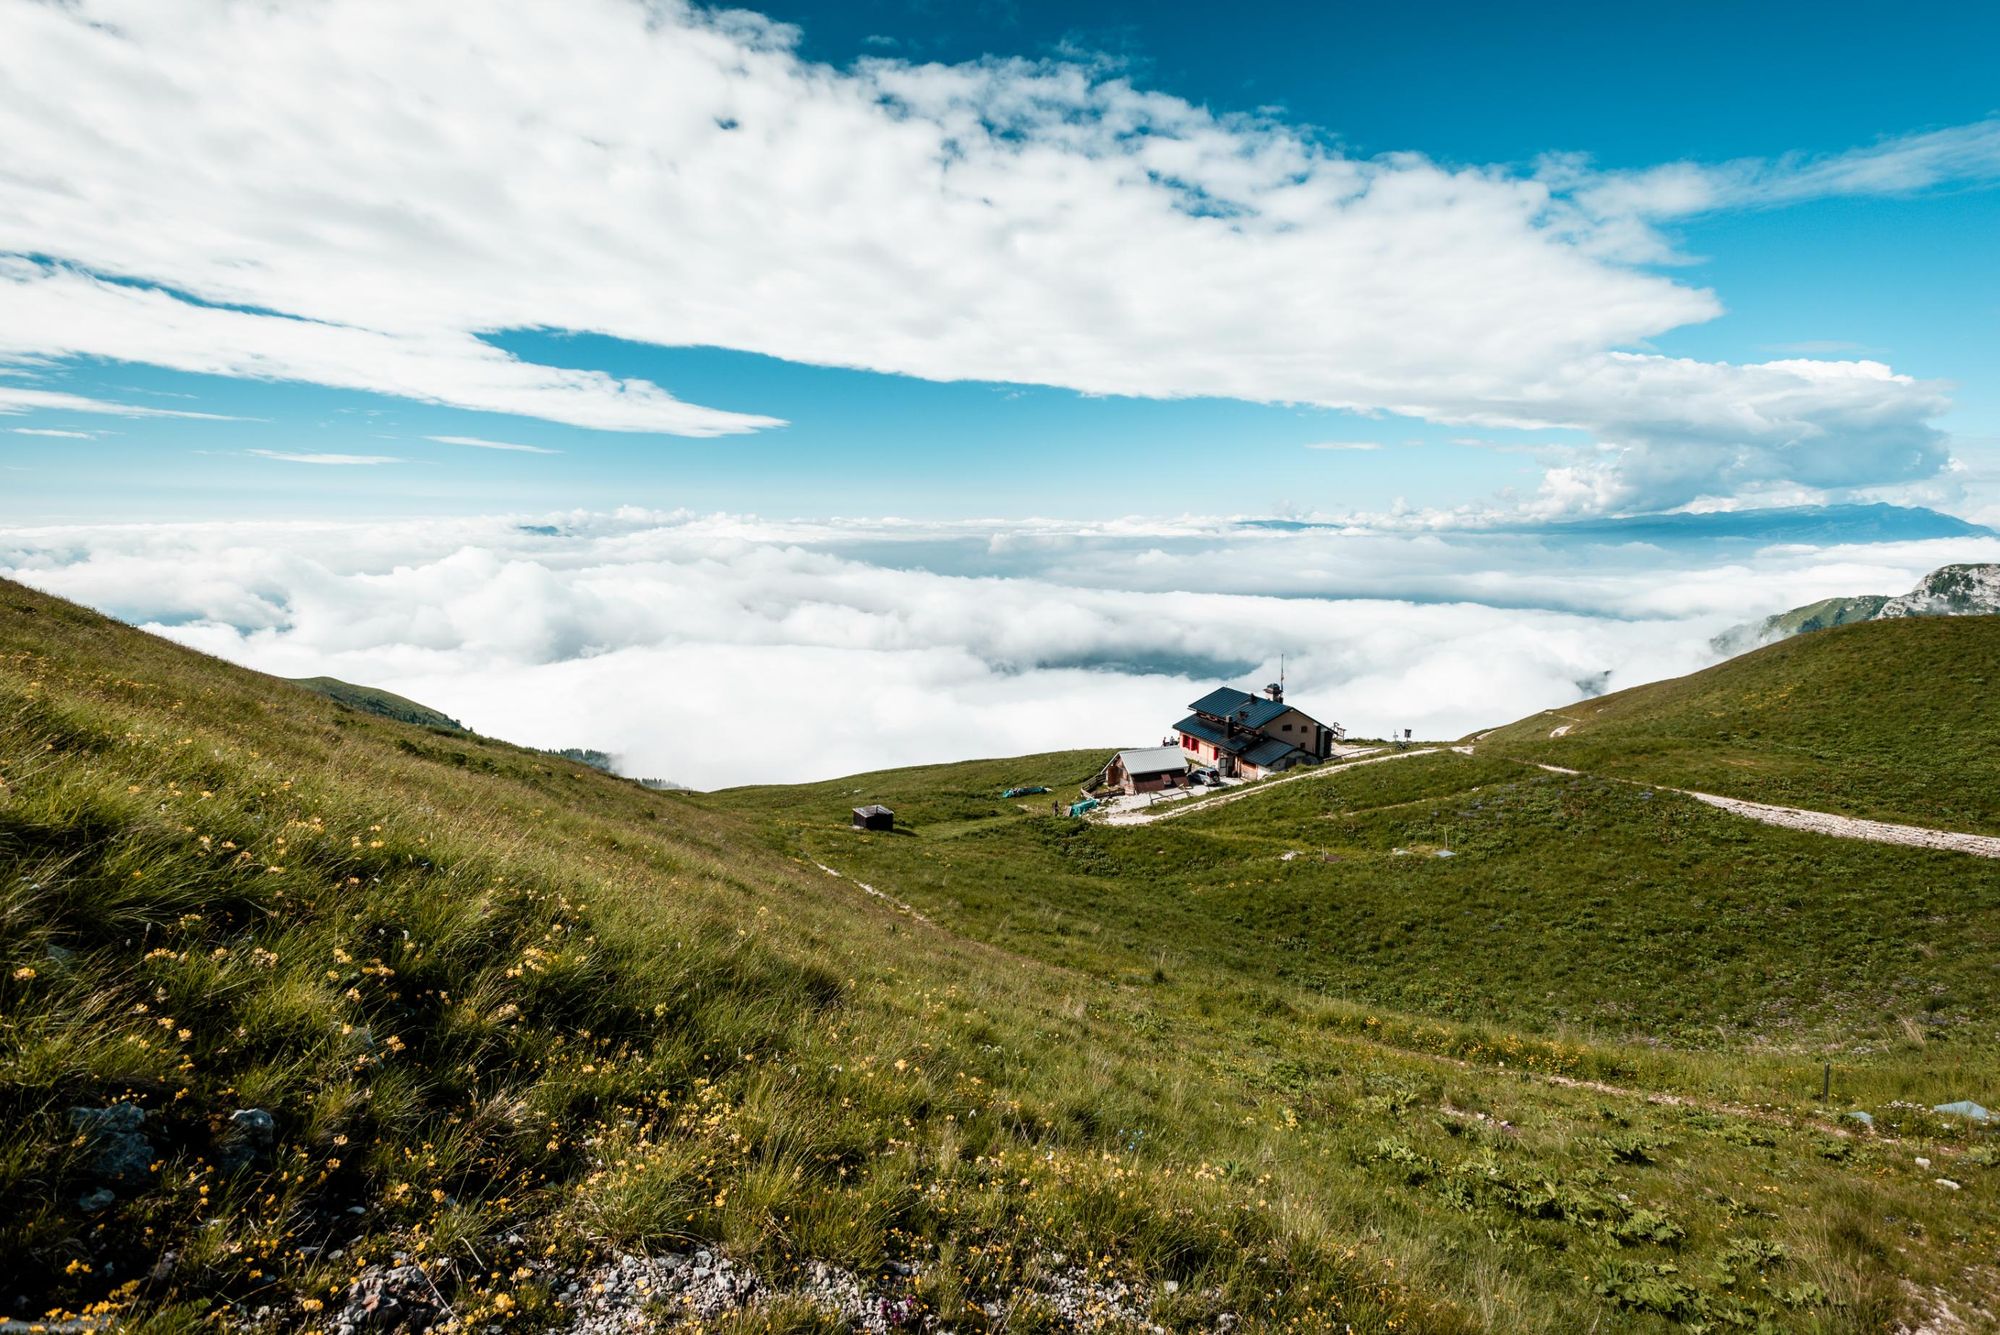
From Rifugio Dal Piaz, descend south via path no. 801 on the military road. The path is steeper but more direct, cutting through meadows and rocky sections before reaching the forest.
Continue downhill to Col dei Cavài, then west and south to Passo di Croce d’Aune (1,015m/3,33oft). Here, the Alta Via 2 officially ends.
The towns of Pedavena and Feltre can be reached by public transport or on foot. To walk, follow the main road for 5.5 miles (9km) to Pedavena and another 2.4 miles (4km) to Feltre.
Accommodation: Alta Via 2 Huts
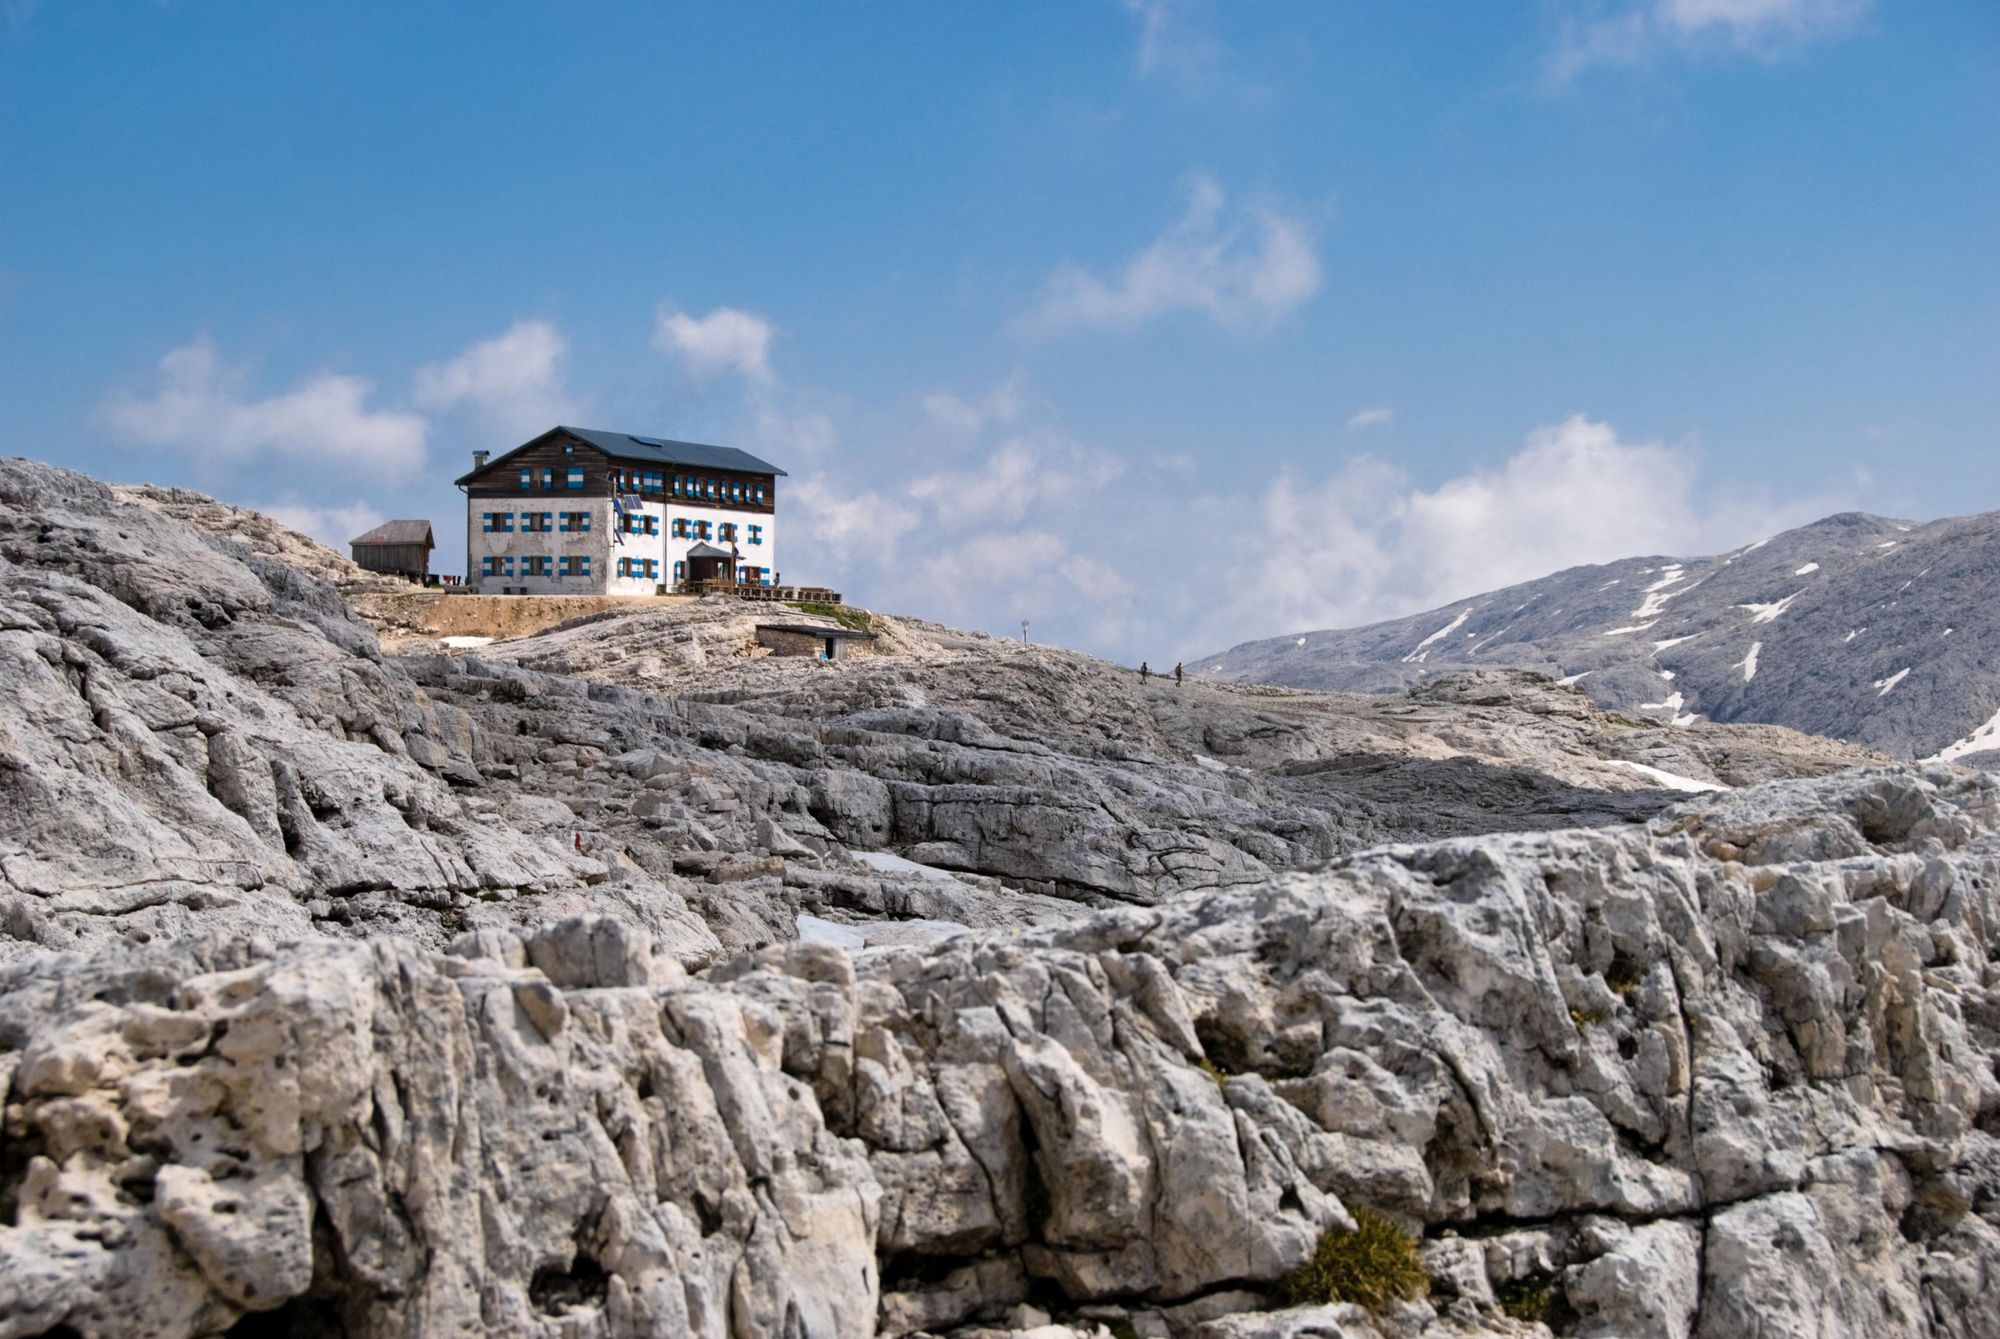
Accommodation on the Alta Via 2 consists mainly of mountain refugi, rustic huts offering dormitory-style beds, meals and basic amenities. Some huts provide private rooms, but availability is limited. Reservations are recommended, especially in peak season.
They are not five star hotels, but the atmosphere is always five star
“Most huts have big rooms, where up to sixteen people can sleep all together,” Miki says. “They are not five star hotels, but the atmosphere is always five star. You can eat very well and sleep very comfortably.”
A few sections of the trail may require staying in bivouacs, unmanned simple refuges open year round. There are precious few amenities here – you’ll need to bring your own sleeping mat and bag. There are also no meals available, so you’ll need to bring your own supplies.

When to Hike the Alta Via 2
The best time to hike the Alta Via 2 is from late June to mid-September. During this period, most mountain rifugi are open, and the trails are free from heavy snow. July and August offer the warmest weather but attract more hikers. September provides cooler temperatures and fewer crowds.
“It is not possible to go in winter. It's very dangerous because we’ve had problems with avalanches these last five years,” says Miki. “Even expert hikers can get into trouble. They think they’re prepared, but you’re never prepared.”
What to Pack for the Alta Via 2
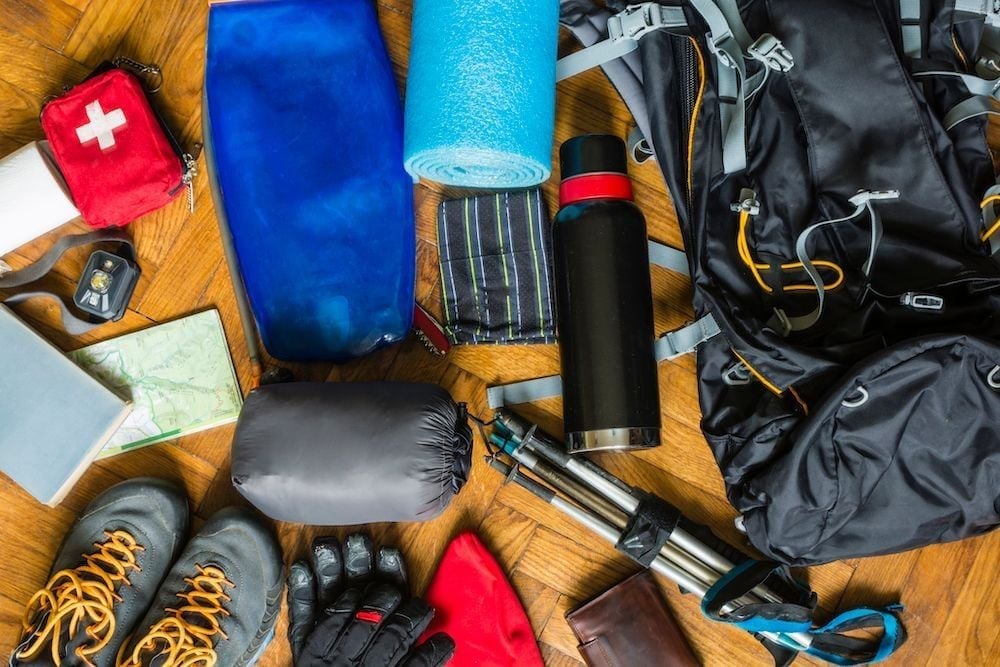
These are the basic essentials for hiking the Alta Via 2. For Miki, the most important thing is a pair of well-worn hiking boots, which are suitable for the stony terrain.
“Don't come here with tennis shoes or flip flops – or with brand new hiking boots. You have to be equipped,” she says.
Those travelling independently will need to bring their own via ferrata equipment, but this will be provided on a guided tour. Anyone who is bivouacking, rather than sleeping in mountain refuges, will need to bring a sleeping bag and mat, alongside food supplies.

All travellers will need to come with the following:
Clothes
- Lightweight waterproof and windproof jacket
- Breathable wicking layers
- Fleece jacket
- Buff or neck scarf
- Lightweight trousers/shorts/skirts for hiking
- Sunglasses
- Sunhat
- Gloves
- Hiking boots (worn-in)
- Lightweight shoes for refuges
Other
- Sleeping bag liner and pillowcase
- Quick-dry towel
- Universal travel plug adapter
- Power bank or solar charger
- Passports (and visas)
- Travel insurance documents
- Suncream
- Personal first-aid kit (inc. blister treatment such as Compeed)
- Personal items (biodegradable toiletries, sanitary wear etc)
- Toilet kit (toilet paper, biodegradable bags to carry paper out to dispose of)
- Headtorch or torch
- 2 x 1-litre reusable water bottle
- Trekking poles
How to Get to the Alta Via 2
To reach the Alta Via 2, start in Brixen, Italy. The nearest airports are in Innsbruck (52 miles/84km), Verona (117 miles/ 189km) and Venice (161 miles/259km). From these cities, take a train to Bressanone, then a bus or taxi to the trailhead at Passo delle Erbe. The hike ends in Feltre, with return bus and train and bus connections available.
Inspired? Check out our Hut to Hut Trekking in the Dolomites Adventure and our other Adventures in the Dolomites.


